Whipped Coconut Cream Recipe

This has not turned into a dessert blog, I promise. I haven’t really kept track of what I was posting here and I just realized I have been a little out of balance lately. I promise to post a few Mexican recipes next week in anticipation of Cinco de Mayo. But since I posted a picture of this fluffy cloud of coconut cream last week on instagram, my cooking class students have been begging me to share how I made it.
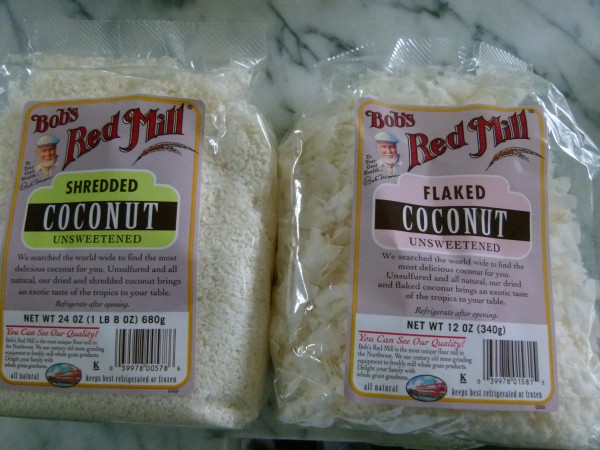
I love how popular coconut products have become. I remember when I first started teaching cooking classes about 6 years ago, people were a little skeptical about using coconut oil, despite all the health benefits. Now, these same ladies are rubbing on their faces at night and cooking their pancakes in it. So awesome.
Coconut whipped cream is something I’ve wanted to master for a while. I’m sure you have realized by now I adore anything coconut, and I also don’t digest pasteurized cow dairy all that well. So being able to enjoy a whipped cream made from coconut would be a GAME CHANGER for me.
It seemed simple enough. Chill a can of full-fat coconut milk overnight. Scoop out the fat that firmed up at the top of the can, leaving any liquid behind. Whip it like heavy cream until soft peaks form, adding sweetener if desired. But unfortunately, not all coconut milks are alike and even within the same brand, not all coconut milks separate they way they need to, leaving me on more than one occasion with a puddle of coconut milk . I did some research and learned that sometimes stabilizers are added to help the coconut milk become more uniform and blended, which is exactly what you don’t want if you are trying to turn it into whipped cream.
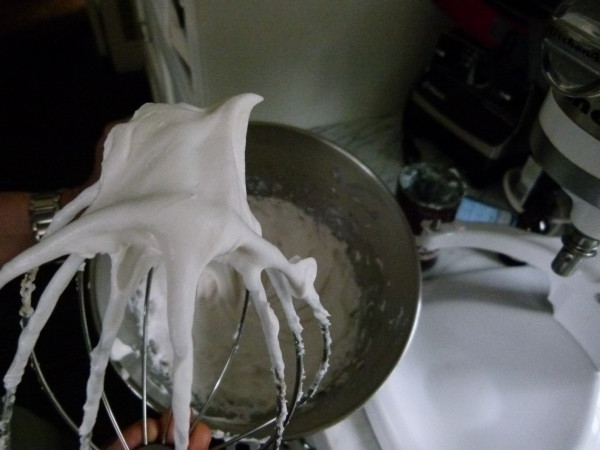
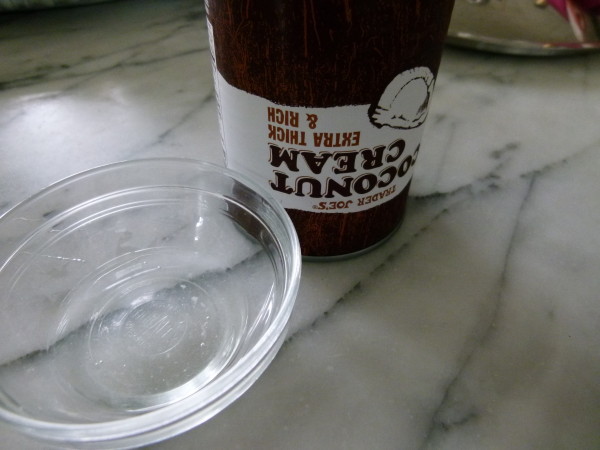
I actually gave up on this dream until I spotted a can of coconut cream at Trader Joe’s. This is literally just the cream from the coconut milk. Light bulb! I brought the can home and stuck it in the refrigerator until the next day. I chilled my mixing bowl and the whisk attachment, too. Voila! I was so delighted to open that can (BPA-free, mind you) and scoop out the hardened coconut cream. Success! With very little effort I was able to beat this into a light and fluffy whipped topping. This is something to rejoice if you are dairy-free or vegan!
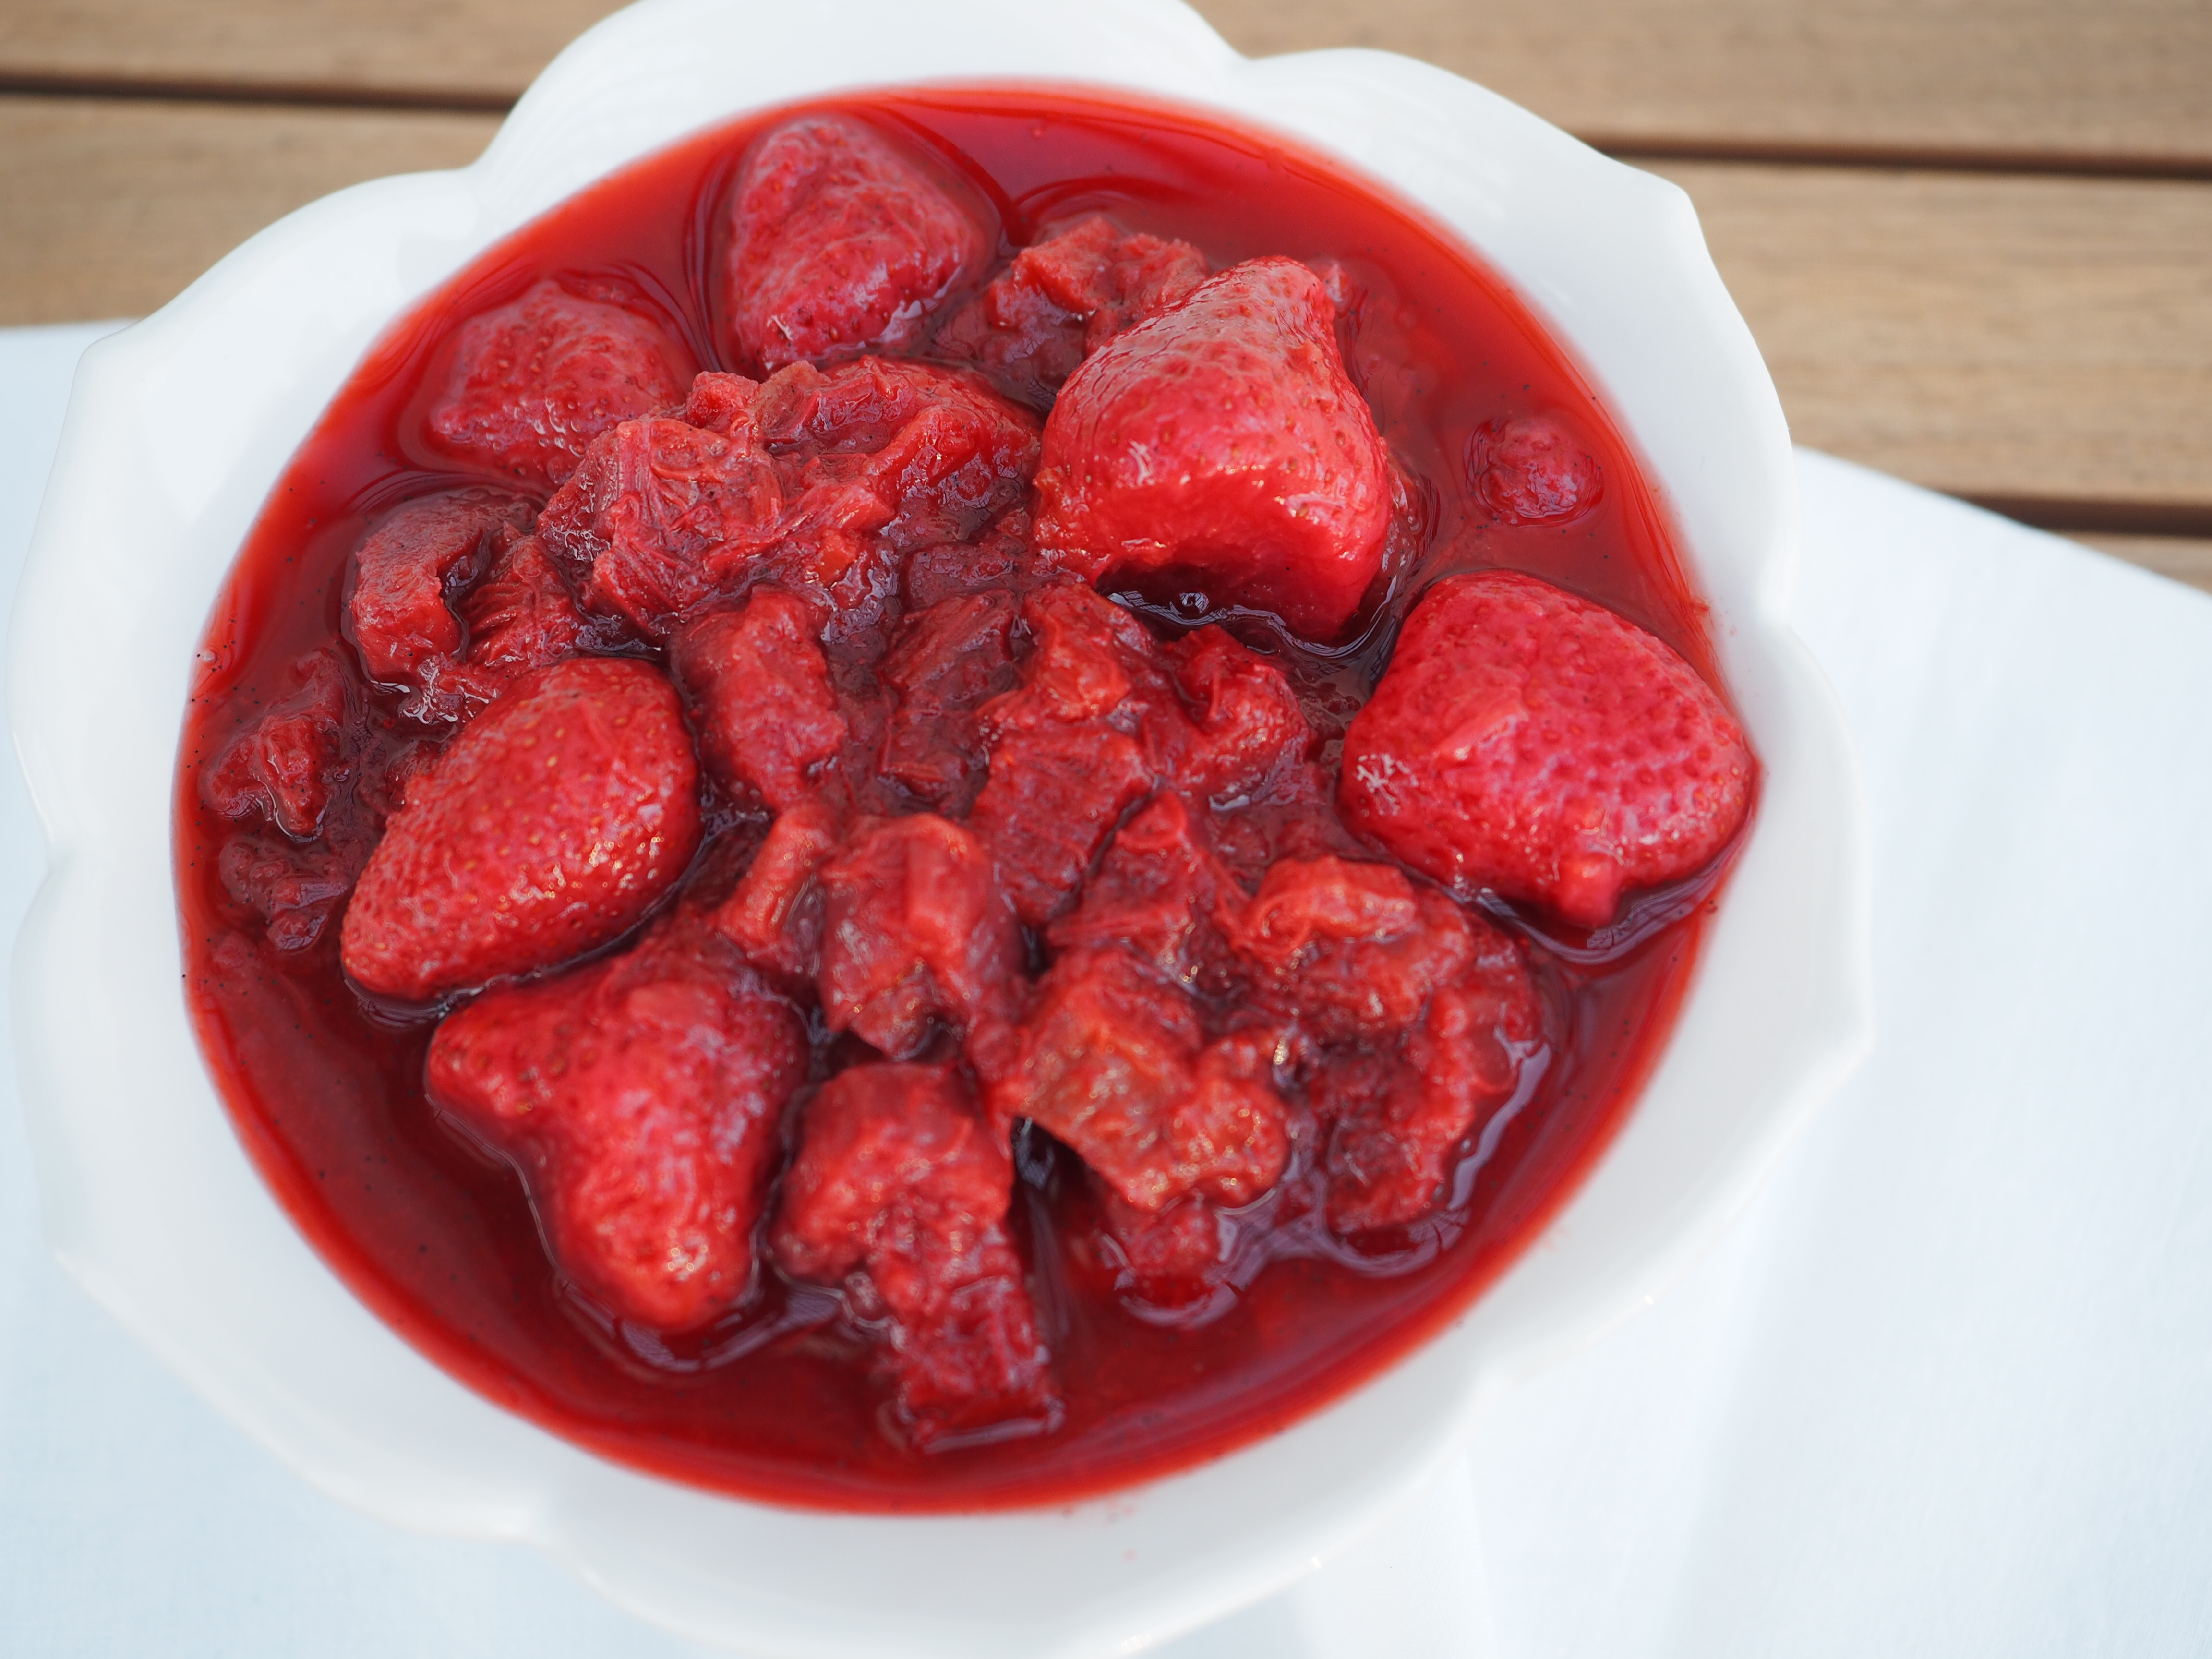
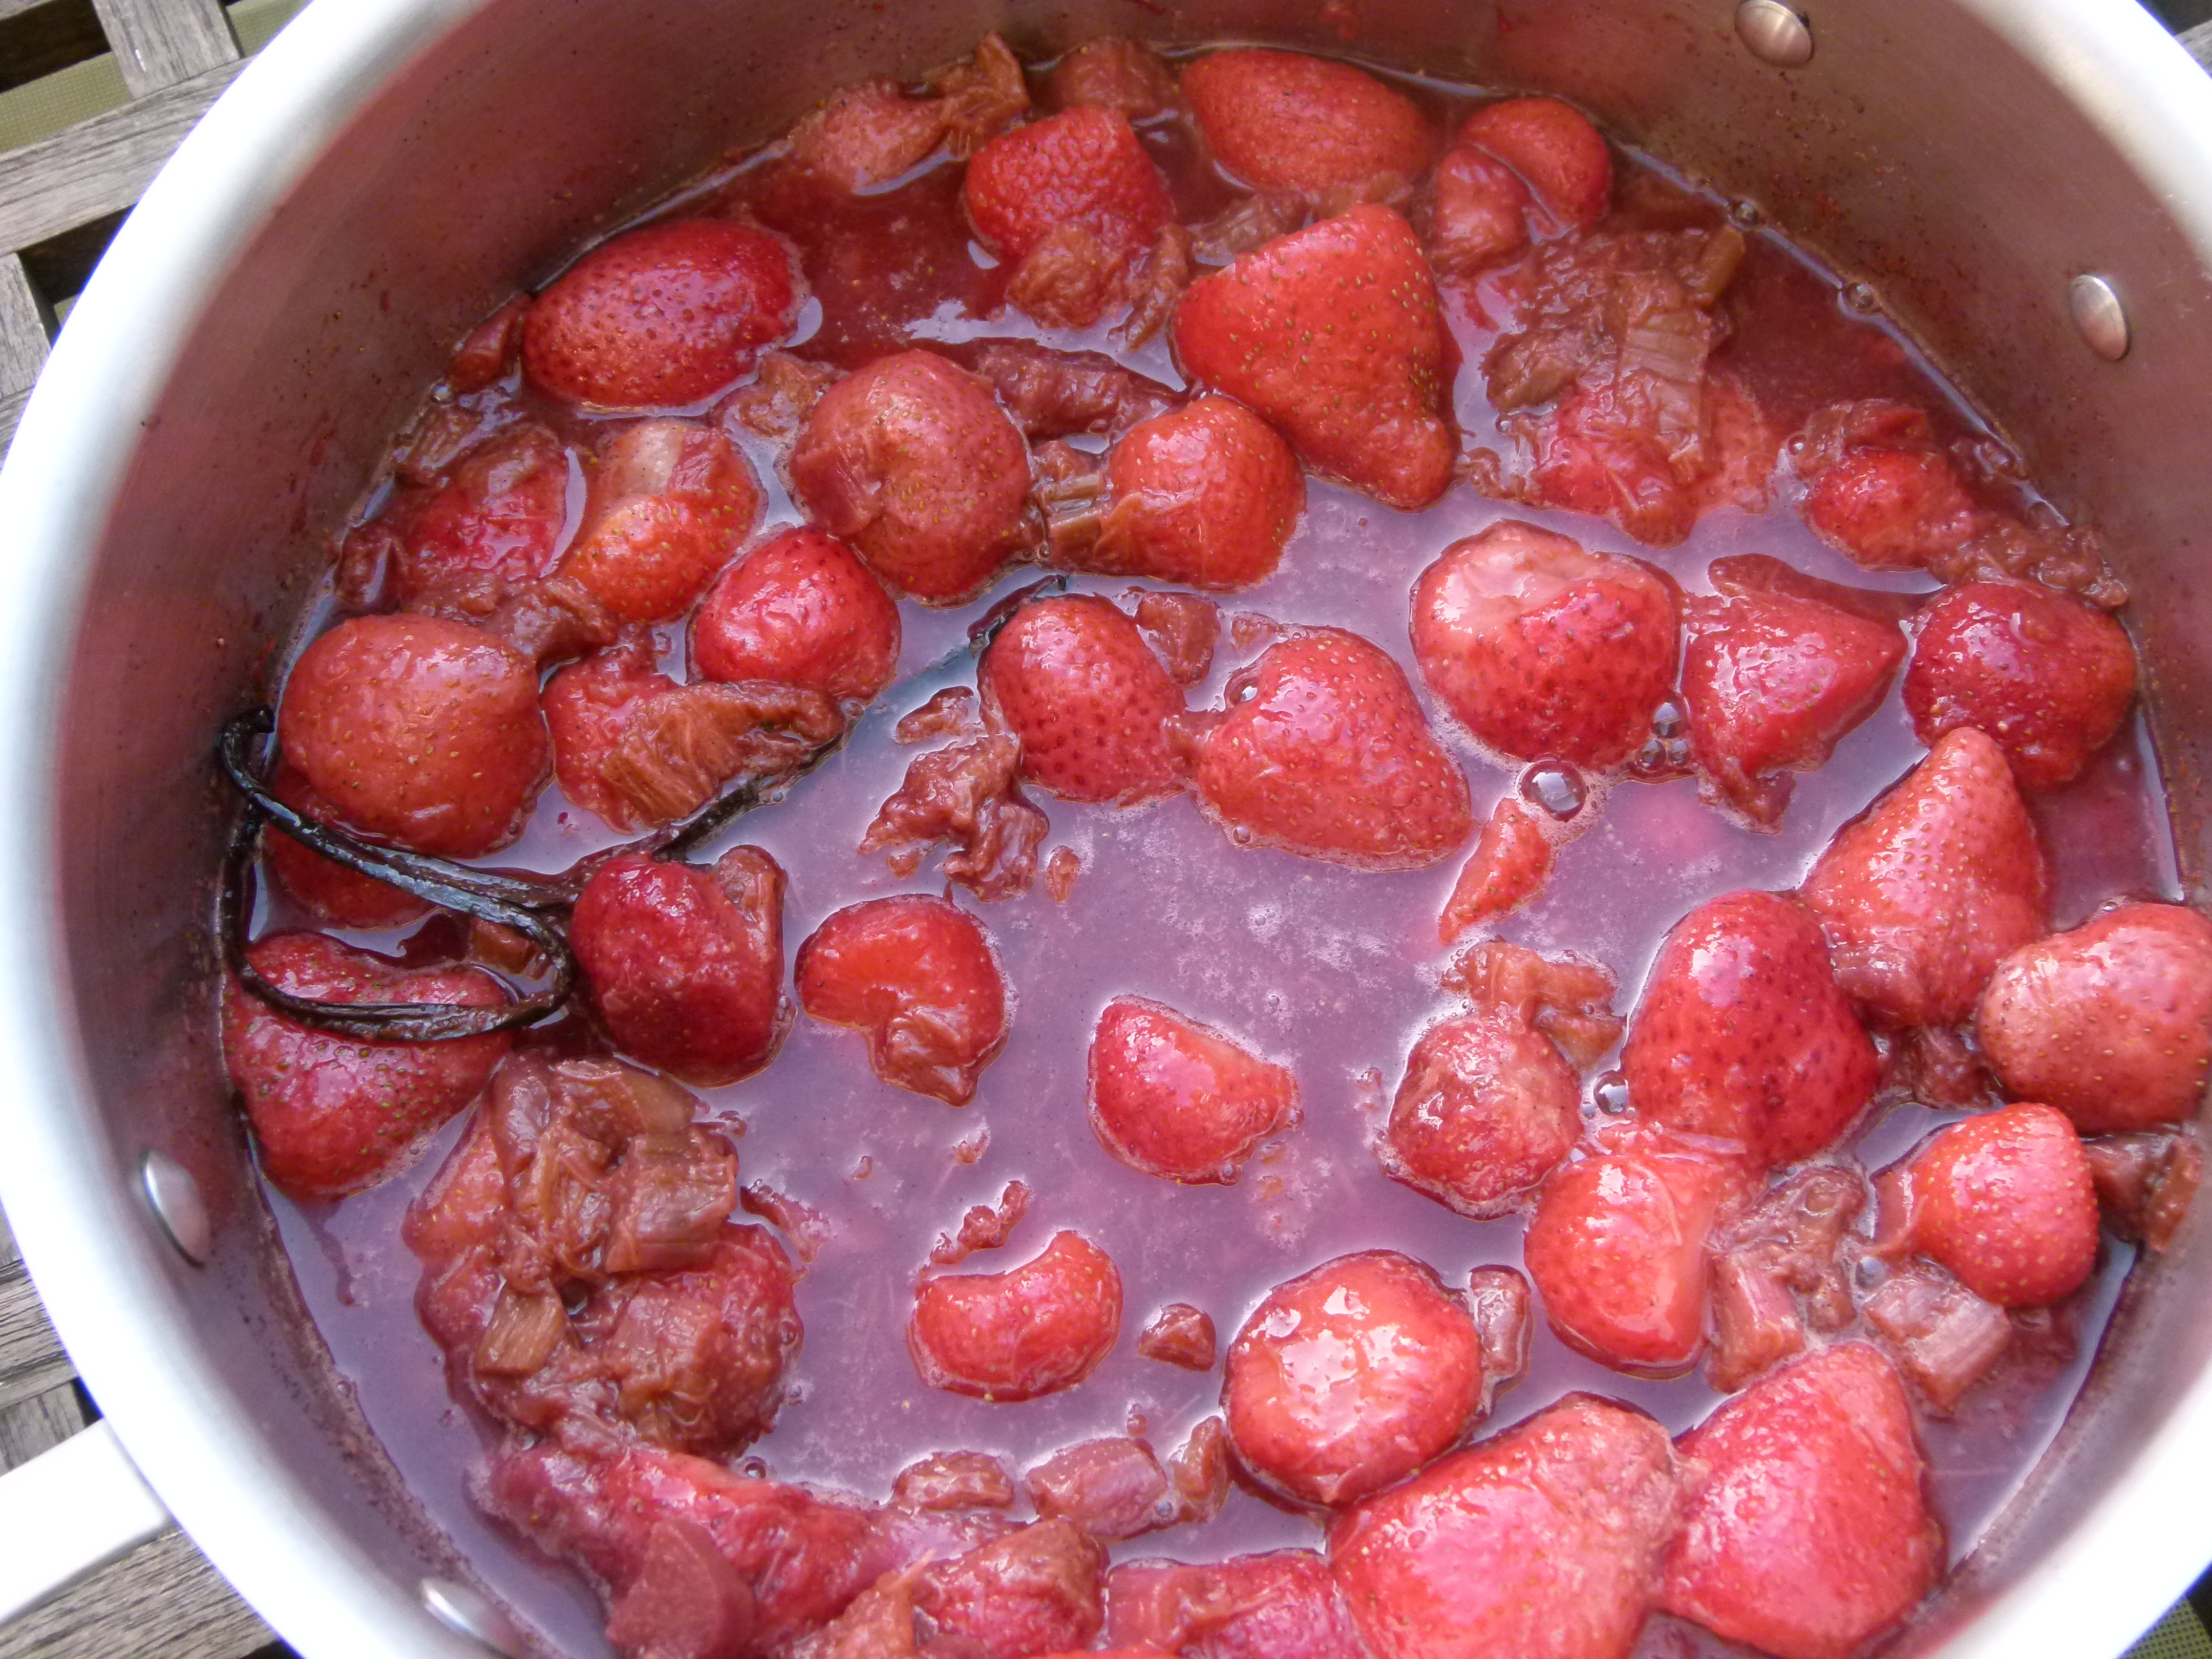
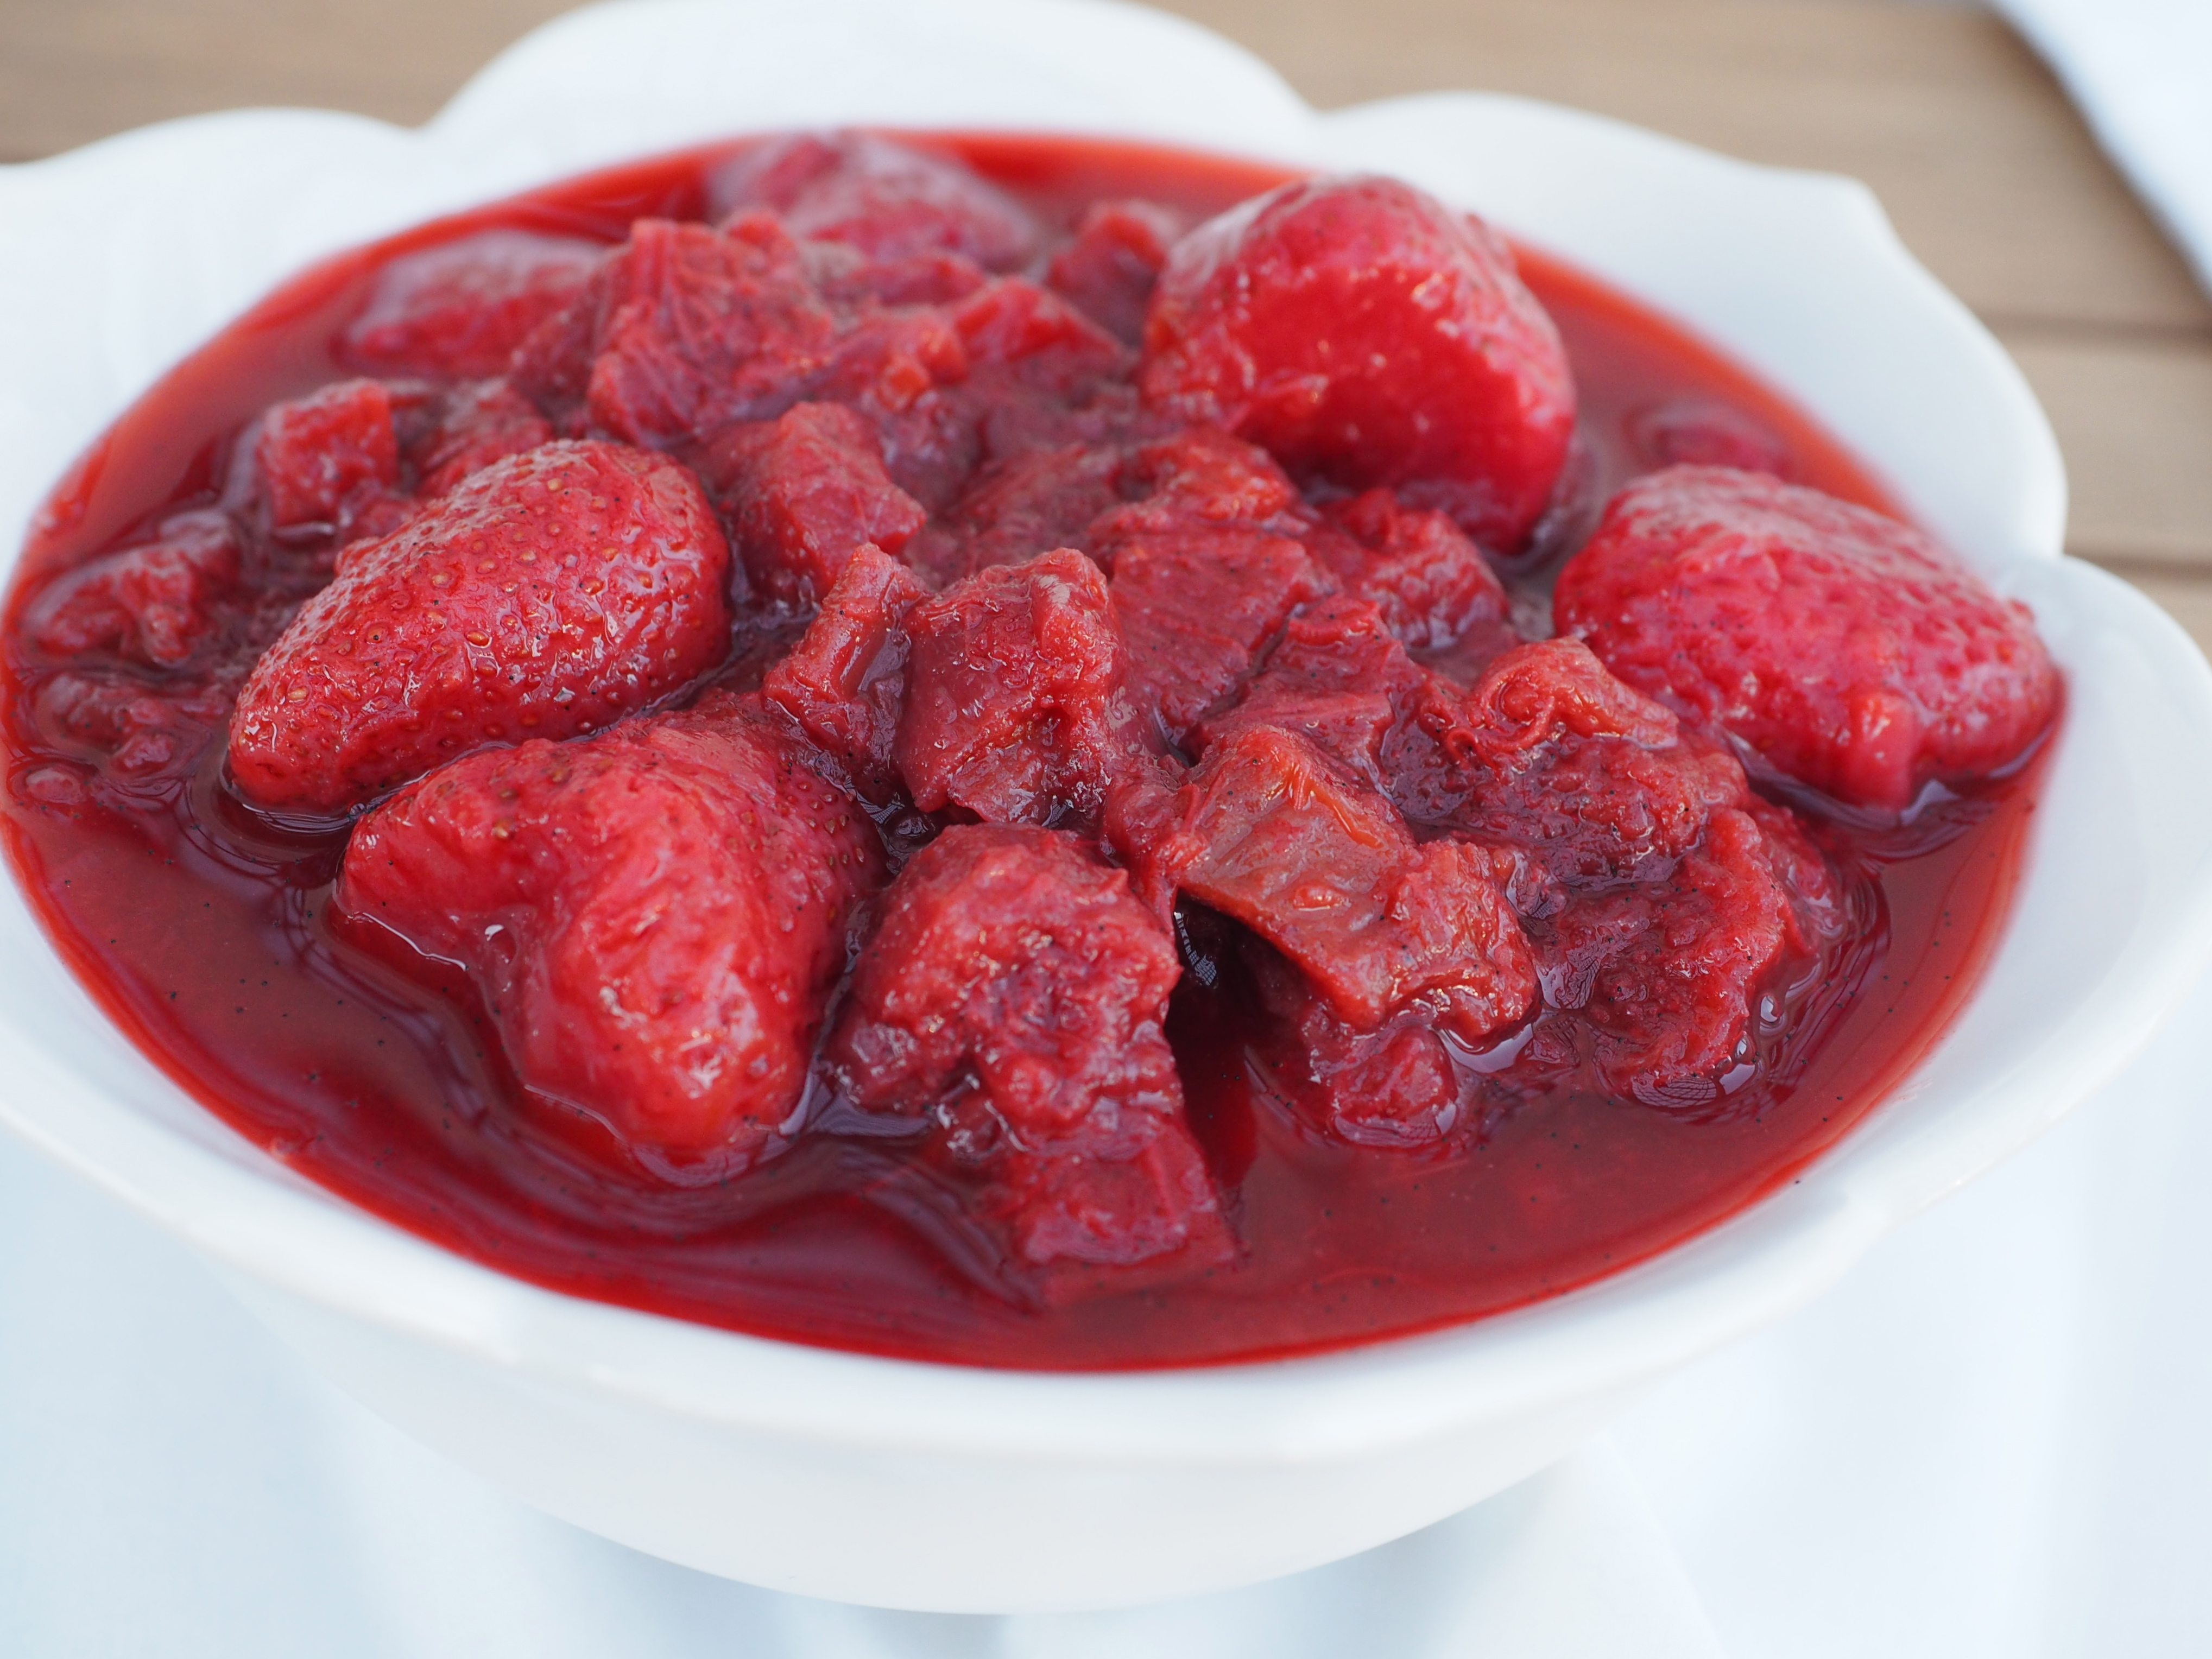
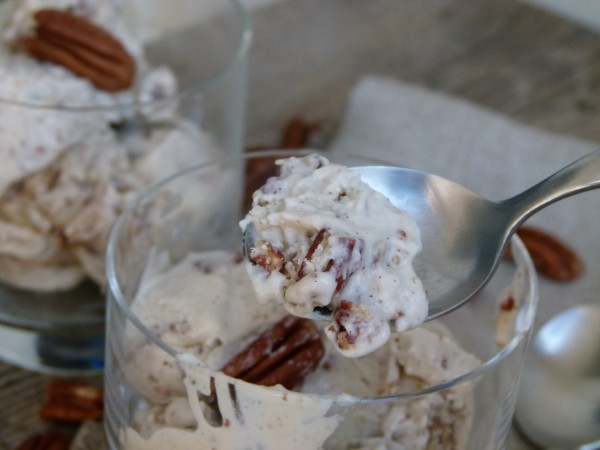
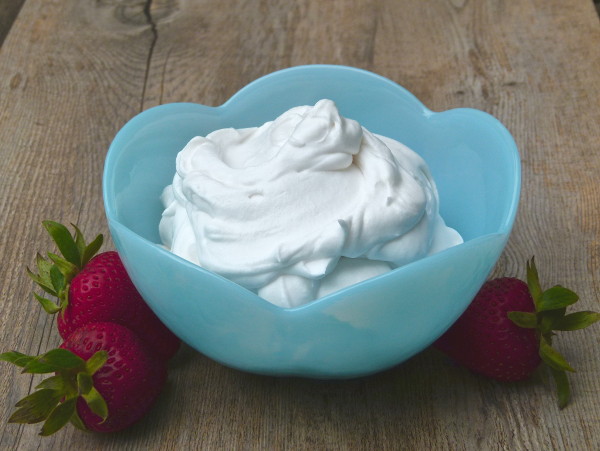
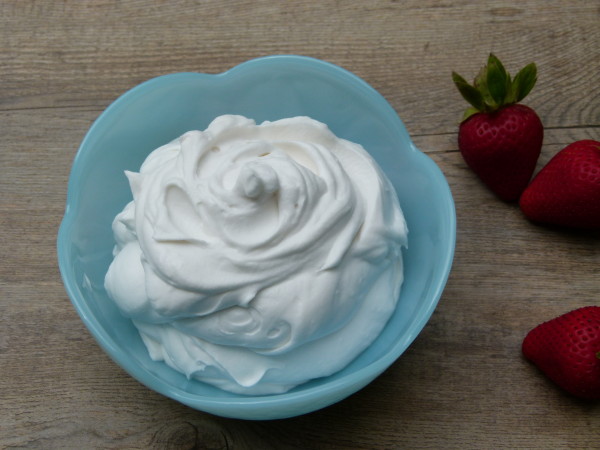
I do think this tastes very much like coconut, though. So if you’re not a coconut fun, this recipe is not for you. I love it with fresh or roasted berries, on pie, or as part of a banana split. Really, anywhere you’d use regular whipped cream you can also use coconut whipped cream. Let’s just not do a nose-dive into the bowl since it is still super high in fat and calories. Enjoy!
- 1 can coconut cream (not coconut milk)
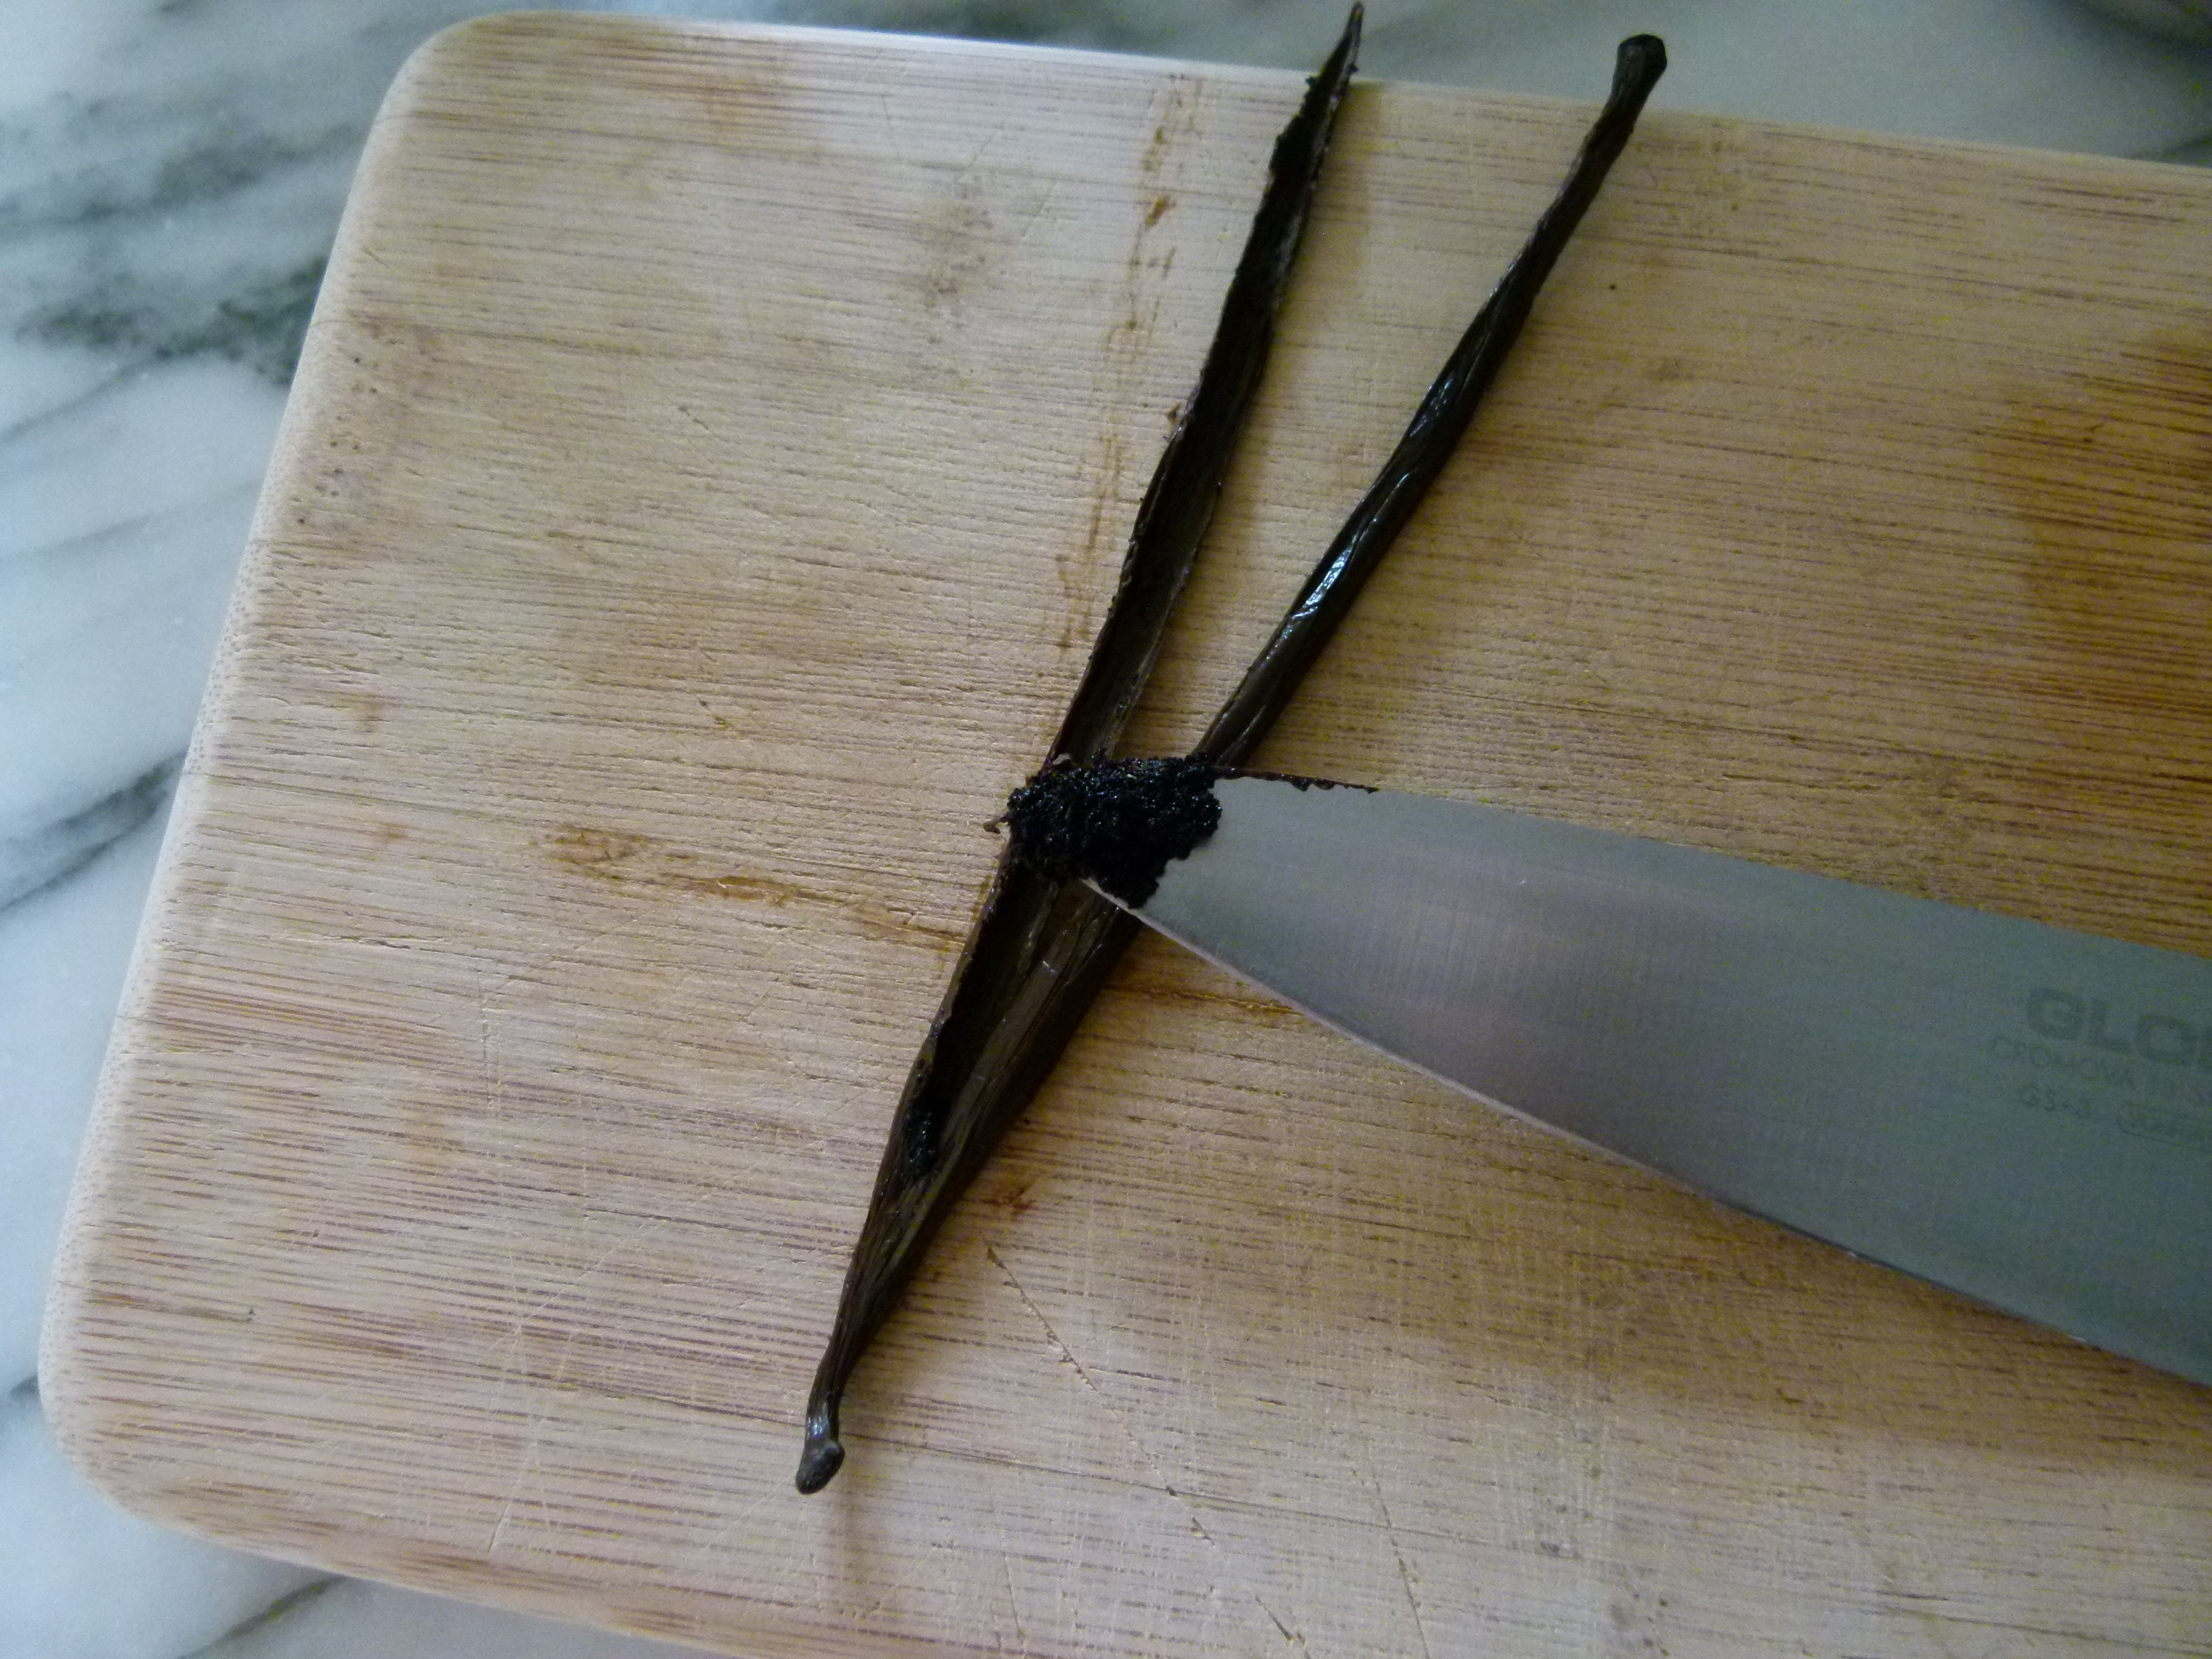
- ½ teaspoon pure vanilla extract
- optional sweetener to taste: 15 drops of stevia or 2-3 Tablespoons powdered sugar
- Chill the can of coconut cream in the refrigerator for at least 8 hours or overnight.
- Chill the mixing bowl and beaters or whisk attachment to your mixer for about 20 minutes or longer.
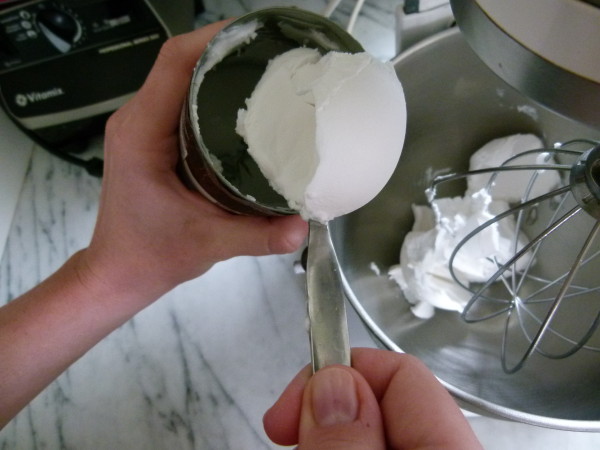
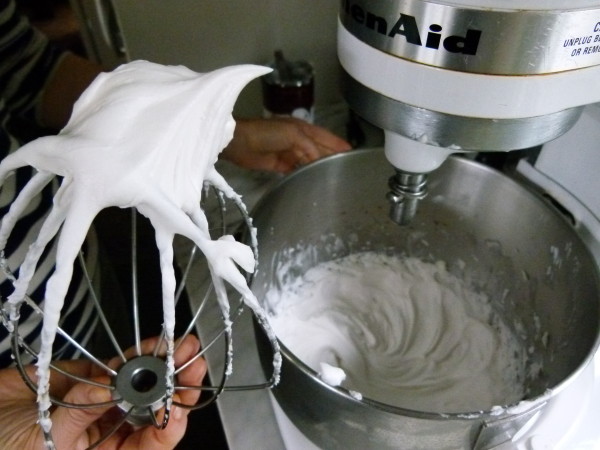
- Turn can upside down and open the bottom. If there is any thin liquid (it should only be about a tablespoon or so), pour that out and save it for a smoothie. Scoop out all the hardened cream (it should be waxy, almost like Crisco) and place in the chilled mixing bowl. Start beating on high speed and add vanilla and sweetener if desired. Beat until soft peaks form, about a minute and a half. Serve immediately.
- If you have leftovers, cover and refrigerate and rebeat to make fluffy again.