Fattoush Recipe

Is it sweltering where you are?  I would trade places with you.  As I write this it is raining and cold where I live in Southern California.  At the beach.  I want my money back.  Daughter #1, however, is in Connecticut with no air conditioning, and soon to be in Washington, DC where the temperature is expected to hit 97 on Tuesday and Wednesday and so on.  I’m jealous.  I love hot weather.  More than that, I love eating hot weather food in hot weather.

Did you know that all food has a thermal nature?  It has the power to warm you up or cool you down.  And that’s why nature gives us tomatoes and cucumbers in the summer and not the winter, because they are cooling and hydrating and the perfect antidote to beat the heat.  You know how obsessed I am with summer tomatoes and since they arrived on the scene a few weeks ago, I haven’t let up.  (I promise, however, that not every recipe this summer will involve a tomato.)  Even though the temperature is a perfectly mellow 70 degrees where I am, it hasn’t stopped me from making salads like Fattoush, one of my favorites.  I wish I could tell you with certainty if Fattoush is Lebanese or Syrian or Israeli, but I have no interest in starting a cold war on my blog so shall we just say it’s Middle Eastern?  My only goal is to convince you to make this salad because it’s delicious, addictive and good for you right about now.

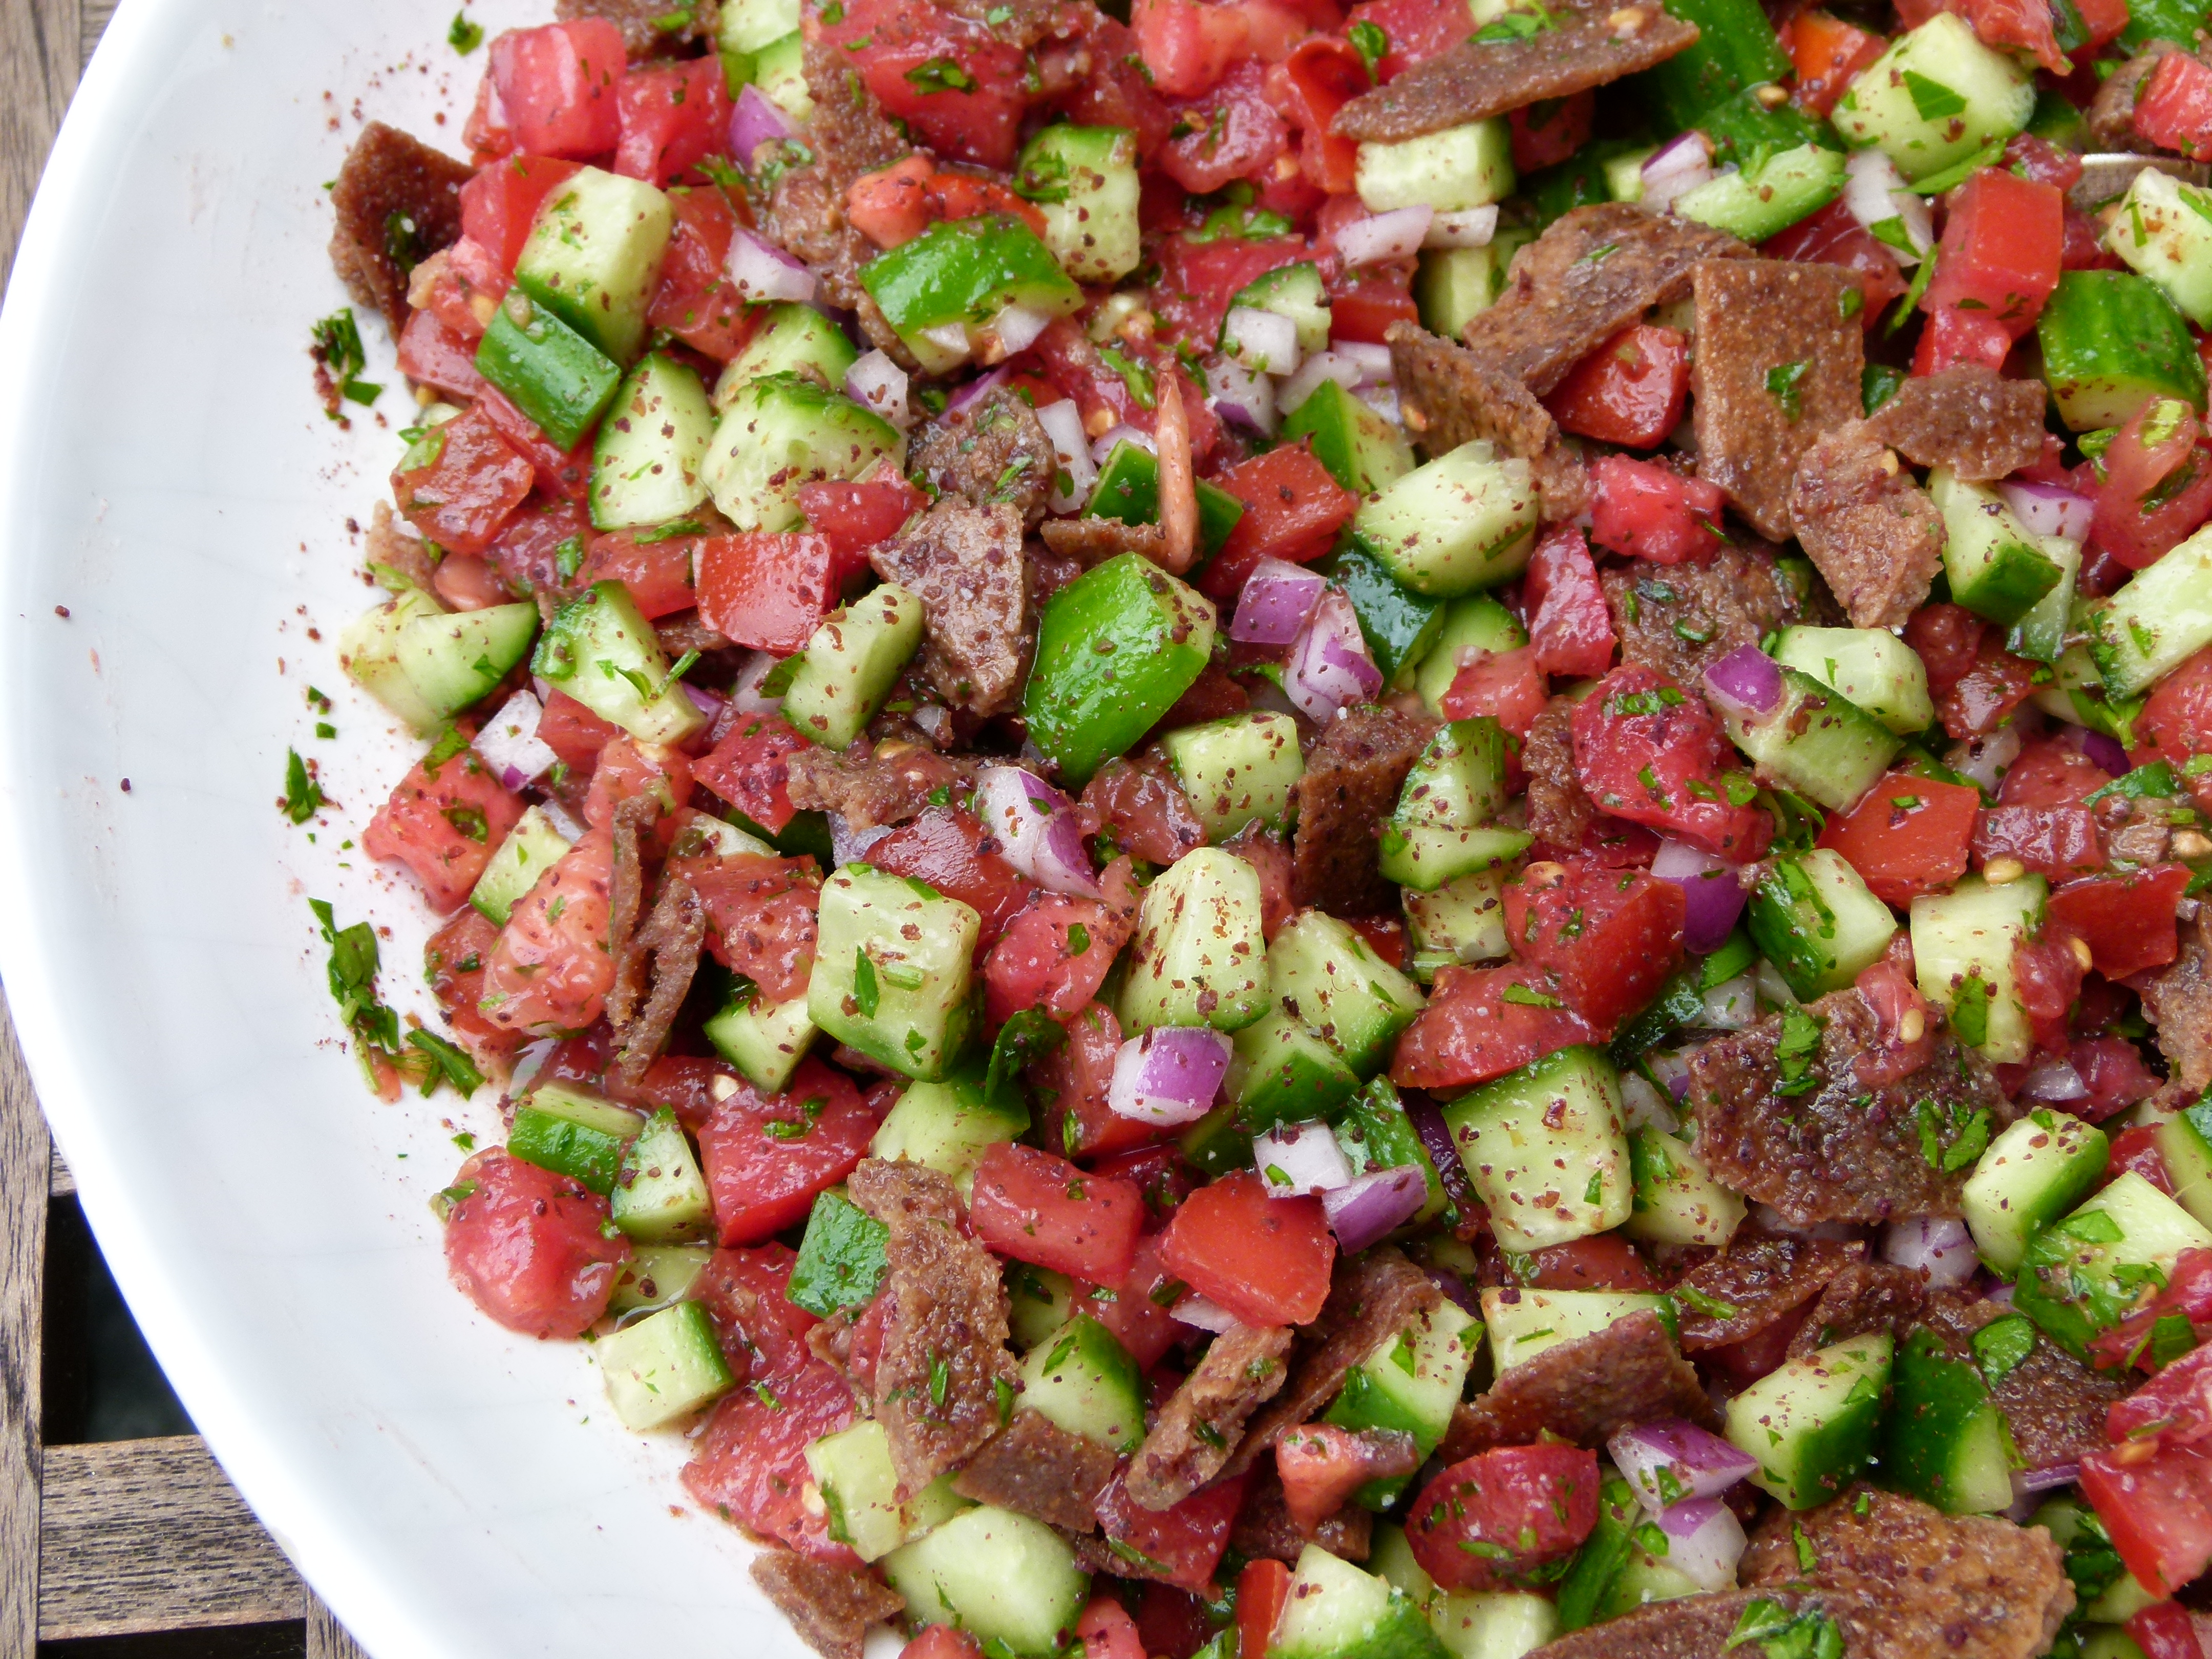
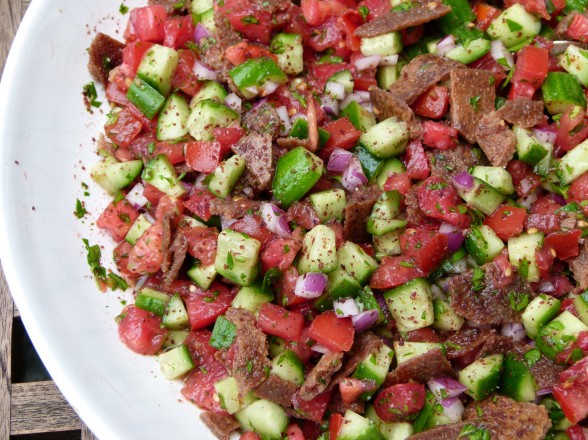
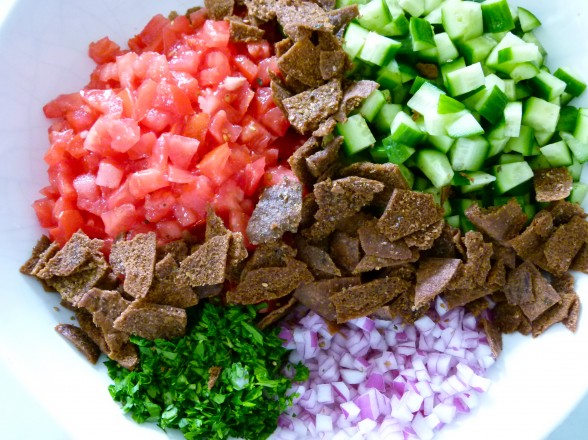
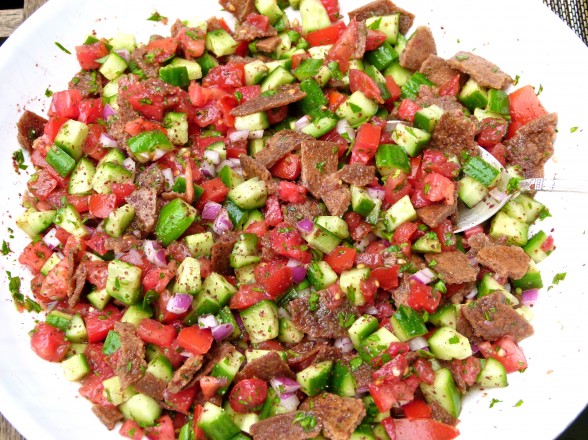
Fattoush reminds me of Panzanella, the Italian bread and tomato salad which I happen to be teaching this month in my classes, although for sure it has its differences.  Basic Fattoush is diced up tomatoes, cucumbers, onions, parsley, and fried or toasted pita bread with a lemon juice-olive oil dressing.  There is also a special ingredient which I fell in love with only a few years ago called sumac.  Stay in your seats, it’s not the poison kind, but this sour, citrusy berry that is dried, ground up and adds a puckery, tartness to the salad as well as a vibrant dusting of red.  (Are you thinking anthocyanins and antioxidants like I am?  Yes!)  It’s very easy to find online or in Middle Eastern markets, spices shops or at some local natural foods stores.  You will want to get some!  Now that’s just the basic.  You can add romaine lettuce, radishes, purslane (a juicy green that is hard to come by), and/or mint.  It’s hard to go wrong.

I have eaten this salad at Middle Eastern restaurants and been served a little scoop of it on the plate as if it’s an after thought.  Hmph!   Why is that?  I could make a whole meal of Fattoush with a handful of chickpeas thrown in, especially if I don’t feel like turning on the oven or standing in front of a hot grill.  I have an Israeli friend who consumes this for breakfast and why not?  However you decide to eat this, you will surely be embracing summer and be in harmony with nature.  Enjoy!

Fattoush
Author: 
Serves: 4-6
 
Ingredients
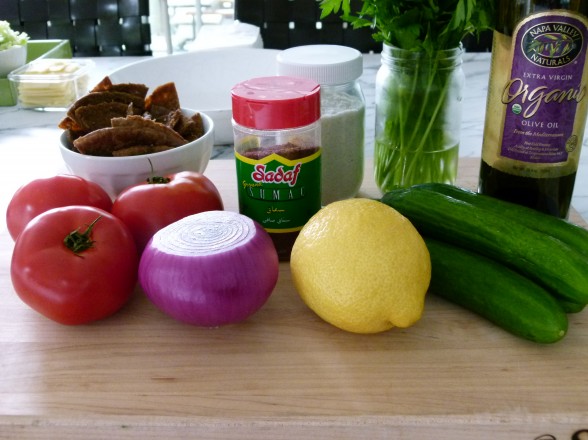
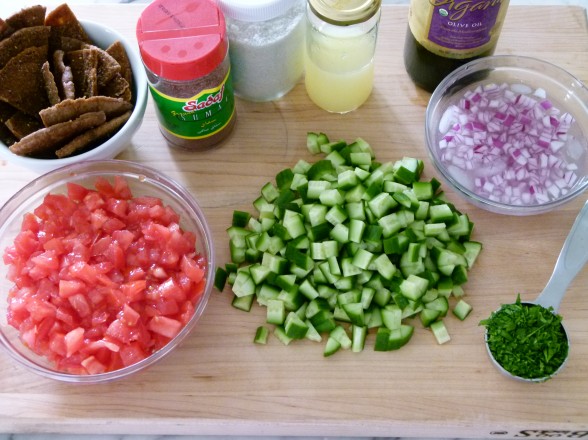
  • 3 medium tomatoes, cut into ½-inch cubes, about 1 pound
  • 2 ½ cups diced cucumber, about 1 pound
  • ½ cup diced medium red onion (soak in ice water for 15 minutes to reduce harsh onion flavor, if desired)
  • ¼ cup finely chopped fresh flat-leaf parsley
  • 2-3 Tablespoons freshly squeezed lemon juice, about ½ lemon
  • 2-3 Tablespoons unrefined cold-pressed olive oil
  • 1 Tablespoon ground sumac
  • ¼ teaspoon fine grain sea salt or to taste
  • A couple generous handfuls of pita chips
Instructions
  1. Place the tomatoes, cucumber, onion and parsley in a serving bowl.
  2. In a small bowl or glass jar, combine the lemon juice, olive oil, sumac and salt. Pour over the vegetables and toss to combine.
  3. Crumble pita chips on top and toss together. Serve immediately.
Notes
Other additions: cooked chickpeas, crumbled feta, diced green pepper, chopped pitted olives, cubed avocado, julienned radish, shredded lettuce. I noticed Sarah at My New Roots used raw flax crackers in her Fattoush instead of toasted pita -- great idea!


Chickpea Burger Recipe

If I had to pick one cuisine to stick with for the rest of my life, it would be a tough a call.  But I could easily live off of Mediterranean food every day.  I love the emphasis on fresh vegetables, olive oil, legumes and whole grains, cheeses and fish.  Whether it’s Italian, Greek, or Israeli, this way of eating is definitely my comfort zone.  And living in Southern California makes cooking Mediterranean-style quite easy with an availability of similar varieties of fresh produce, nuts, dates and olives.

As I’ve mentioned before, one of my favorite things to do is to take a not-so-healthful food that I love and turn it into something I can enjoy regularly.  Many years ago I decided to try making falafel (the deep-fried Middle Eastern chickpea nuggets) a little less “deep-fried.”  (Ok, not everything Mediterranean is healthful.)  Many iterations later I found myself with a delightful, substantial chickpea burger which in turn began my obsession with veggie burgers.  I don’t love meat and poultry so much, although I think they are excellent sources of protein if you can find organic, pastured varieties.  But I do love hearty, flavorful vegetarian food that makes me feel satisfied, especially anything bean-based which is loaded with low-fat protein and tons of insoluble fiber.  I also like having recipes like this for entertaining when I always like to offer a vegetarian option (you’d be surprised how many people choose not to eat meat these days.)

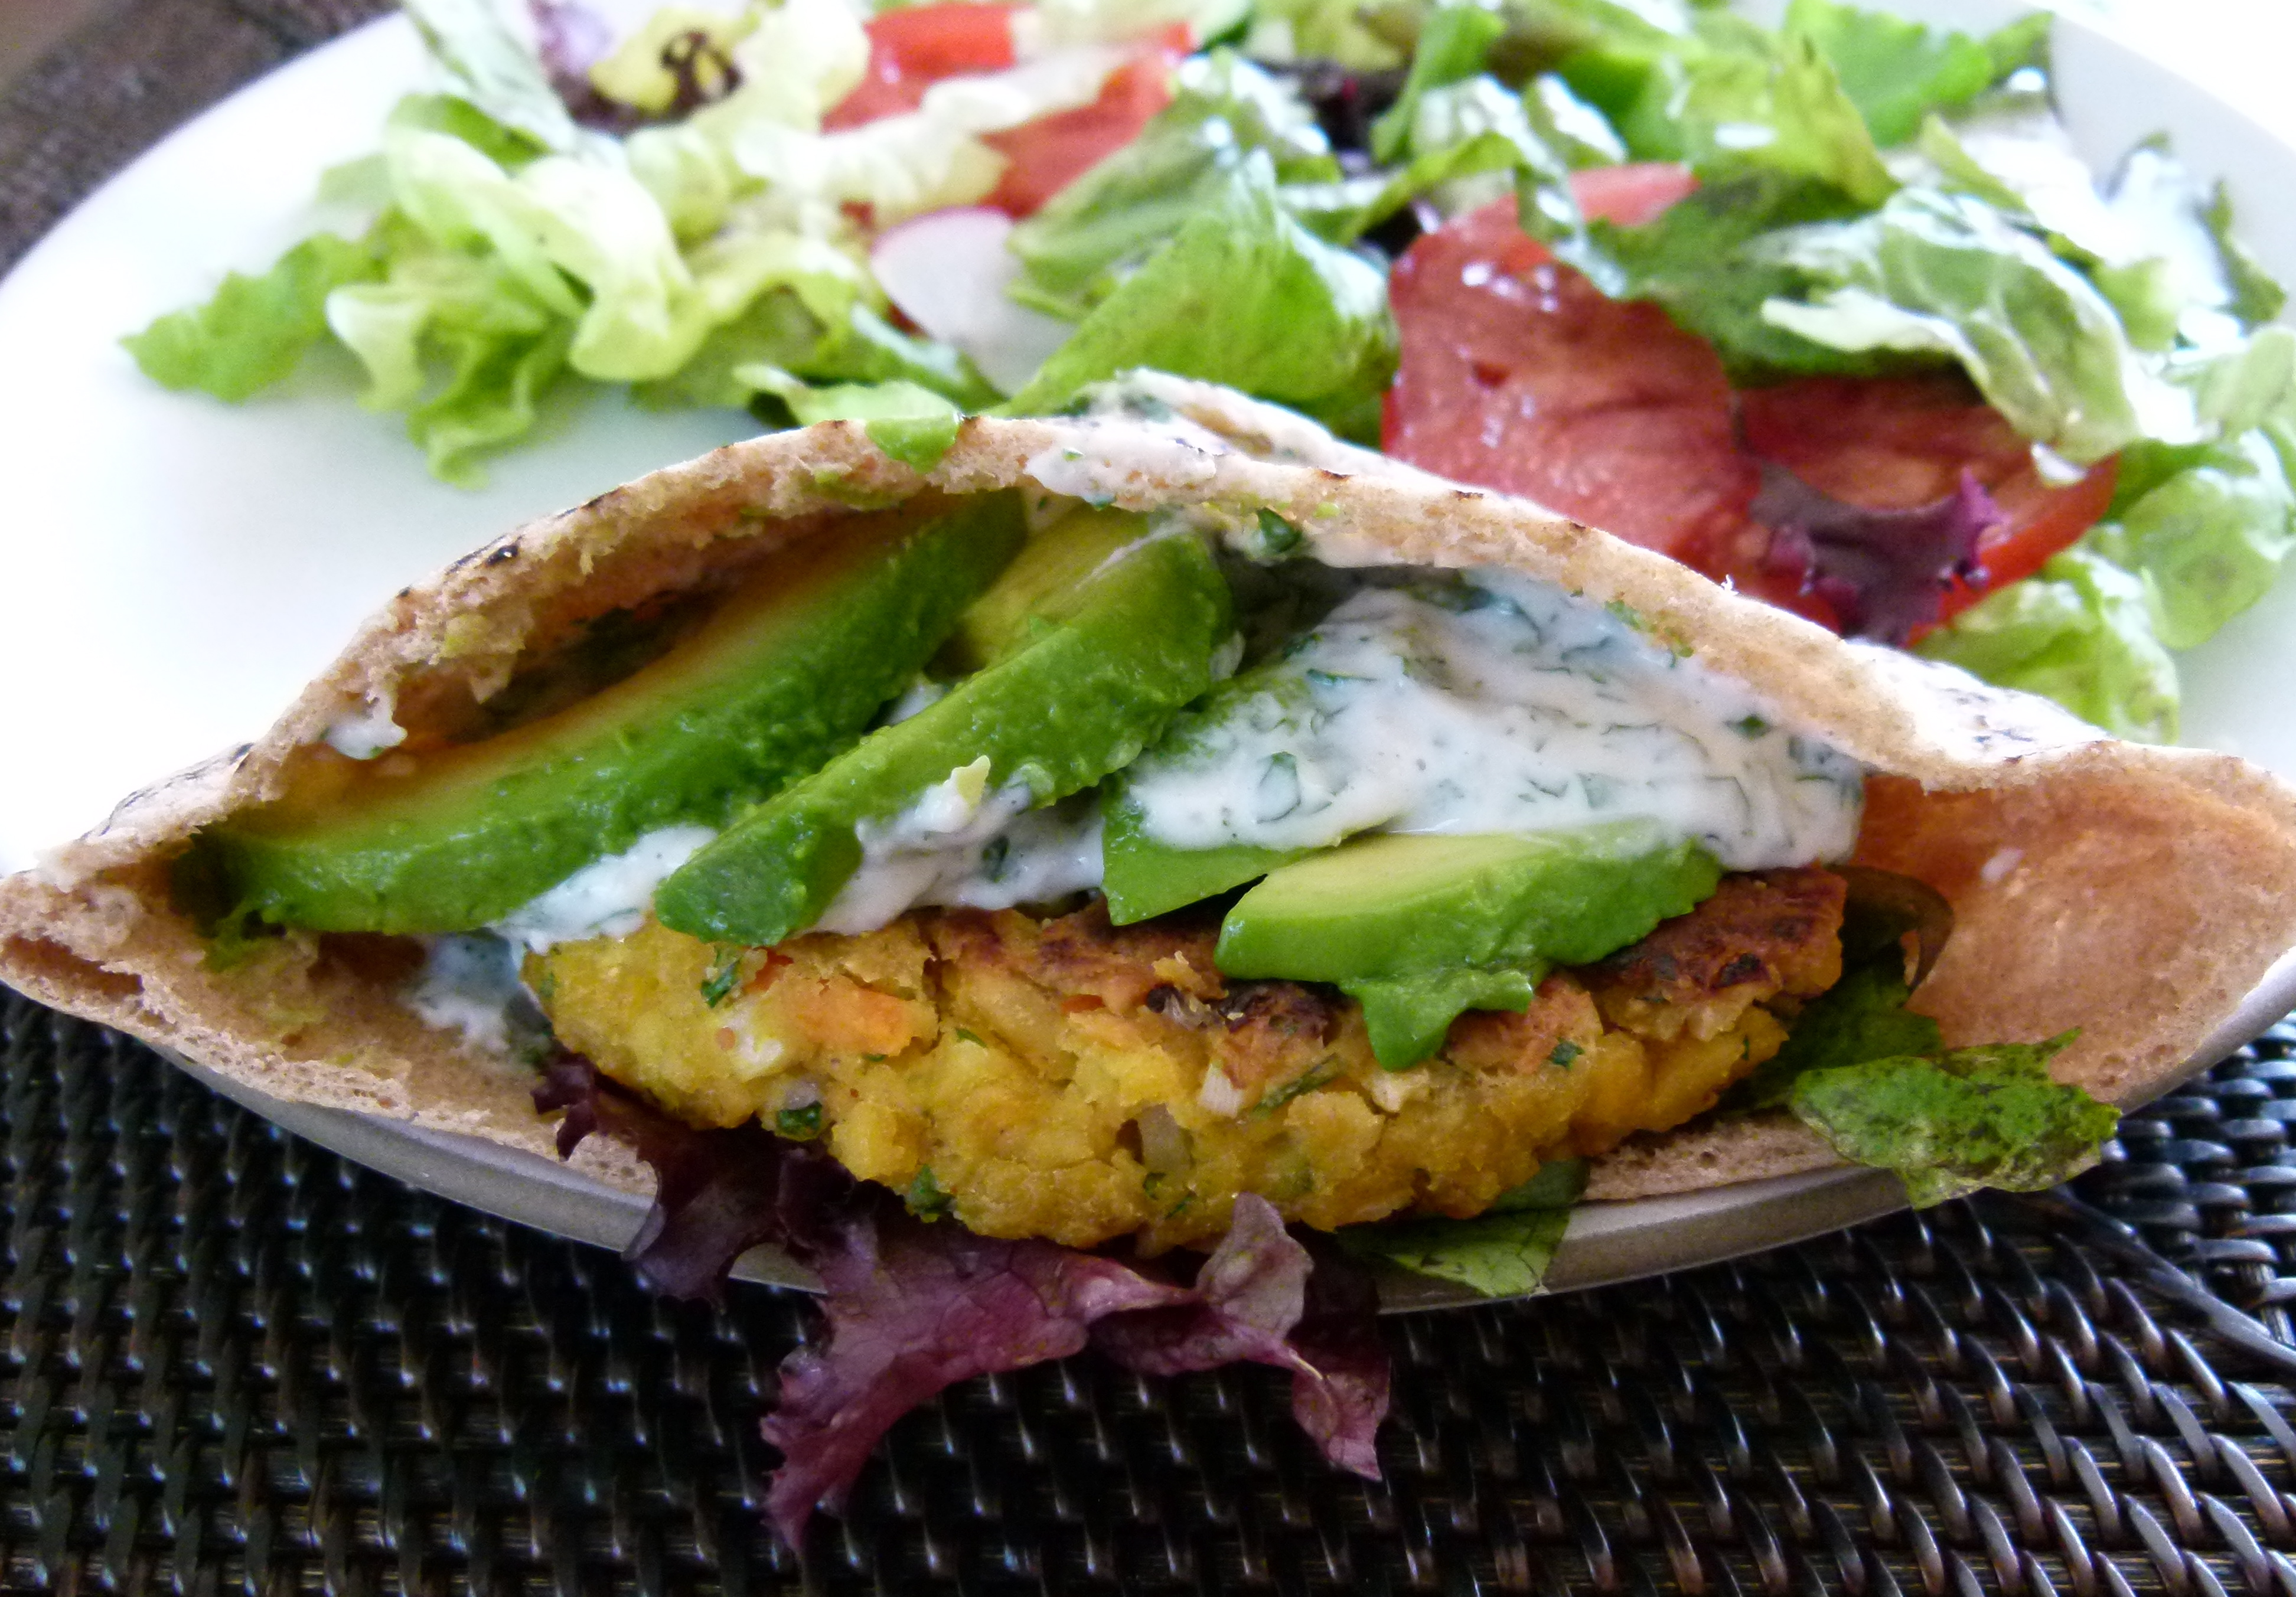
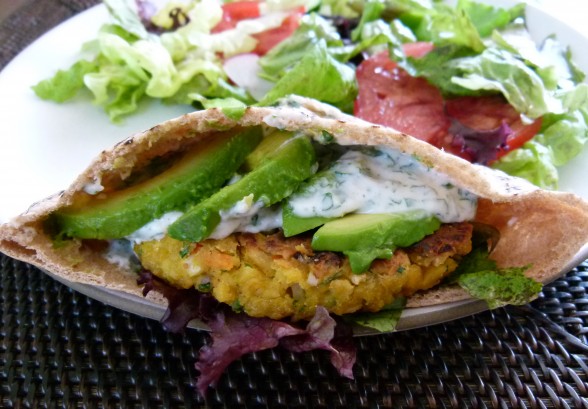
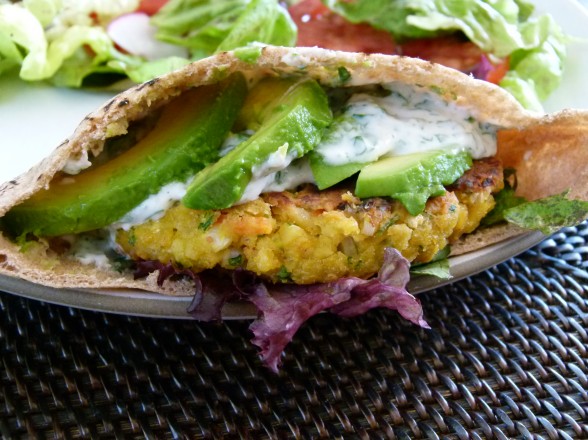
These chickpea burgers are a favorite of mine and my whole family, even Mr. Picky who I am pleased to announce tried one for the first time last week with ketchup.  Do what you’ve gotta do, friends.  They are definitely a far cry from falafel, though.  In fact, the only ingredients that falafel and these chickpea burgers have in common are chickpeas and cumin.  But if I do it right, they’re crispy on the outside, moist on the inside and with flavors that remind of falafel.  I usually eat veggie burgers sans bun since I find that they are plenty starchy without adding bread.  But when serving them to family and friends, I offer warmed, whole wheat pita halves and an array of yummy toppings including sprouts, avocado, tomato slices, lettuce, cooked onion and most importantly, a creamy and refreshing sauce.  In my opinion, it’s all about the condiments!

Chickpea burgers (and veggie burgers, in general) are fabulous for entertaining and for busy weeknights since they are best formed in advance and refrigerated so they firm up a bit.  Out of the fridge, they cook up in minutes on a hot griddle or skillet.  Once you realize how tasty these are, you’ll make a double batch and freeze half.  If you freeze them, just don’t forget to place a piece of wax or parchment in between each patty so that they don’t stick together (ask me how I know this.)  These burgers may not take you back to your last visit to the Mediterranean, but I hope they’ll keep you from visiting the freezer section of your supermarket!  Enjoy~


View this post on Instagram


A post shared by Pamela Salzman (@pamelasalzman)


4.8 from 5 reviews
Chickpea Burgers
Author: 
Serves: makes 8 patties
 
Ingredients
  • 4 cups cooked chickpeas, drained and rinsed if canned
  • 2 large eggs, preferably free-range
  • 2 cloves garlic, minced
  • 2 teaspoons sea salt
  • 2 teaspoon ground cumin
  • ½ teaspoon cayenne pepper (optional)
  • zest of 2 small or 1 super big lemon
  • ¼ cup flour (whole grain flour, cornmeal or almond meal all work)
  • 6 Tablespoons (or a heaping ⅓ cup) chopped parsley
  • 2 carrots, grated
  • ½ red onion, small dice
  • Oil or ghee for sautéing
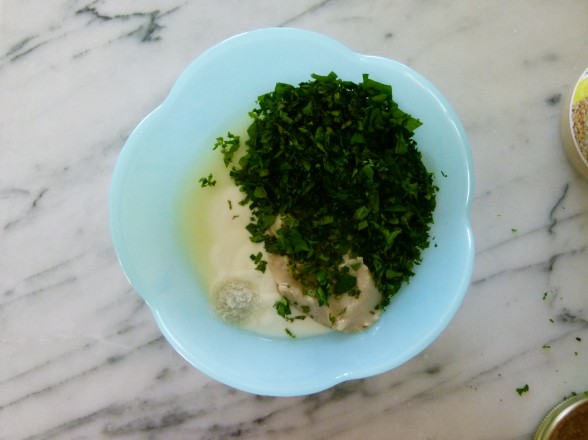
  • Yogurt-Tahini Sauce
  • ¾ cup plain yogurt (full fat or low fat)
  • 3 Tablespoons tahini
  • 1½ Tablespoons lemon juice
  • ½ cup chopped parsley, mint or a combo (my favorite)
  • ¼ - ½ teaspoon sea salt
  • Oil or ghee for sautéing
  • 4 6½ -inch whole wheat pitas, halved and warmed, if desired
  • Suggested accompaniments: sprouts, avocado, tomato, lettuce, grilled onions
Instructions
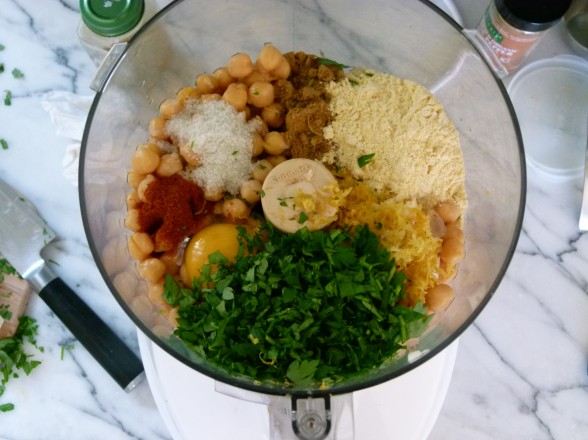
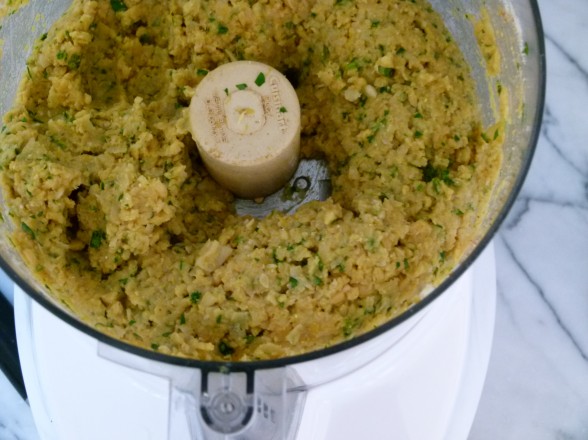
  1. Place the chickpeas, egg, garlic, salt, cumin, cayenne, lemon zest, flour and parsley in food processor. Pulse until a coarse mixture forms that holds together. It should be moist and sticky.
  2. Place chickpea mixture in a bowl and mix in grated carrot and red onion. Take a ½ cup of the mixture and firmly press it into a patty about 3 ½ inches in diameter and ¼ inch thick. You can also form these into mini-patties for appetizers. Place on a plate or a baking sheet and refrigerate for at least 30 minutes and up to overnight. Cover if refrigerating for more than a few hours.
  3. Heat a couple tablespoons of oil or ghee in a large skillet over medium heat until hot, but not smoking. Add patties to the skillet (do this in batches, if necessary) and cook until crisp and golden brown on the underside, about 6 minutes. Carefully turn over and cook until golden brown on the other side, about 3-5 minutes more.
  4. Serve with or without a warmed pita half or a hamburger bun and suggested toppings.


Spring Green Minestrone

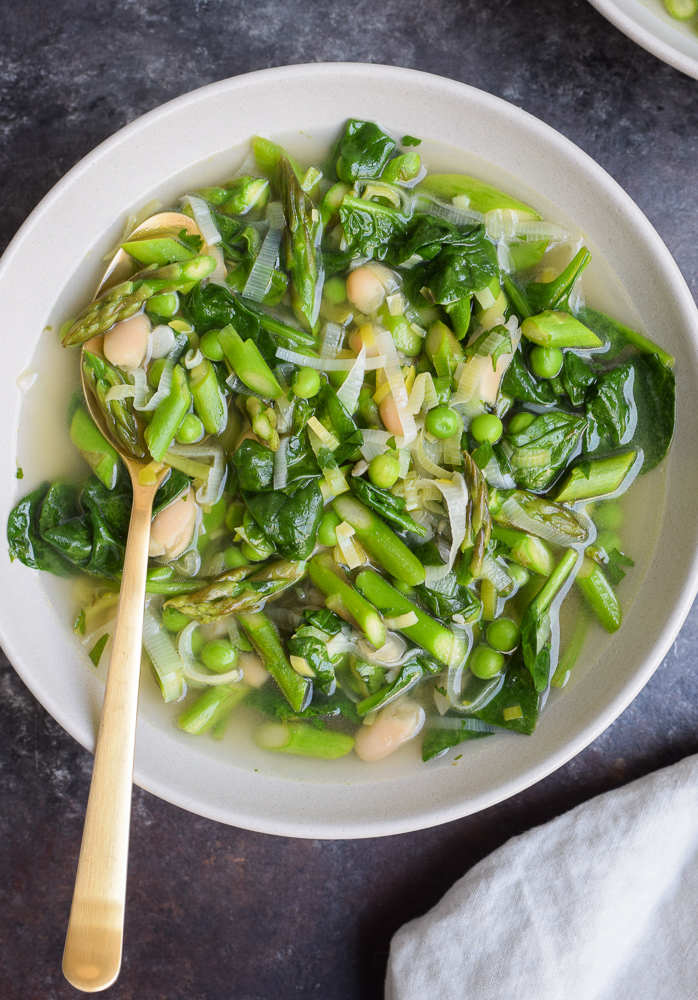
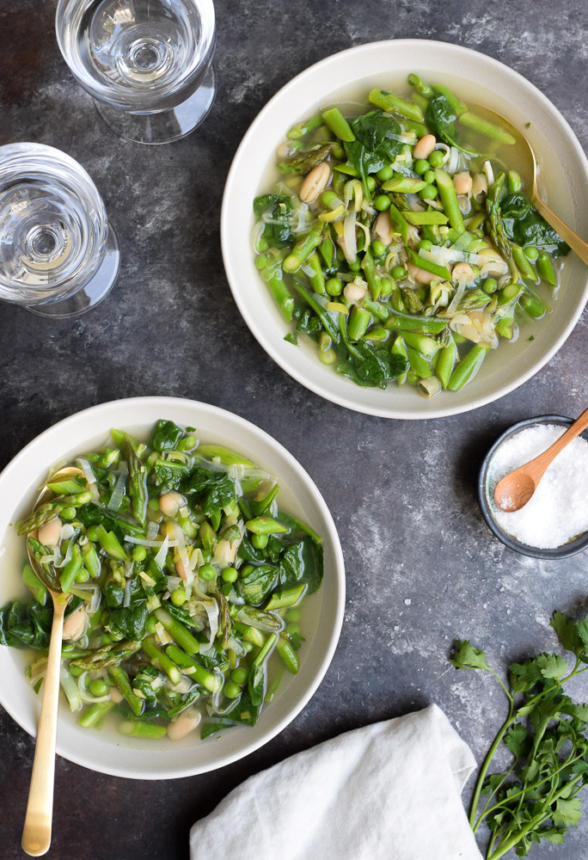
Spring Green Minestrone | Pamela Salzman

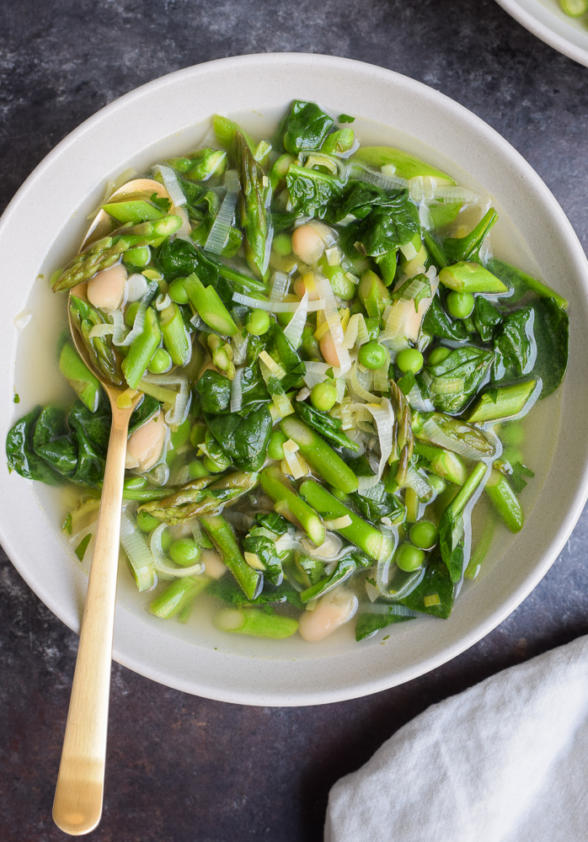
Spring Green Minestrone | Pamela Salzman

I had the best day on Saturday.  Where did I go?  Nowhere!  What did I do?  Nothing!  When was the last time you said you had the best time doing nothing?  I know!  Sometimes I feel like my life is like a runaway train. And although I enjoy its active pace, I wish I took more time to sloooooow down.  This past Saturday was going to be more of the same — squeezing in a workout, a big farmer’s market shop for my classes, watching Mr. Picky’s soccer and baseball games, and chauffeurring the girls here and there.  But the universe gave me a big gift in the form of a torrential rain storm and everything was canceled.  Thank you, thank you!

Mr. Picky stayed in his pajamas until 1:00 in the afternoon.  I read more of the newspaper than just the front page.  Daughter #1 and her adorable friend who spent the night would have normally met friends in town for breakfast, but hung around with us instead.  They played as much One Direction music as we could take, baked a cake, and photographed every move for their 2,000 Facebook “friends” to enjoy.  One thing for sure, I knew I would be making soup.  I had an extra bunch of asparagus from Friday’s class, white beans and peas in the freezer, and a small bag of spinach.  I had the makings of one of my favorites, Spring Green Minestrone.  This is the soup I make whenever Spring rolls around.  As much as I love hearty, chunky soups and stews, I like to leave those to the winter.  Lighter, fresher soups appeal to me now, but ones which still have the ability to warm me up.  And the combination of white beans and peas amounts to a complete protein, so I feel satisfied enough to eat this as a meal.  But it’s all that GREEN that really makes me feel nourished.

The ingredients in this soup look like they couldn’t amount to anything special — there’s no secret ingredient, no flavor boosters.  I’m even surprised when it turns out delicious.  And the recipe is so dead simple, you have no excuse NOT to make your vegetable stock from scratch.  This soup was one of the first cooked vegetable dishes that Mr. Picky actually ate a normal portion of.  Saturday was no different.   He dropped a piece of sourdough toast in his soup and ate every last pea.  My husband poured the usual Pecorino in his.  As for me, I embraced my bowl of springtime au naturel — perfect in its simplicity and which I ate really slooowly.  I needed to make this special day last.  Because although I heard it would rain again on Sunday, I knew that the chances of that happening were about as good as my kids getting a Coke with their lunch.  And sure enough, Sunday’s sunshine came with places to be and things to do, but I got back on the train rejuvenated and restored and ready for it all.

Spring Green Minestrone | Pamela Salzman


View this post on Instagram


A post shared by Pamela Salzman (@pamelasalzman)


5.0 from 1 reviews
Spring Green Minestrone
Author: 
Serves: 6
 
Ingredients
  • 2 Tablespoons unrefined, cold pressed, extra virgin olive oil
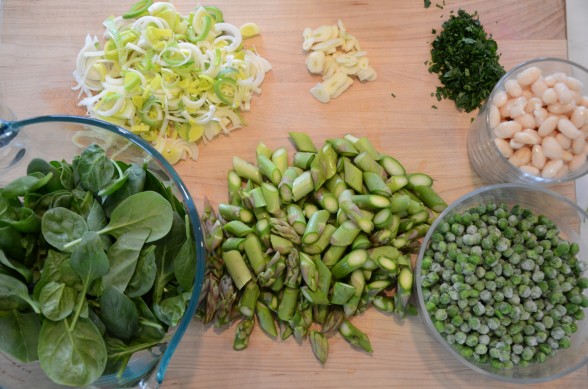
  • 2 leeks, washed well, white and light green parts sliced thinly
  • 4 cloves garlic, sliced thinly
  • 1 pound asparagus, trimmed and sliced on the diagonal into 1-inch pieces
  • 1 ½ cups fresh or frozen green peas
  • 2 Tablespoons chopped flat-leaf parsley
  • 6 cups vegetable stock or light chicken stock, preferably homemade
  • 1 ½ cups cooked white beans, such as Cannellini or Great Northern, or 1 15-ounce can, drained and rinsed
  • 2 teaspoons sea salt (more if your stock is unsalted)
  • 4 ounces baby spinach leaves
Instructions
  1. In a large pot, heat the olive oil over medium heat. Add the leeks and sauté until tender, about 5 minutes. Add the garlic and sauté another 2 minutes.
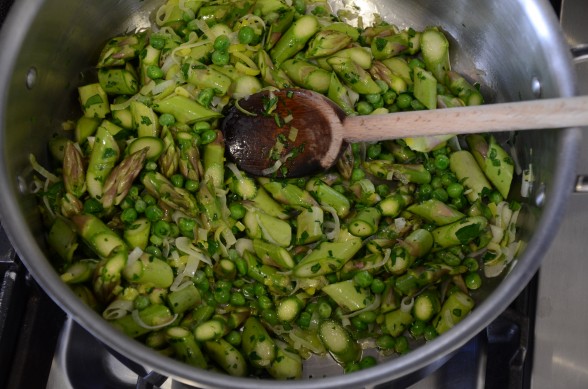
  2. Add the asparagus, peas and parsley and toss to coat with the oil, leeks and garlic. Pour in the stock, white beans, and sea salt. Bring to a boil and lower the heat to a simmer. Cook uncovered until the asparagus is just tender, about 5 minutes.
  3. Stir in the spinach leaves and taste for seasoning. Don't be disappointed, but that's all you have to do!
Notes
If you make your own stock, use the tops of your leeks and the woody ends from the asparagus that you might be inclined to compost or throw away.


Turkey Meatballs Recipe

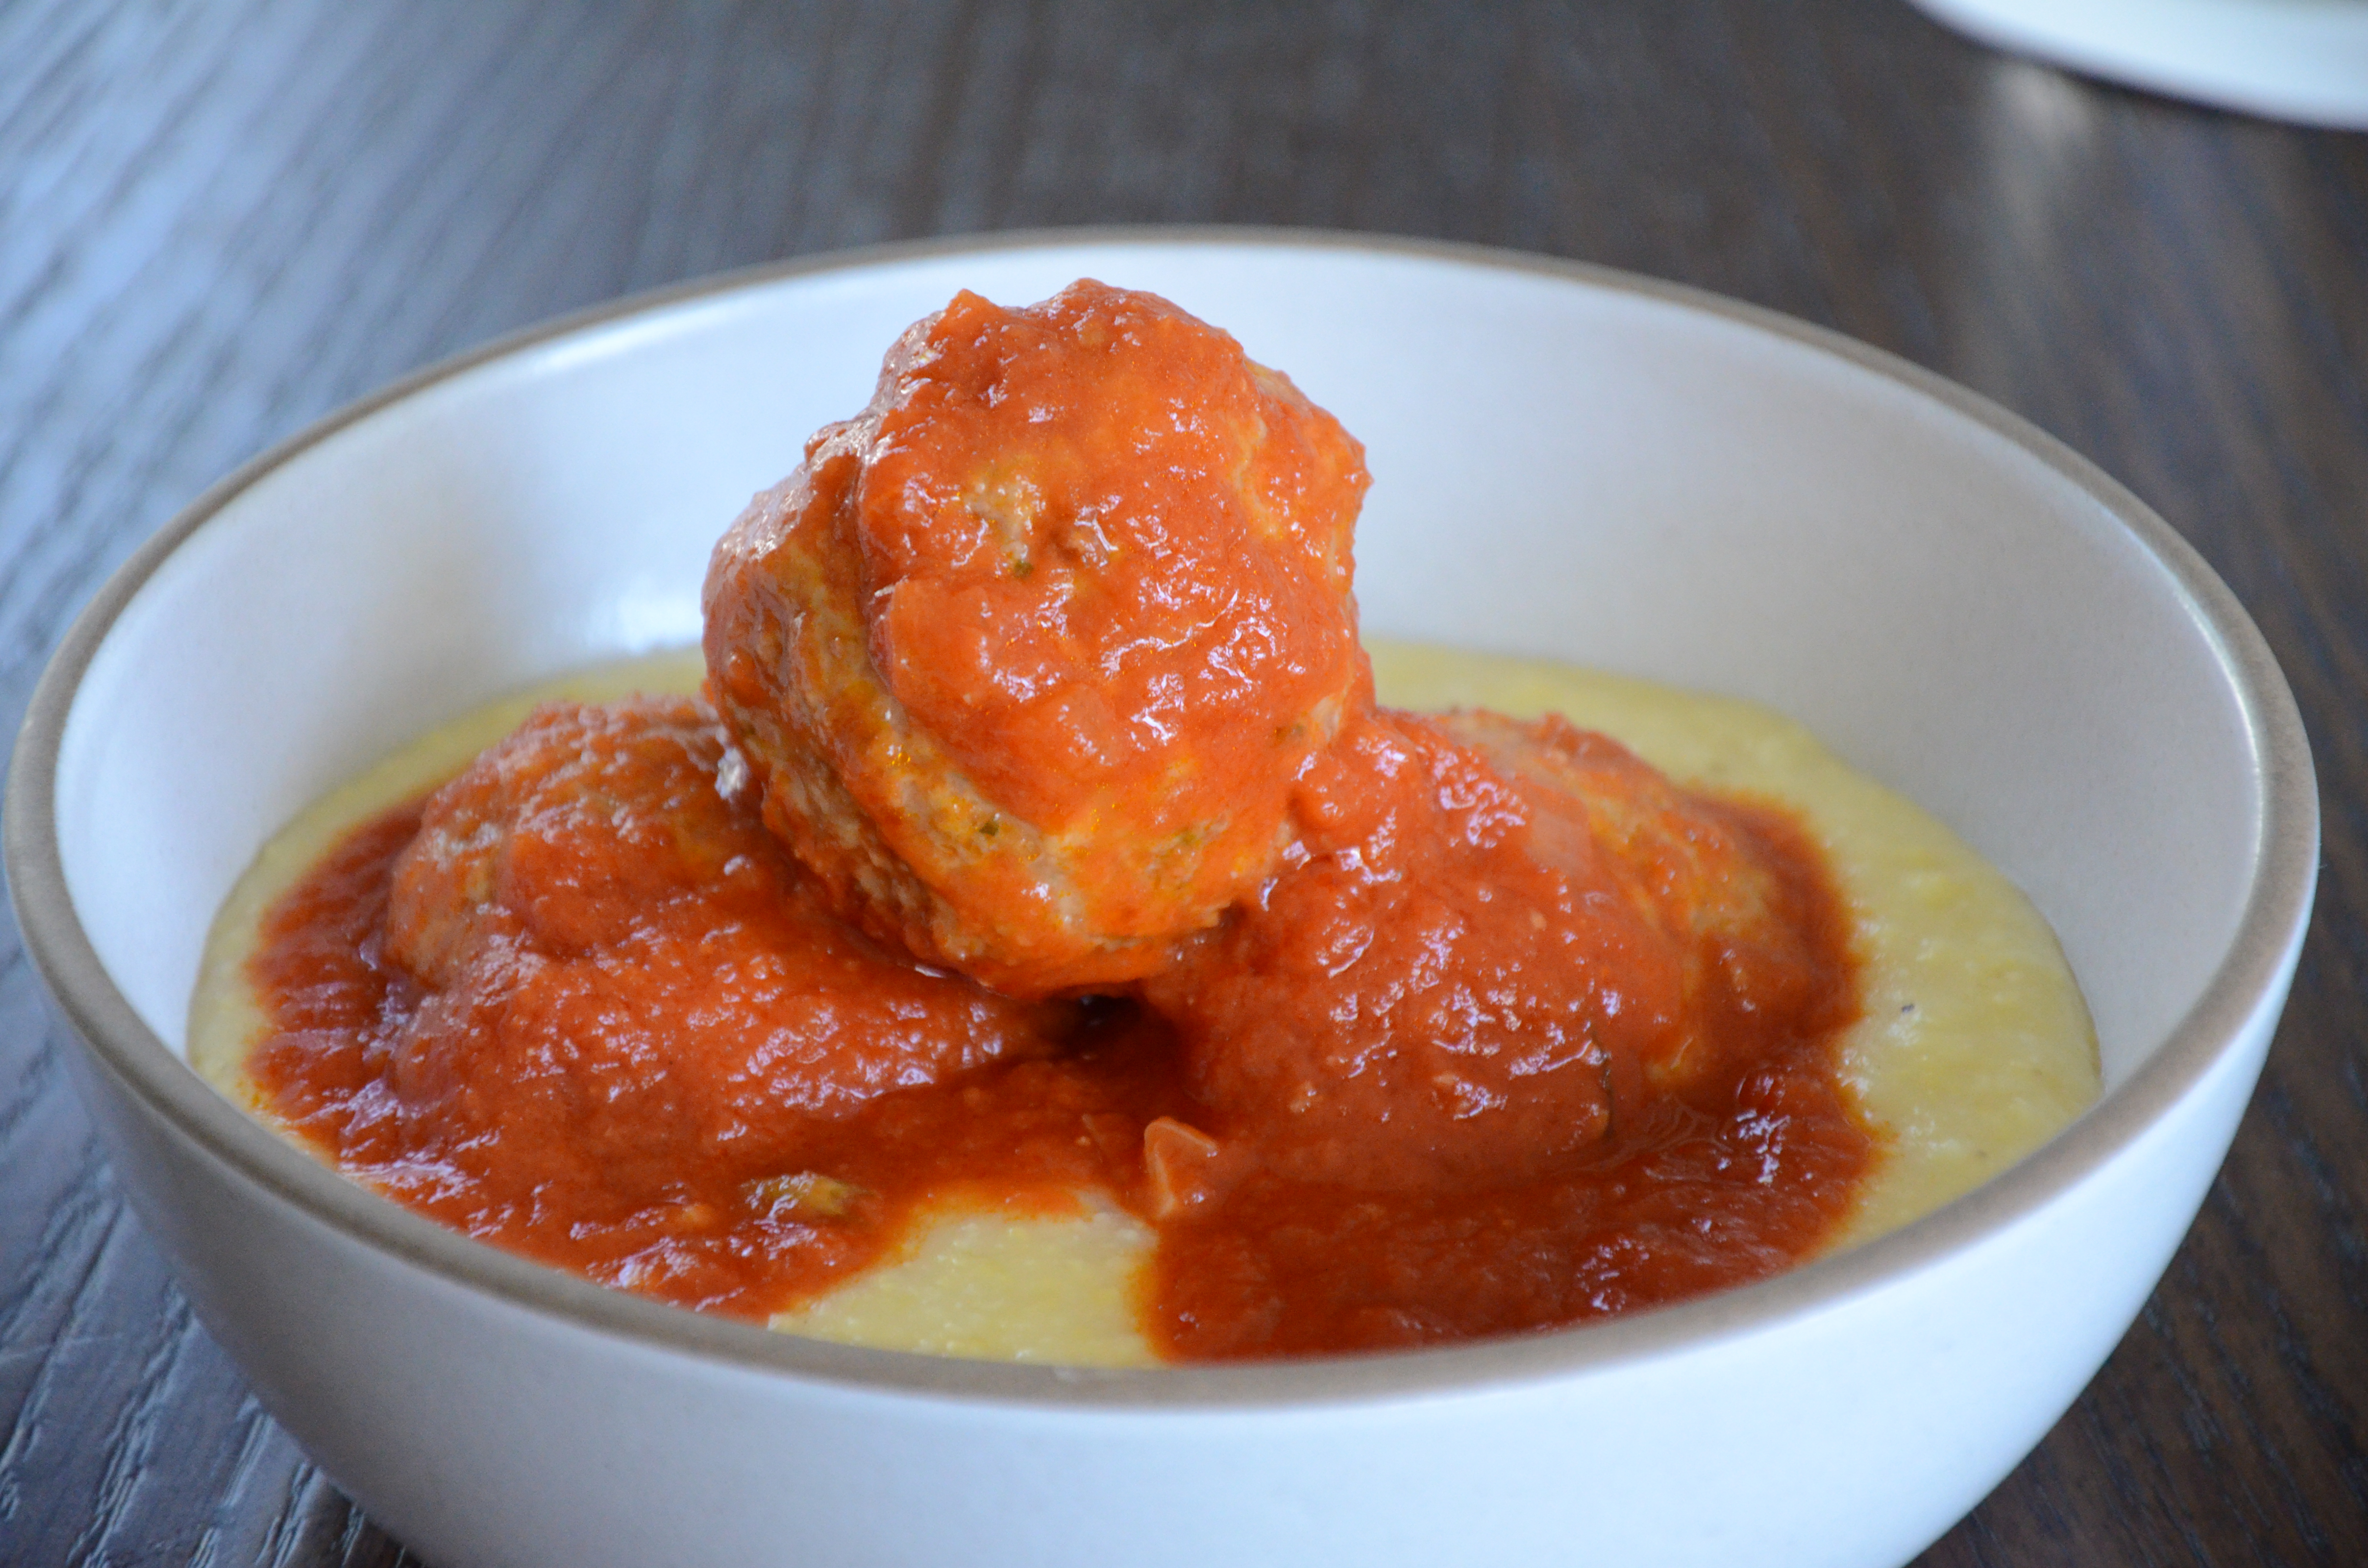
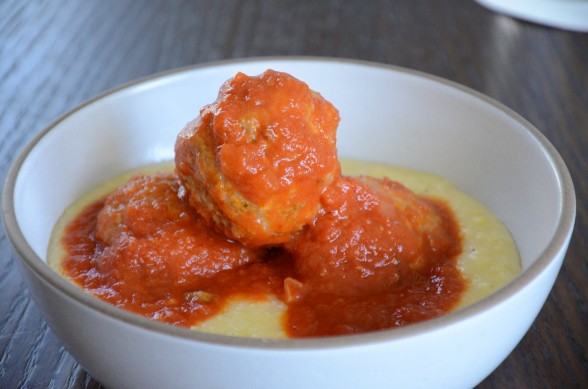
Have I shared with you that I don’t really like meat and poultry all that much?  It’s not even for ethical or health reasons.  I just don’t enjoy the texture and flavor of animal protein.  I was a pescatarian for about 8 years until I discovered I was slightly anemic, so I slooooowly started incorporating a little organic meat and poultry into my diet.  Maybe I eat 3-4 ounces a few times per week, just enough to help me feel a little stronger.  Before you think this is a post to convince you to eat animal protein, it’s not.  I’m not here to tell you what you should and shouldn’t eat.  Your body does an excellent job of that — you just have to listen.  The fact is that the rest of my family enjoys all types of meat and poultry and so does the majority of my students and their brood.  So I make sure I come up with at least one family-friendly meat or poultry recipe each month that I’ll enjoy, too.

One of the few meat dishes I will actually eat a normal serving size of is meatballs.  Is it that meatballs don’t completely resemble meat to me?  Or perhaps I enjoy them because they are generally swimming in marinara sauce, which I do love.   Regardless, meatballs are a favorite with many families and I had several requests for a turkey meatball recipe, so I gave it a go.  Substituting turkey for beef is not always straightforward.  Turkey doesn’t have the fat content or flavor that beef does, so I tend to use dark meat turkey and doctor it up a bit more by adding finely grated onion and fresh garlic.  Many meatball recipes add turkey sausage to the mix to add flavor and moisture.  You can do that, too, but I think it’s easier to just add 1/4 teaspoon of chopped dried fennel seeds to the mixture to get that unmistakable sausage flavor.  My daughters and I really liked it, but Mr. Picky gave it the thumbs down and his father, who grew up Jewish, said it made him “uncomfortable” to eat something that tasted like pork.  This is what I’m working with, people.

Here are some other suggestions for making a better meatball:

  • Bread crumbs really do help keep the meatballs tender.  I’ve used all sorts of bread here — spelt, gluten-free, a whole wheat onion hamburger bun.  You can make fresh bread crumbs by putting fresh bread in the food processor and processing it until you get crumbs.  Take those fresh bread crumbs and bake them in the toaster oven or regular oven for dried.  Of course you can buy dried at the store, too.
  • Bread-free?  I have substituted COOKED quinoa one for one with the bread crumbs and they tasted great, but “leaked” a little while baking. I also tried rolled oats once and my family thought I was taking it too far.  Rejected!
  • Flavor boosters:  Besides grated onion and garlic, I have used finely diced shiitake mushroom in place of the onion, chopped dried fennel seed, fresh basil and red chili flakes.
  • Forming with your hands:  Turkey meat can be sticky.  Putting a little water or oil on your hands can help make shaping the meatballs easier.
  • Baking vs. Frying:  Baking will not give you the brown crust on the meat that frying does, but it is much more healhtful.  Plus baking is 10 times easier to clean up!
  • Round Balls:  I have a thing against flat-bottomed balls.  So I allow the meatballs to sit in the fridge for an hour and then my OCD kicks in and I reroll them before they go into the sauce, so I get perfectly round balls, just the way I like ’em.  Shall we stop there?

5.0 from 6 reviews
Turkey Meatballs
Author: 
Serves: makes 22
 
Ingredients
  • FOR THE MEATBALLS:
  • 2 eggs
  • ½ onion, finely grated (use a coarse microplane, a food processor or a box grater)
  • ½ cup dry whole grain bread crumbs
  • 1 cup fresh whole grain bread crumbs (2 slices of bread, crusts removed)
  • ⅔ cup grated Pecorino or Parmigiano cheese
  • 2 pounds ground dark meat turkey
  • 1 ½ Tablespoons finely chopped parsley
  • 2 cloves garlic, finely chopped
  • 1 ½ teaspoons sea salt
  • Freshly ground black pepper to taste
  • FOR THE SAUCE:
  • ¼ cup unrefined, cold-pressed extra-virgin olive oil
  • 1 large onion, finely diced
  • 2 garlic cloves, finely chopped
  • 4 pounds fresh, ripe tomatoes, peeled, seeded and diced or 2 28-ounce containers of crushed tomatoes
  • 1 7-ounce jar of tomato paste (optional, for a richer, thicker sauce)
  • Sea salt
  • A few leaves (a small handful) of fresh basil, thinly sliced
Instructions
  1. Preheat oven to 350 degrees if you’re going to bake the meatballs right away. Line a baking sheet with parchment paper.
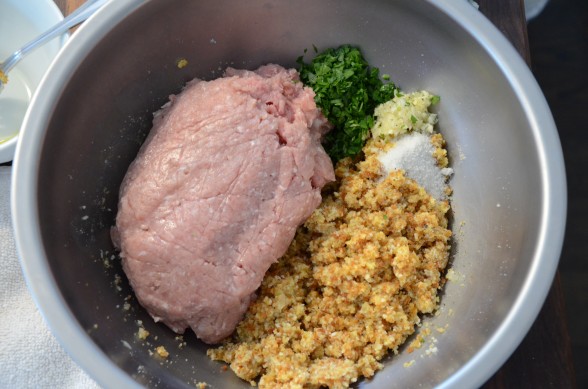
  2. In a large bowl, beat eggs with onion, both bread crumbs and cheese. Add remaining ingredients and mix well until everything is well incorporated.
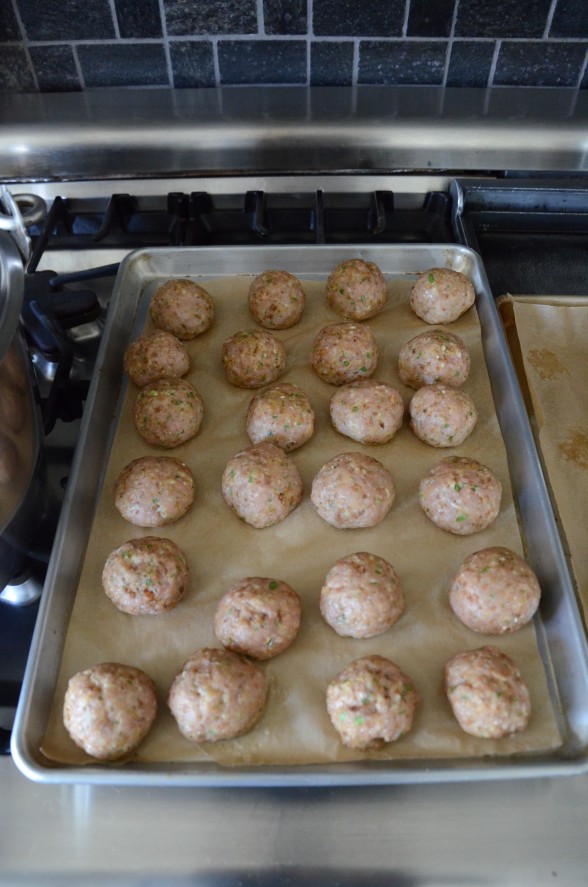
  3. Gently (don't pack the meat) form mixture into meatballs with your hands. You can use a medium ice cream scooper to help portion out the same amount for each meatball. Place meatballs on prepared baking sheet. If you have time, place the sheet pan in the refrigerator for an hour or longer. Cover them if they will be in there longer. The meatballs hold their shape better if you can refrigerate them.
  4. In a medium saucepan, heat the olive oil over medium-low heat. Add the onions and sauté gently until softened, about 10 minutes. Add the garlic and cook another minute.
  5. Add the tomatoes and tomato paste with 2 generous pinches of sea salt and bring to a simmer. Cover the sauce and simmer for about 20 minutes. Taste for seasoning.
  6. Bake the meatballs in preheated oven for 20 minutes or until barely cooked through.
  7. Puree about half the sauce with an immersion blender or pass through a food mill. Put the sauce back into the saucepan.
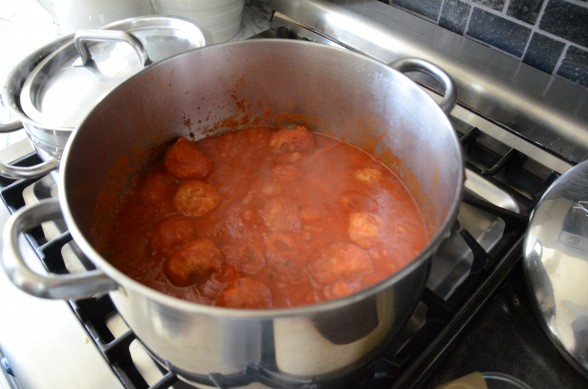
  8. Add the basil and simmer for another 2 minutes. Add the meatballs, cover and simmer over low heat for 25 to 30 minutes until cooked through.
Notes
Meatballs freeze incredibly well and come in handy for a dinner for one or school lunches since you can pull a few out of the freezer and reheat them in sauce really easily. For this reason alone, it's worth convincing your kids to take a thermos to school.


“Special occasion” chicken pot pie and other ideas for a delicious Valentine’s Day

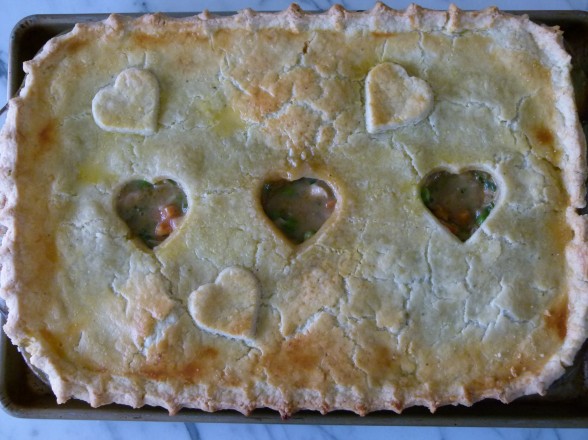
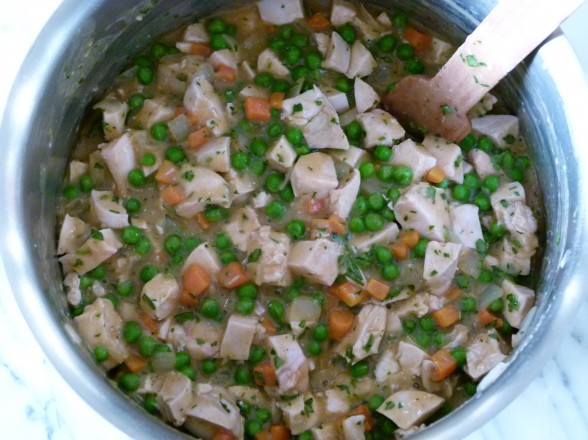
Chicken pot pie is one of my family’s favorite meals and this recipe, adapted from The Loaves and Fishes Cookbook, is the best one I’ve ever tried.  Pot pie falls in my “10%,” that is 90% of the time I try to eat as whole and clean as possible, and the other 10% is what it is.  For the last 15 or so years, I have made pot pie once a year and when I do, my son always asks me, “is it a special occasion?”  Many years ago, my younger daughter and I hosted a mother-daughter Valentine’s Day dinner at our home and we made a few of these pot pies with hearts cut out of the crust.  Since then, we decided to make this our family’s Valentine’s Day tradition.


Chicken Pot Pie is really comfort food at it’s best.  It’s a perfect winter dinner and I’ve never met a chicken-eating child (even Mr. Picky) or adult that didn’t think this particular recipe was just delicious.  Most pot pies are a blend of chunks of chicken meat and vegetables in a savory, tasty mixture and topped with a crust of sorts.  Usually I make a savory pastry crust, but in a pinch I have made a drop biscuit batter and topped the casserole with that.  Even though this recipe is pretty perfect as is, I think you can have equal success with leftover turkey, adding in different vegetables such as parsnips or turnips, or using store-bought pastry crust or puff pastry.

Pot pie is definitely not something you can decide at 6:00 pm that you would like to make for dinner and expect to sit down at 6:30.  But even if you are typically out of the house  in the few hours before dinner, there is no reason to be discouraged from making this recipe on a weeknight.  You just need to plan ahead and follow a few of these tips:

  • You can use pre-cooked chicken from a rostisserie or whole roasted chicken and shred the meat the day before.
  • You can chop your carrots and onions the day before or make the entire filling the day before and pour it into your casserole dish and refrigerate it, covered until you’re ready to bake.
  • You can make your pie crust a few days before.  Allow it to sit out of the refrigerator for about 20 minutes before rolling it out.  Or you can roll out the whole thing, lay it on parchment or plastic wrap and fold it in quarters to store it in the fridge.
  • Pot pie freezes very nicely, well wrapped.  It is best to thaw it for 24 hours in the refrigerator before baking.
  • If you use store-bought crust, defrost the crust before laying it on the casserole.
  • Puff pastry is also an easy way to cover the casserole.  Follow the directions on the box.
  • You can also use drop biscuits to cover instead of a crust.
I actually debated whether or not to post Chicken Pot Pie at all since it is not completely consistent with both the way I eat and the kind of food I teach in my classes.  But what I do try to encourage is cooking from scratch and with love and eating together as much as possible.  And I think we can agree that there’s as much to gain from those habits as there is from vitamins and antioxidants.
 
 
Chicken Pot Pie not your thing?  Here are some other ideas for making everyone feel a little extra love on Valentine’s Day:
 
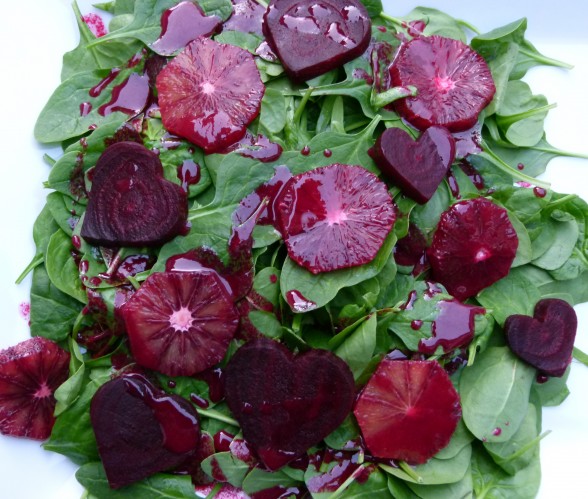
  • Check out the recipe for Salmon with Roasted Beets and Blood Oranges.  You can make the recipe as is, or you can slice the cooked beets into 1/4-inch slices and cut out hearts with a heart-shaped cookie cutter.  Heart-shaped beets are an adorable addition to any salad.  See next idea for what to do with the leftover beet scraps.
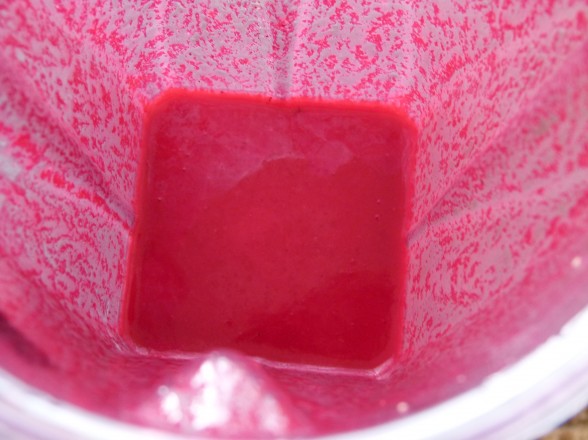
  • For a shocking, hot pink vinaigrette, place 1/4 cup of chopped, cooked beet pieces in a blender with your favorite vinaigrette ingredients and process until completely blended.  Pick up some cooked beets from the supermarket salad bar to save time.  In this picture I used Everyday Salad Dressing #2, but stirred in the shallots after the vinaigrette was completely blended with the beets.  My kids freaked for it!
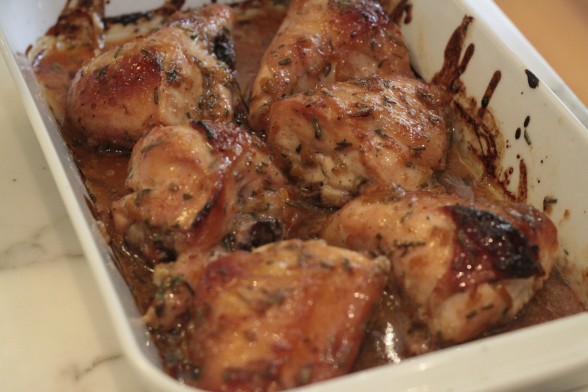
  • Orange and Rosemary-Glazed Chicken — Easy, delicious and fool-proof.  Serve with a rice pilaf with dried cranberries and a green vegetable like broccoli or spinach.
  • Fish in parchment — Season halibut with salt and pepper.  Add a dollop of pesto or slivered basil leaves and some halved cherry tomatoes.  Serve with Lemon and Cumin-Scented Quinoa or roasted potatoes and sauteed kale or roasted cauliflower.
  • Spice-Rubbed Wild Salmon served with baked sweet potato wedges and steamed asparagus with that fun pink vinaigrette.
  • Whole Roasted Chicken — comfort food at its simplest.  Serve with roasted root vegetables and green salad.
  • Chicken Paillard — serve with roasted cherry tomatoes instead of fresh.
  • Pantry Pasta with meatballs and a green salad
  • Chicken Noodle Soup with pasta hearts — cook lasagne noodles and cut out hearts with cookie cutter.  Add to soup.
  • Raspberry Sauce — Make a simple syrup by combining 1/3 cup water and 1/4 cup sucanat, coconut palm sugar or natural cane sugar in a small saucepan over medium heat.  Stir the mixture until sugar is dissolved.  Place 5 ounces (about 1 cup) frozen raspberries and simple syrup in blender.  Blend until smooth.  Strain if you don’t like seeds.  I like to serve the sauce with fresh raspberries on top of heart-shaped French toast, pancakes or ice cream.  Heart-shaped pancakes are not realistic for more than two people.  Heart-shaped French toast is great for a larger brood.
  • Cut a heart out of a piece of bread for sandwiches or toast.  Toast the hearts and use as croutons.
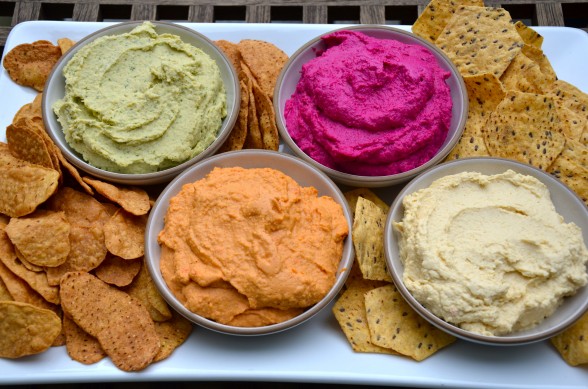
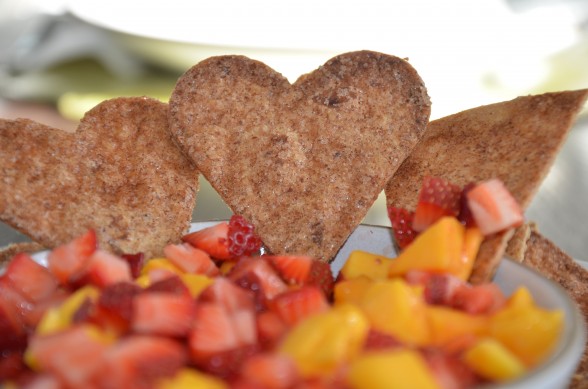
  • Hot pink hummus with heart-shaped chips — check here for how to make baked tortilla chips, but use a heart-shaped cookie cutter instead of cutting the tortillas into wedges.  Same basic steps to make pita chips.
  • Chocolate Fondue — Set a heat-proof bowl over a pan of simmering water.  Add 12 ounces of chopped dark, bittersweet or semisweet chocolate and 3/4 cup heavy cream.  Whisk until chocolate is melted.   Serve with fresh strawberries, apple wedges, or chunks of banana.  Always a hit for minimal effort!
  • Chocolate Chip Oatmeal Cookies — makes a great Valentine gift!
Do you have any favorite Valentine foods?  Please share!
 
5.0 from 1 reviews
"Special Occasion" Chicken Pot Pie
Author: 
Serves: 8
 
Ingredients
  • PASTRY
  • 2 cups unbleached all-purpose flour
  • ½ teaspoon sea salt
  • ¼ teaspoon freshly ground black pepper
  • 12 Tablespoons (1 ½ sticks) unsalted butter, cut into pieces
  • 1 Tablespoon fresh lemon juice
  • ¼ cup ice water
  • FILLING
  • 3 pounds boneless, skinless chicken breasts (or equivalent amount of cooked chicken, shredded or chopped into bite-size pieces)
  • ½ cup (1 stick) unsalted butter
  • 2 medium onions, peeled and chopped
  • 3 carrots, peeled and diced
  • ½ cup unbleached all-purpose flour
  • 1 ½ teaspoons sea salt
  • 1 teaspoon paprika
  • 4 cups chicken stock
  • 1 teaspoon Worcestershire sauce
  • 1 10-ounce package frozen peas, thawed
  • ½ cup chopped fresh parsley
  • 1 egg yolk
  • 1 Tablespoons heavy cream or whole milk
Instructions
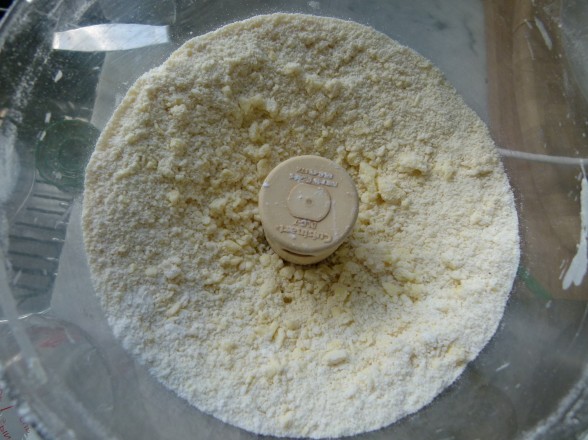
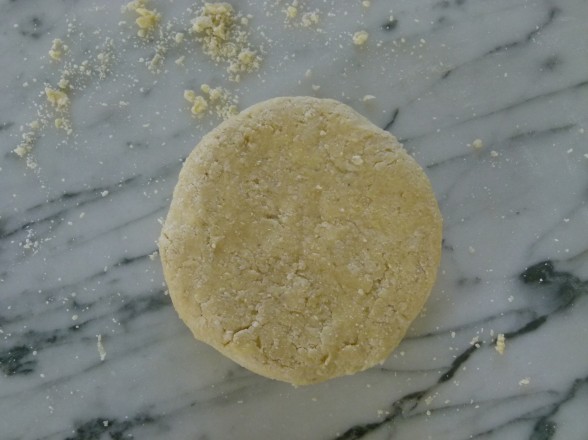
  1. To make the pastry, place the flour, salt, pepper and butter in the bowl of a food processor fitted with the metal blade. Pulse 5 times. Add the lemon juice and water and turn on the machine for 3 seconds. Using your hands, scrape the dough onto a floured surface and work it together into a smooth ball. Cover with parchment paper or plastic wrap and chill for 30 minutes.
  2. Preheat the oven to 375 degrees.
  3. To cook chicken: bring a large pot of water to a boil and add chicken breasts. Simmer for 7-8 minutes. Drain. Save the pot for later use. When chicken is cool enough to handle, cut into bite-size pieces and add back to pot. It is fine if the chicken is not cooked all the way through. Set aside.
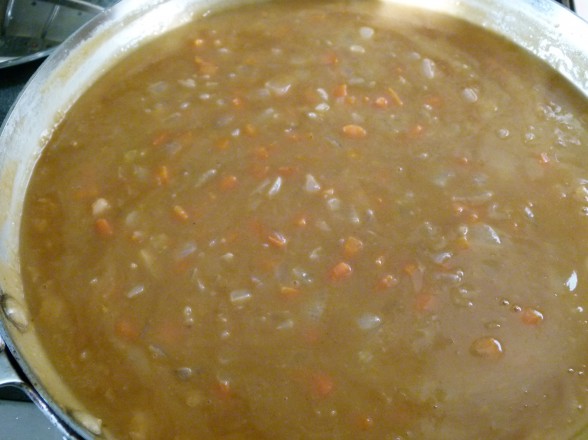
  4. Heat butter in a large skillet over medium heat. Add onion and carrot and sauté until onion is translucent. Add the flour and sauté for 3 minutes over medium-low heat, stirring constantly. Add the salt and paprika. Mix well. Add the chicken stock gradually while stirring and bring to a boil. Stir in the Worcestershire sauce. Taste the mixture for seasoning and add extra salt and pepper if needed.
  5. Add peas, parsley and onion-carrot mixture to chicken in the pot and combine well. Transfer to a 13 x 9–inch casserole dish.
  6. Roll out the pastry dough 1-inch larger than the area of the casserole dish. Cut hearts from the dough with cookie cutter, if desired, otherwise make a few small slits in the dough for steam to escape. Place the dough on top of the filling and crimp the edges.
  7. Beat the egg yolk with the cream and brush the top of the pastry with the mixture. Place dish on top of a baking sheet and bake for 50-60 minutes or until golden brown.
Notes
You can cut this recipe in half and bake it in an 8 x 8-inch pan. You can also make individual pot pies in oven-proof bowls or large ramekins.


Green Goddess Salad

I just spent a lovely four days in Park City, Utah enjoying the clean air and the peace and quiet (outdoors, of course; indoors I have my three kids and two of their friends, so no peace and quiet in the house from noon ’til midnight.)  There are no televisions and I insist that the kids leave the phones in their bedrooms so we can hike and dine without the ping of 6 iPhones.  Heaven.

Of course, with travel comes a deviation from eating the way I like to eat.  I consumed a little too much guacamole and chips a little too late at night, and then someone tried to torture me by buying a container of Justin’s Chocolate Hazelnut Butter.  I had mentioned it was like a more healthful Nutella, not that it was actually healthful.  By the end, I missed my juicer and my garden and all I wanted to eat were salads and vegetables.  In fact, I was craving this Green Goddess Salad while I was on the plane home.

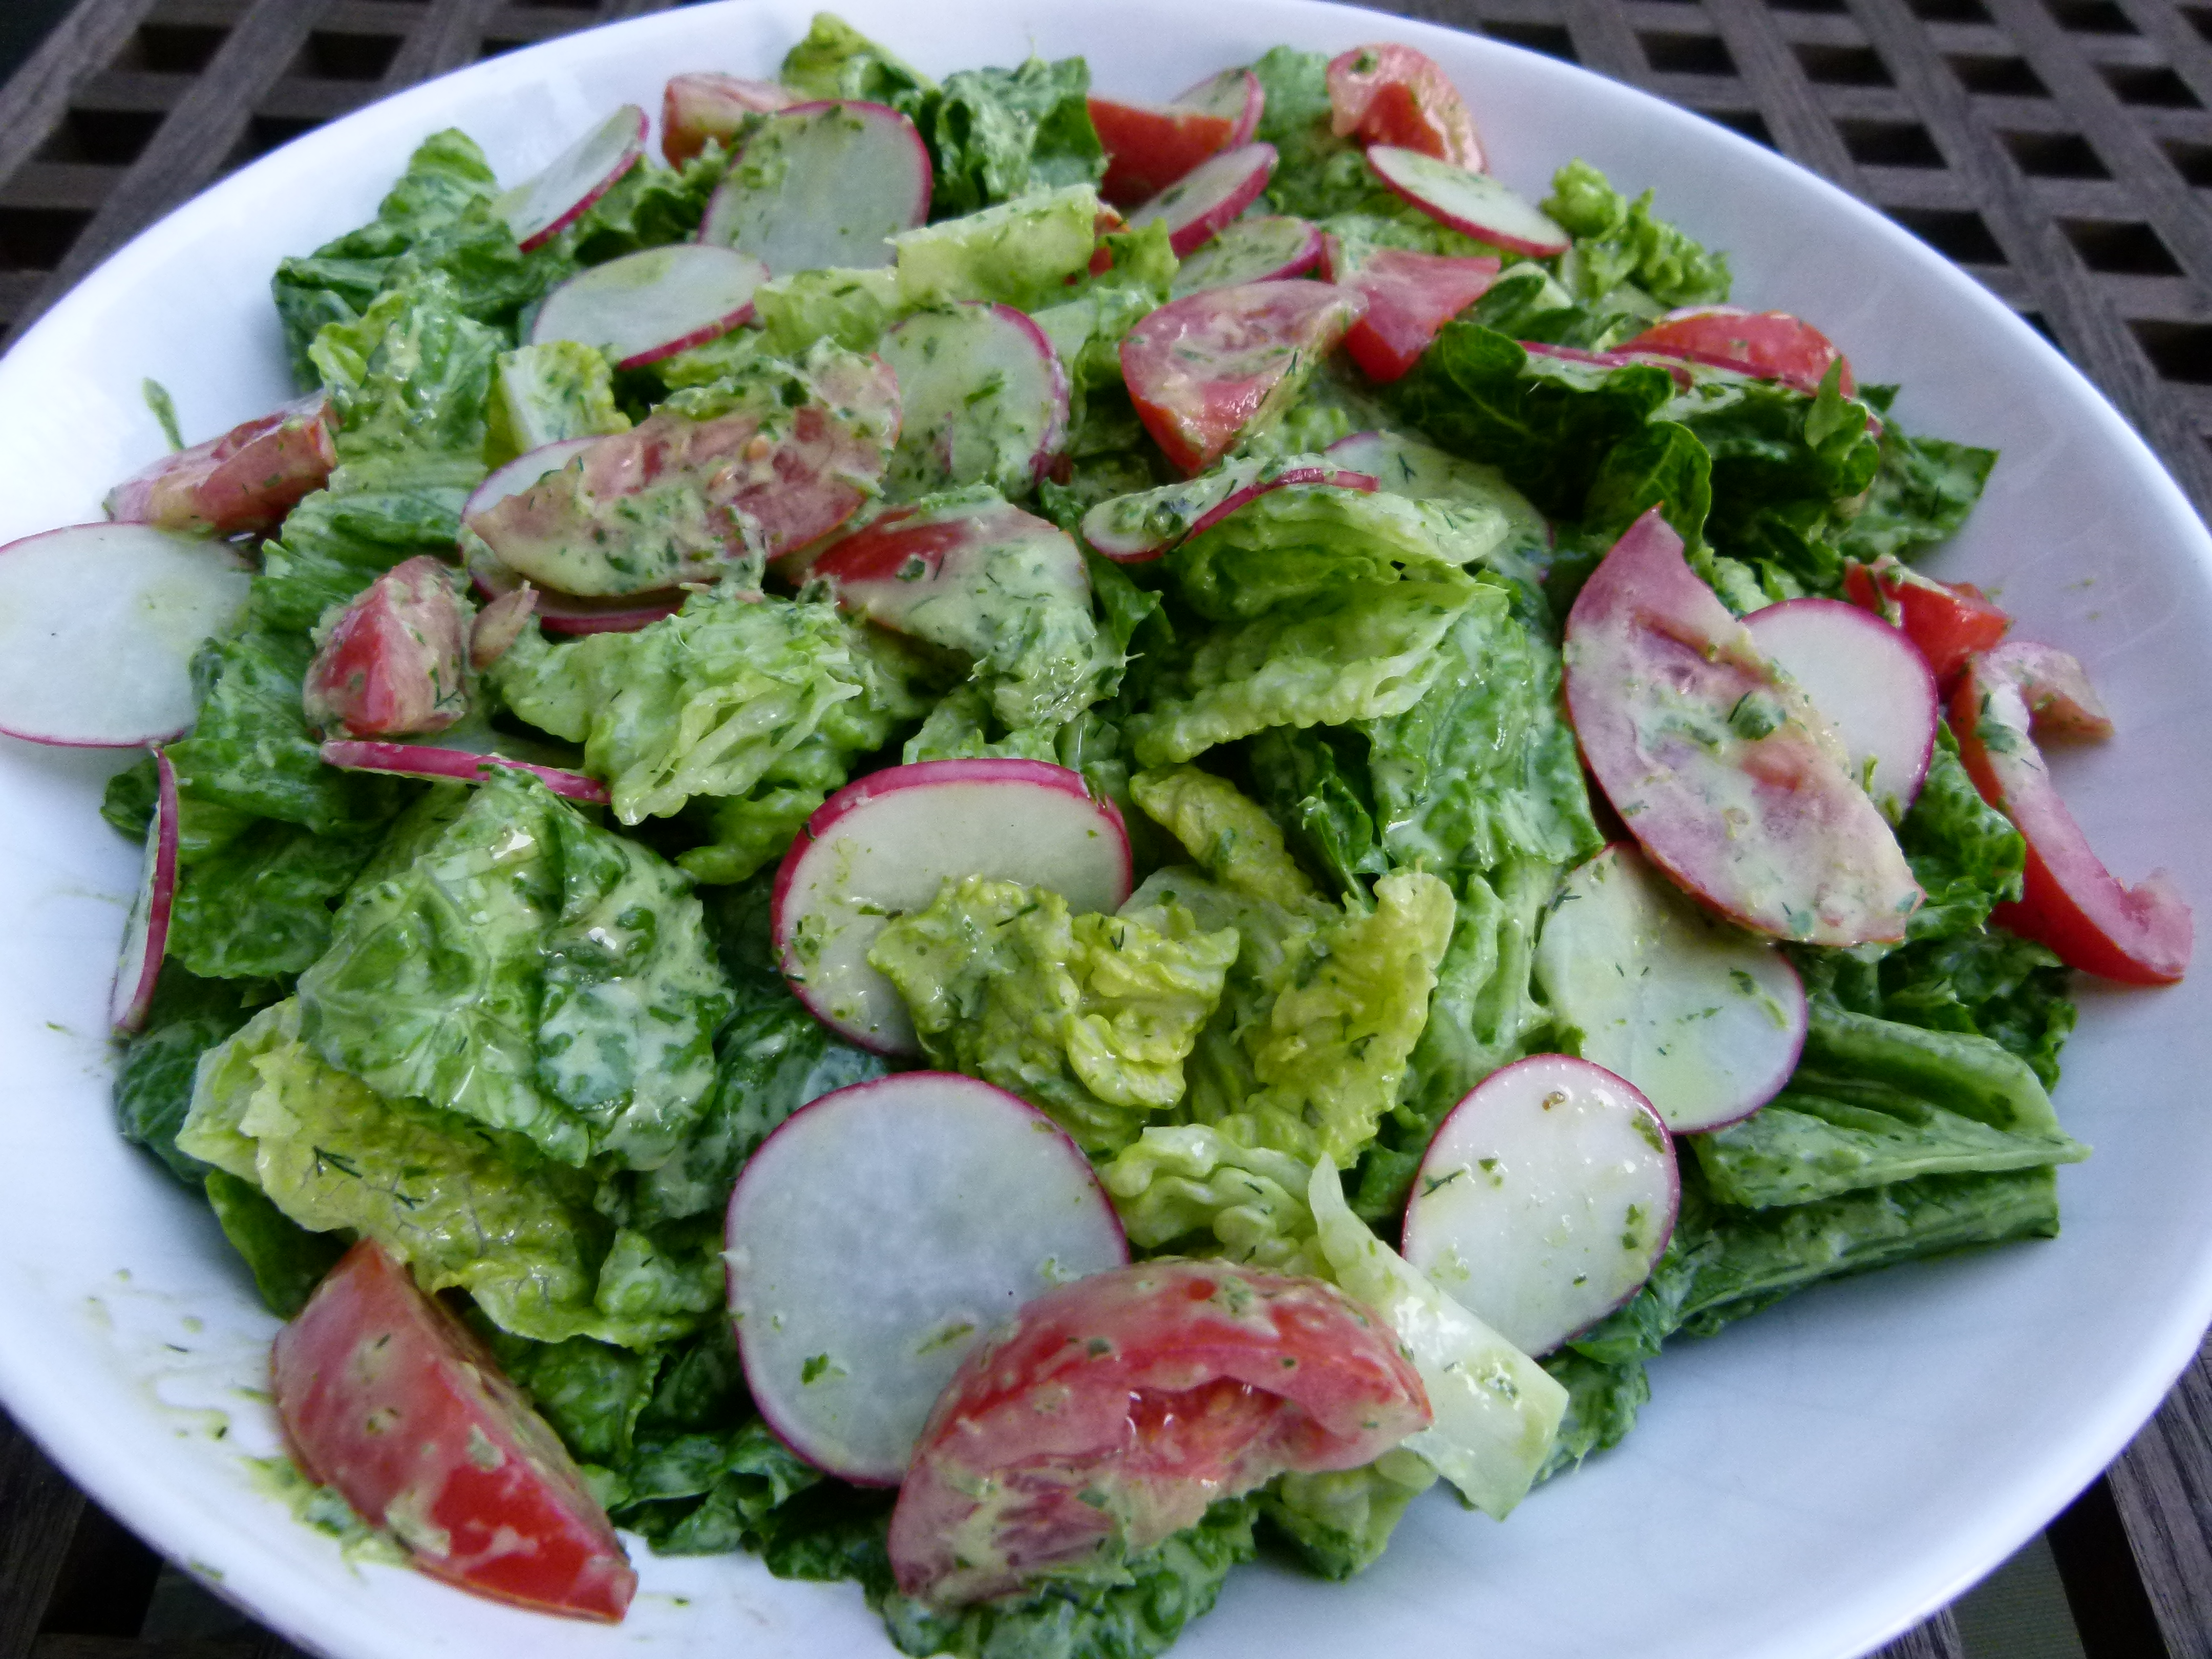
No, I didn’t name this dressing after you.  The original Green Goddess dressing was created at San Francisco’s Palace Hotel in the 1920’s, for the English actor George Arliss.  Arliss was staying at the hotel and dined there every evening before he performed in a play called “The Green Goddess.”  There are so many variations on this dressing, the base of which is usually mayonnaise, sour cream and tarragon — the only herb I don’t like.  Can we still be friends?  So considering I am using none of the above, I don’t know if I can actually call it a Green Goddess dressing.  One day last summer, I tried to clean out some little bits of herbs that were lingering and blended them into my own version of the dressing and we all loved it.  So feel free to adjust the recipe according to whatever herbs you have on hand, even if it’s tarragon.  The kids think it tastes a little like ranch dressing.  So I made more the next day and used it as a dip for raw vegetables.

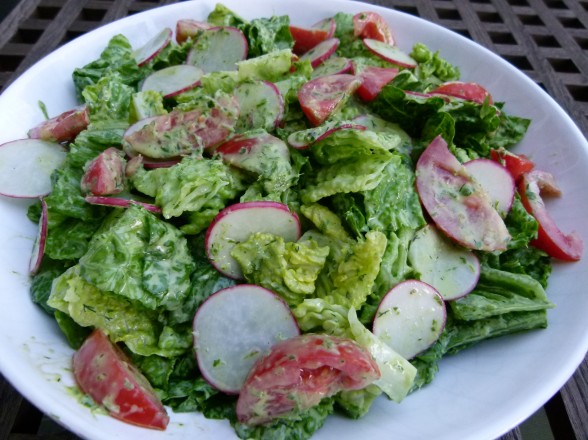
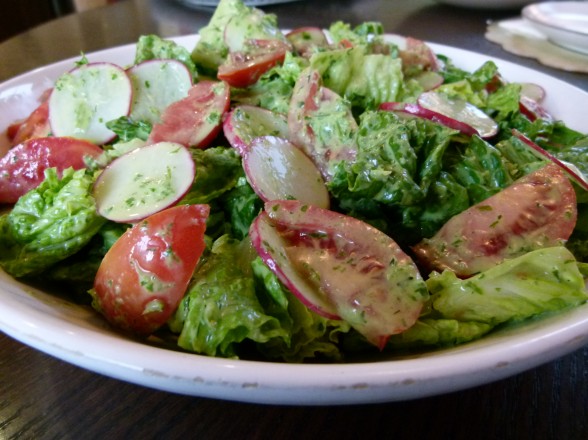
Green Goddess is a creamy dressing that’s a nice break from traditional vinaigrettes, and one that works well with crisp and sturdy lettuces.  There are dozens of ways to enjoy this salad, even as a main course, since so many things work well with the dressing.  Here I used tomatoes and radishes, which are both perfectly obvious, but you can add hard boiled eggs, shrimp, poached chicken, cucumber, avocado, and/or corn.  One day I took a few beefy tomatoes from the garden, sliced them up and drizzled this over.  Whatever you do, don’t leave out the anchovy paste — it really adds a little salty something and doesn’t taste at all fishy.  Your kids and your picky spouse don’t need to know it’s in there.  In fact, they don’t need to know anything other than you made up your own Ranch dressing.

Green Goddess Salad
Author: 
Serves: 6
 
Ingredients
  • 1 head romaine lettuce, leave washed, dried and torn into bite-size pieces
  • Any of the following:
  • Thinly sliced radishes
  • Chopped or sliced cucumber
  • Chopped tomatoes
  • Cubed avocado
  • Raw or cooked corn kernels
  • Quartered hard-boiled eggs
  • Dressing:
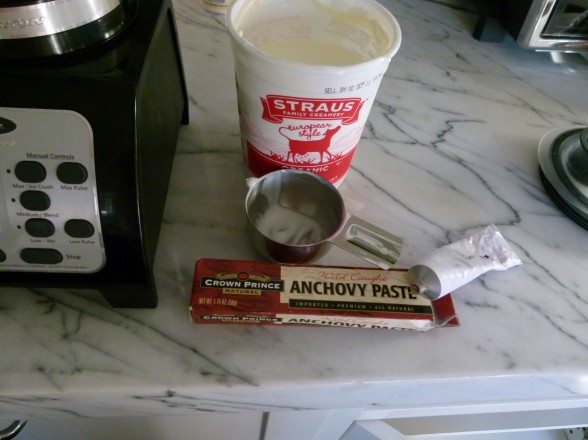
  • ½ cup whole plain yogurt (regular or Greek)
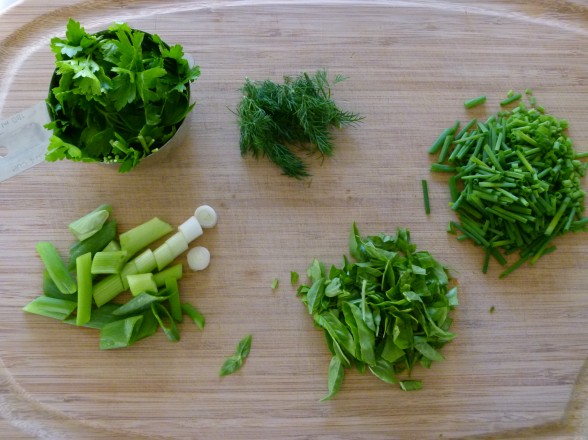
  • 1 cup flat-leaf parsley leaves
  • 3 Tablespoons chopped chives
  • 2 Tablespoons basil leaves
  • 1 Tablespoon chopped dill (if you have it)
  • 1 scallion, chopped
  • 1-2 Tablespoons fresh lemon juice
  • 1 teaspoon anchovy paste or two anchovy fillets
  • ½ - ¾ cup unrefined, cold-pressed, extra-virgin olive oil (depending on how thick or thin you like it)
  • ¾ teaspoon fine grain sea salt
  • Freshly ground black pepper to taste
Instructions
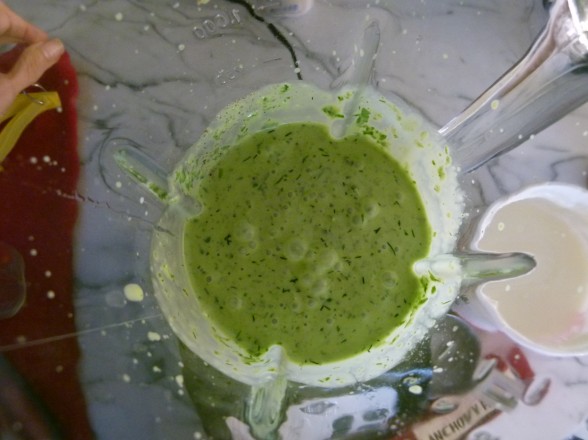
  1. Place all dressing ingredients except oil, salt and pepper in a blender or food processor. With the motor running, slowly pour in olive oil. Season with salt and pepper to taste.
  2. Toss lettuce in a serving bowl with enough dressing to coat lightly. Either toss remaining salad components separately with dressing or arrange on top of lettuce and drizzle with dressing.
Notes
The original Green Goddess dressing contains lots of tarragon. Feel free to experiment with other different fresh green herbs such as tarragon, cilantro, chervil or mint.

For a dairy-free version, use ½ cup silken tofu in place of the yogurt and increase lemon juice to 3 Tablespoons. I’m sure you could also substitute ½ of ripe avocado, but I haven’t tried that.

Corn and edamame succotash

This house sure is quiet.  The girls are still in Connecticut and Mr. Picky is off at the batting cage for a little bit with his dad.  I don’t think I’ve been alone in my house in a year.  Or more.  It’s sooooooooo nice.  Don’t get me wrong.  I adore my kids and my husband, but solitude is a precious luxury that I never get to indulge in.  And silence.  Just heaven.  I find it funny that all this peace and quiet makes me hungry, so I give myself permission to make an early dinner for me and only me.  It never happens that I only have my cravings to consider for dinner.  I think being conscientious of many people’s likes and dislikes is a big challenge when planning meals for a family.  But not tonight!

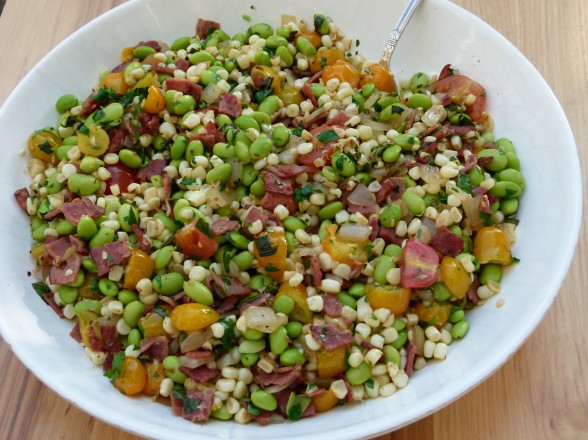
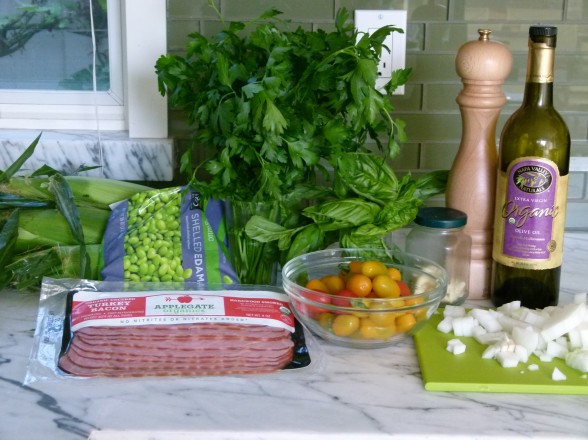
At yesterday’s farmer’s market I scooped up two of my summer favorites — corn and tomatoes.  I was especially excited about the tomatoes since my plants won’t be producing fruit any time soon.  Unfortunately, Manhattan Beach does not have tomato weather.  The parsley and basil are doing beautifully in the garden, though and if I am lucky enough to have frozen shelled edamame in the freezer and turkey bacon in the fridge, corn and edamame succotash will be my dinner tonight.

Hooray!  It’s all here!  I secretly hope that my husband and Mr. Picky call me and ask if they can grab a bite out instead of home.  I have visions of me and a giant bowl of corn and edamame succotash in front of the tv watching the new episode of “Million Dollar Decorators” without my husband doing Martyn Lawrence Bullard impressions so that I can’t hear what anyone is saying.  Am I getting old that this is my idea of bliss tonight?  Don’t care.  I’ve got succotash to make.

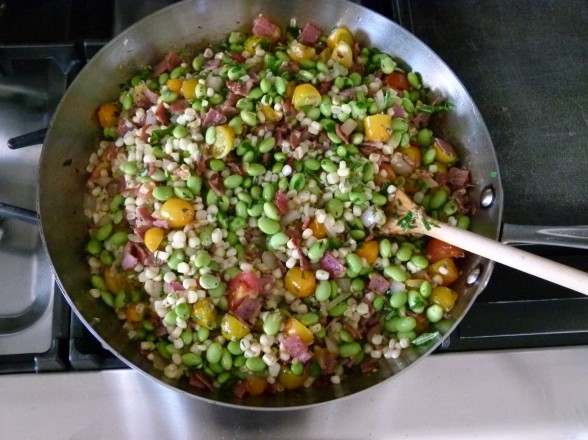
I taught this recipe in my classes last August and I got great feedback, although people admitted they were skeptical of eating something called “succotash.”  True, not a very sexy name, but succotash really just means a few sauteed vegetables usually mixed with corn and lima beans.  I had found a recipe from an old Gourmet Magazine (sniffle) and changed it up a bit to suit my family, and I just love it.  Since my kids are crazy for edamame, I always have bags of it in the freezer.  That was a natural sub for the lima beans.  It makes such a nice side dish for a weeknight family dinner or for entertaining in the summer, or a main dish since it is loaded with protein.  It’s so tasty, as well as colorful, nutritious, and quick to put together, especially if your kids shuck the corn for you.  Even by myself, I pulled this together very quickly.  You definitely don’t need to use turkey bacon in this if you are vegetarian or just don’t like it, but I would compensate with a pinch of salt.  As I sat there on the couch, by myself, eating this gorgeous succotash, I was able to concentrate on the food and really enjoy it.  I couldn’t help but think how much I loved the crunch of the corn and edamame and the sweetness from the tomatoes.  Couple more bites.  The apple cider vinegar adds great tang and the smoky, salty flavor from the turkey bacon is perfectly complementary.    Another few bites.  I can’t believe there’s no salt.  Yes, the edamame were cooked in salted water and the bacon has salt, but there’s no added salt and I don’t miss it.  A few more bites.  This is supposed to serve 6-8?  Is that a typo?  I’m halfway done with the bowl, but I keep eating anyway.

“Hi Mom!  We’re home!”  Well, it was nice while it lasted.  Mr. Picky asks for some succotash.  “Hey, that looks good.”  Really?  Tonight is the night you decide not to be picky?

5.0 from 2 reviews
Corn and Edamame Succotash
Author: 
Serves: 6-8 as a side dish
 
Ingredients
  • 12 ounces frozen shelled edamame
  • Kosher salt
  • ¼ - ½ pound nitrate-free turkey bacon*(optional)
  • 1 ½ tablespoons unrefined, cold-pressed extra-virgin olive oil
  • 1 small onion, chopped
  • 1 large garlic clove, minced
  • ¾ lb cherry tomatoes, halved
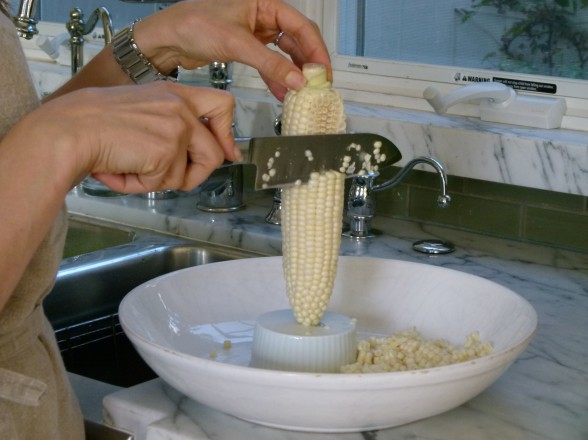
  • 4 ears corn, kernels cut off cob
  • 1 Tablespoon apple cider vinegar
  • ¼ cup packed small fresh basil leaves or larger leaves chopped
  • ¼ cup packed flat leaf parsley leaves, chopped
Instructions
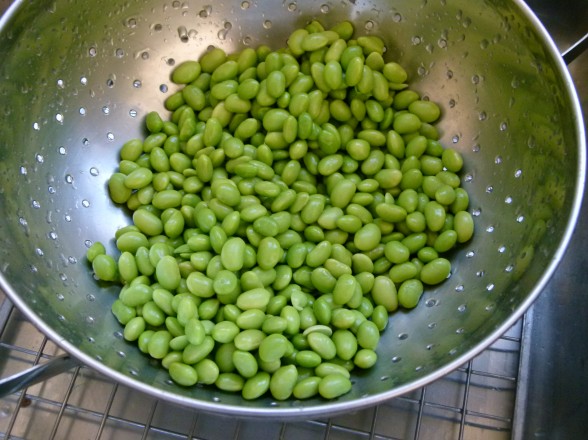
  1. In a medium pot of boiling salted water, cook edamame 5 minutes, or until just tender. Drain and rinse under cold water to stop the cooking process.
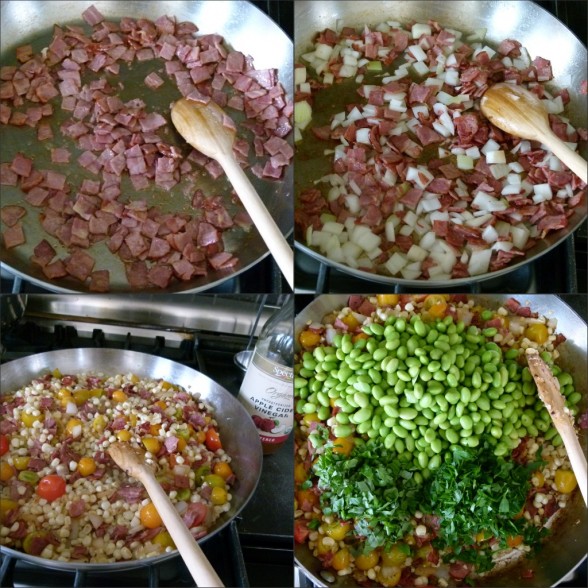
  2. Chop bacon. Add oil to a large skillet and cook bacon over medium heat until starting to crisp, 3-5 minutes. Add onion and sauté until softened. Add garlic and cook for 1 minute. Don’t worry if the bottom of the pan is getting brown from the bacon. The acid from the vinegar and tomatoes will clean it up.
  3. Add tomatoes, corn and vinegar to the skillet. Cook, stirring until tomatoes begin to lose their shape. Stir in edamame. Remove skillet from heat and stir in herbs. Serve immediately.
Notes
*Or bacon can be cooked separately a 350 degree oven. Line a baking sheet with unbleached parchment paper and arrange the bacon slices in one layer. Bake for 20 minutes, turning once, until slightly crispy. Chop cooked bacon and add with edamame.


Quinoa Tabbouleh Recipe

Father’s Day is this Sunday and we are getting ready to celebrate the man of the house.  I have already begun planning my menu, which no doubt will involve some grilling since we all know that’s a man’s favorite thing to do.  If my husband had his way, the meal would consist of cheeseburgers, hot dogs, grilled corn and ice cream sandwiches.  And the reason my husband has been able to maintain his girlish figure all these years is because he is not in charge of meals.  Before you accuse me of being no fun whatsoever, please know that grass-fed burgers with raw cheddar cheese and Applegate Farms organic grass-fed hot dogs will be in the house.  Thankfully several people in our family like my turkey burgers enough that I will be making a batch of those.  But more importantly, what am I going to eat?

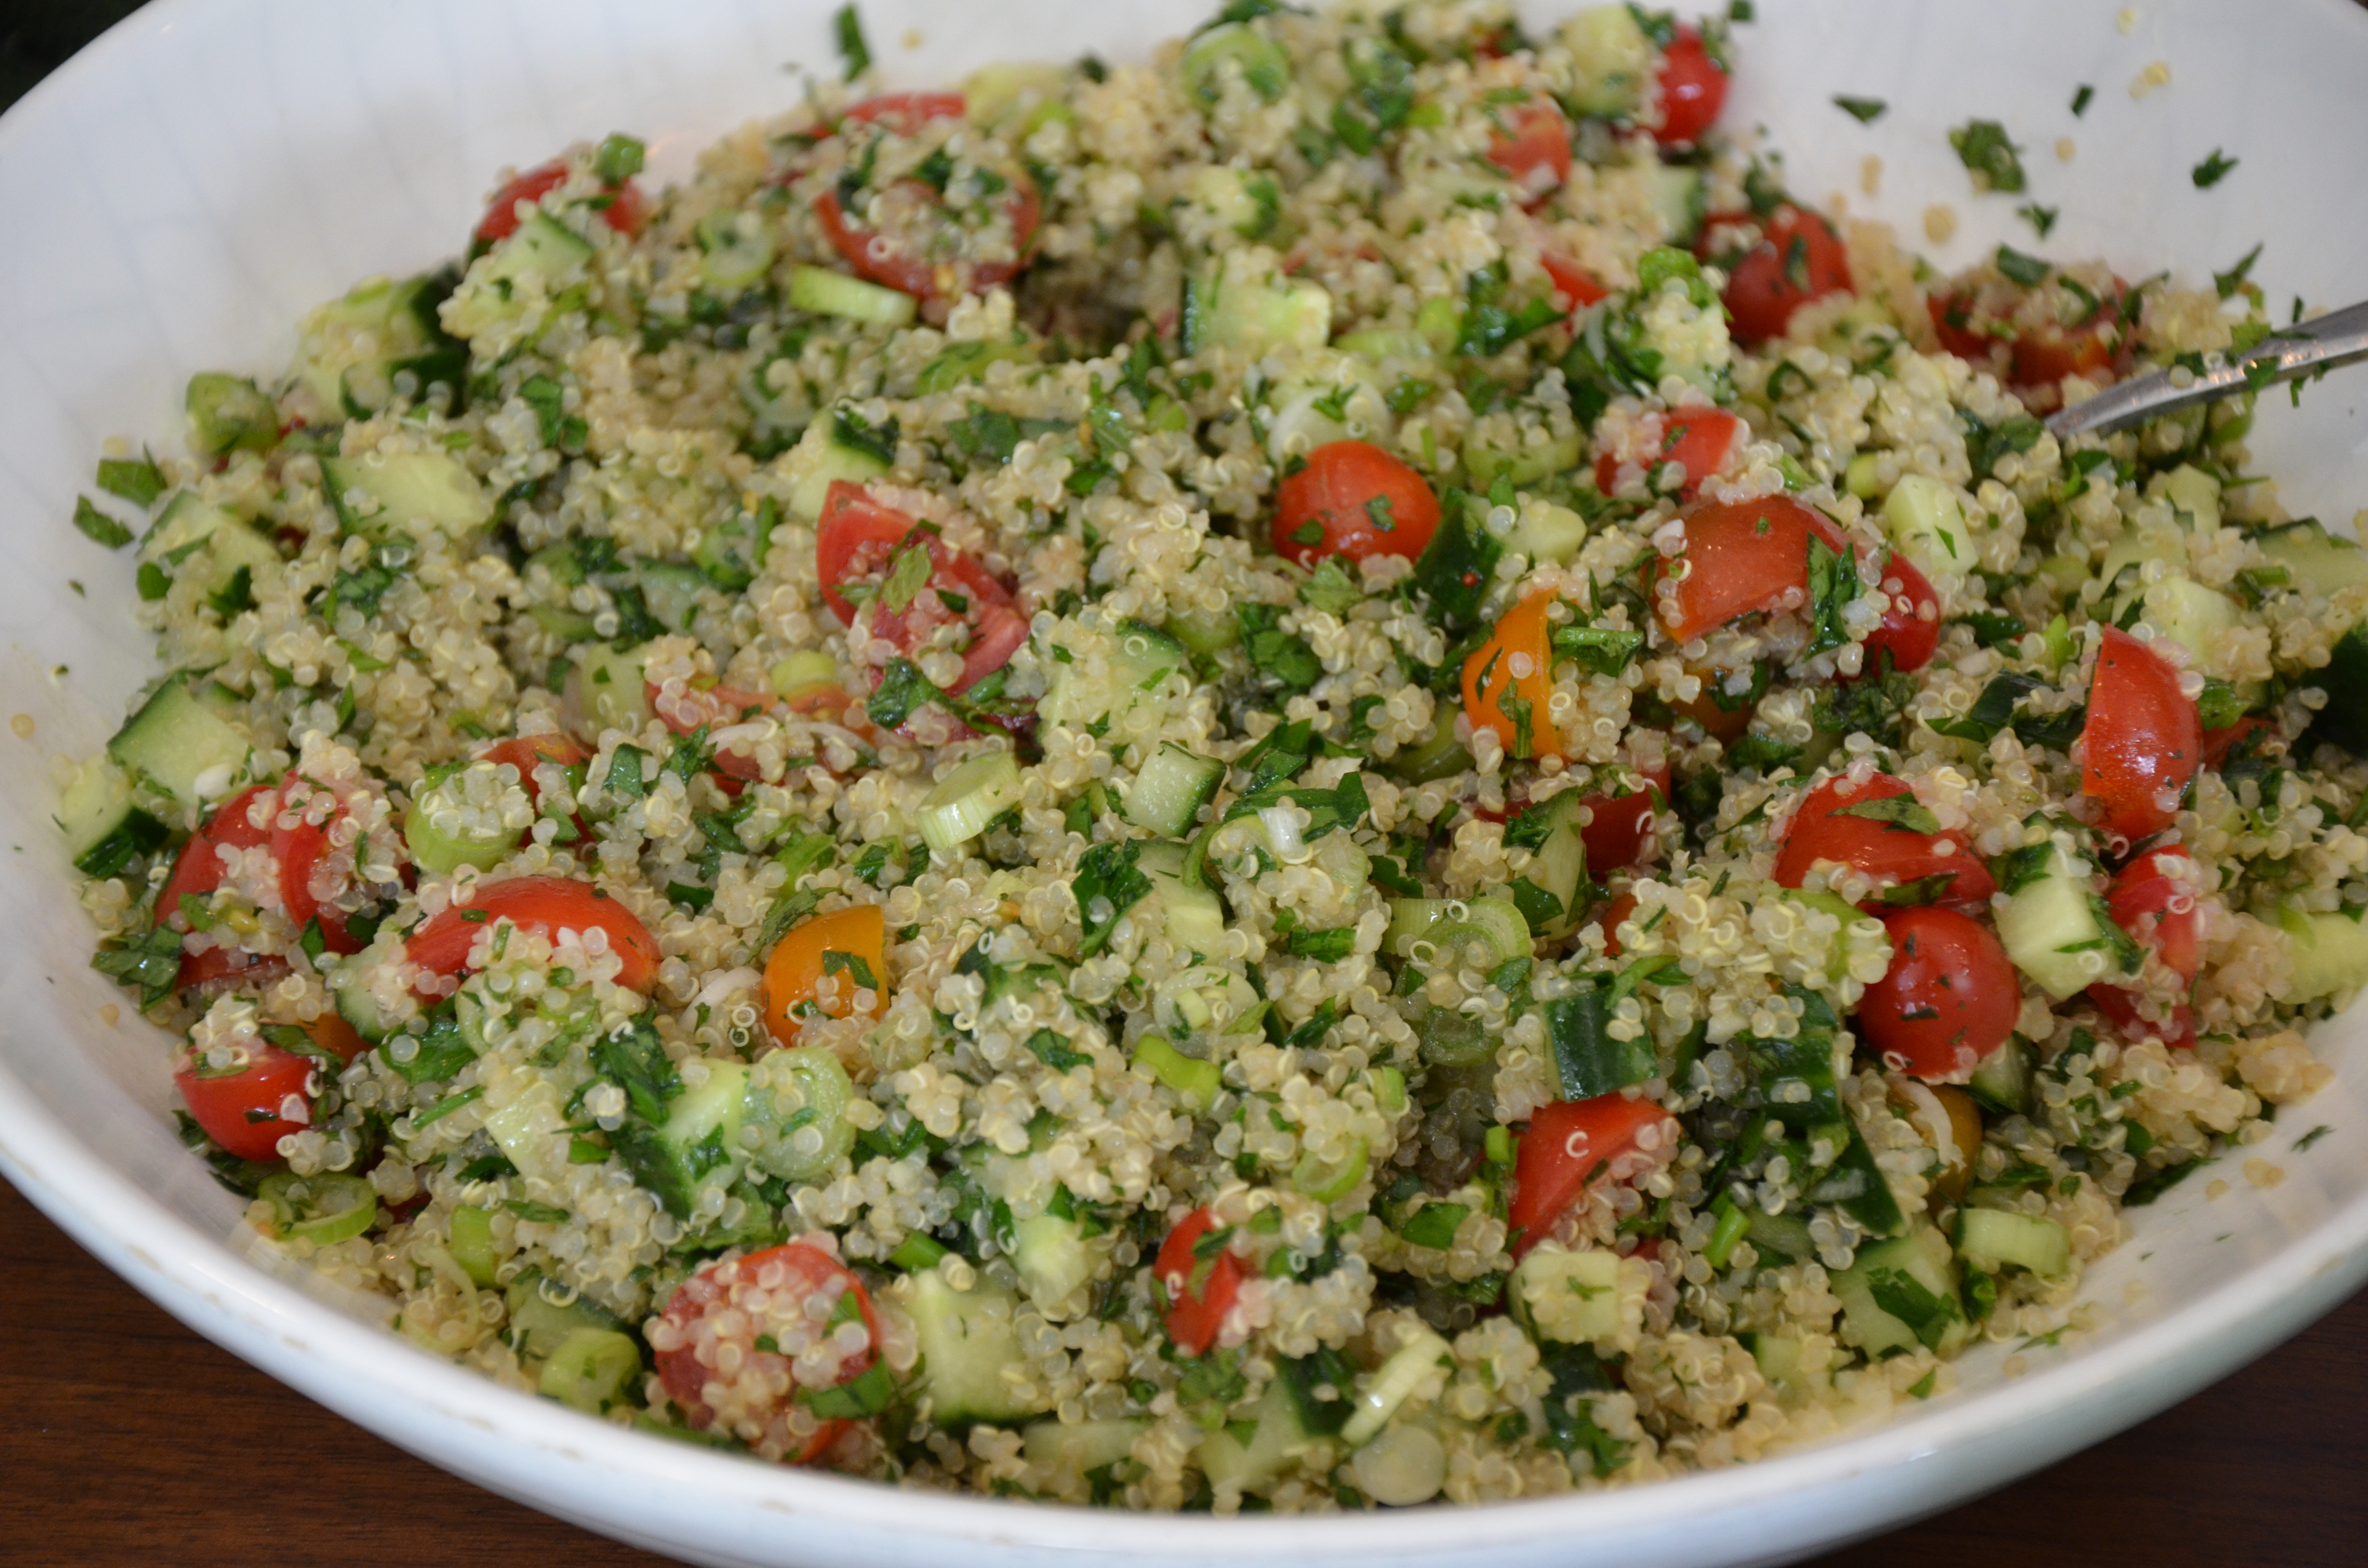
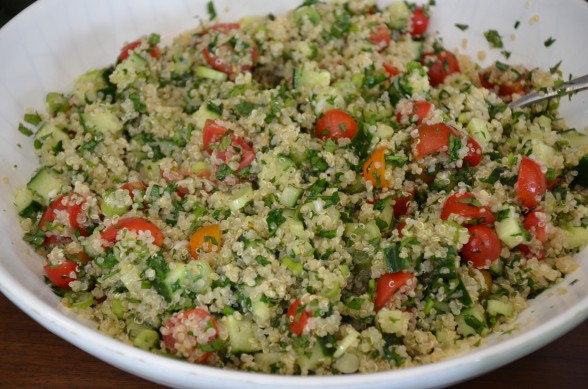
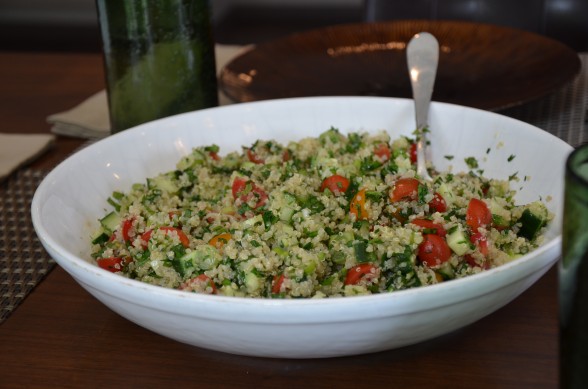
Did I really find a way to make Father’s Day all about me?  No, no, this will be Dad’s day, but it’s my job to make sure there’s a little balance in the meal and protein for the non-hot dog eaters.  Like me.  When I think about one of my favorite things to make for a backyard barbecue, something versatile enough to complement anything, delicious in its own right, lovely to look at and healthful enough that you can almost justify eating all that meat, quinoa tabbouleh immediately comes to mind.  Just look at it!  Light and bouncy quinoa mixed with sweet cherry tomatoes (use whatever colors you like), crunchy cucumber and all those fresh herbs.  Who wouldn’t want to eat it?  Don’t answer that, because I know what you’re thinking.  I took this salad to my friend Karen and Jonathan’s house the other day for a barbecue and every man there not only tried the quinoa, but finished every little grain.

Quinoa works really well as a substitute for tabbouleh’s traditional bulgar wheat.  (Like you really need to eat more gluten.)  You can even mix different colors of quinoa and different colors of tomatoes.  When I brought it to Karen’s, the quinoa was still too warm to mix with all the vegetables and herbs so I kept that in a separate container and brought a little glass jar with the lemon juice, olive oil and salt.  Everything else was prepared ahead and kept in a serving bowl.  Before we sat down to eat, I mixed the quinoa with the vegetables and herbs and poured in the dressing.  Super easy, really nutritious and you know what?  Real men don’t eat quiche, but they do eat quinoa!


Quinoa Tabbouleh
Author: 
Serves: serves 6 as a side dish
 
Ingredients
  • 1 cup uncooked quinoa
  • Sea salt
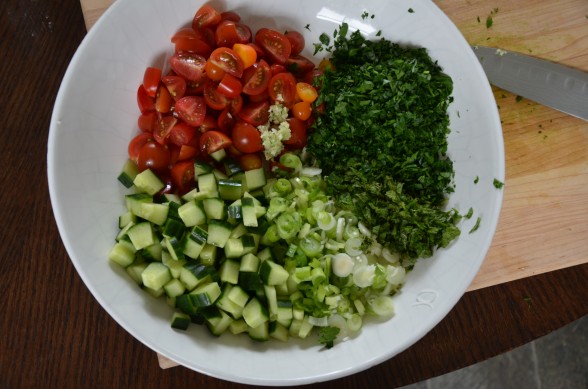
  • 2 cups diced unpeeled Persian or Japanese cucumber (or cucumber with a tasty skin)
  • 2 cups halved or quartered cherry tomatoes
  • 4 scallions, thinly sliced
  • ½ teaspoon minced garlic
  • ¾ cup finely chopped fresh flat leaf parsley or as much as you can chop -- the more, the better!
  • ¼ cup finely chopped fresh mint leaves
  • ⅓ cup freshly squeezed lemon juice
  • ⅓ cup unrefined, cold-pressed extra-virgin olive oil
  • Freshly ground black pepper
Instructions
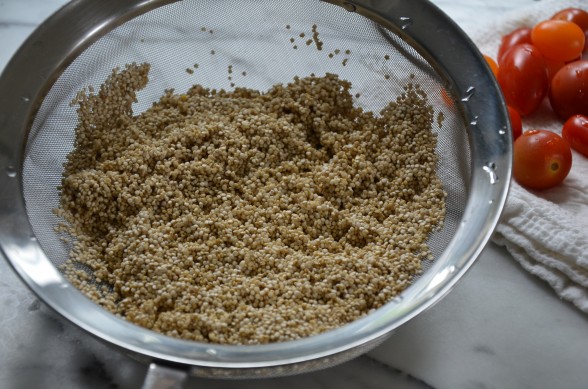
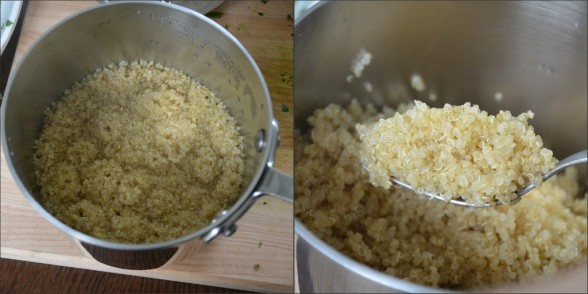
  1. Rinse quinoa in a bowl with water or place quinoa in a fine mesh sieve and rinse under cold water until water runs clear. Transfer to a saucepan and add a healthy pinch of sea salt and 1 ¾ cups of water. Bring to a boil and simmer until water is absorbed, about 15 minutes. Turn off the heat and let sit covered for 10 minutes.
  2. Transfer quinoa to a serving bowl and allow to cool. Fluff with a fork periodically.
  3. Combine cooled quinoa and remaining ingredients plus 1 ½ teaspoons sea salt. Toss to mix well. Taste for seasoning.
 

Â