Spinach and Quinoa Salad with Feta and Dill

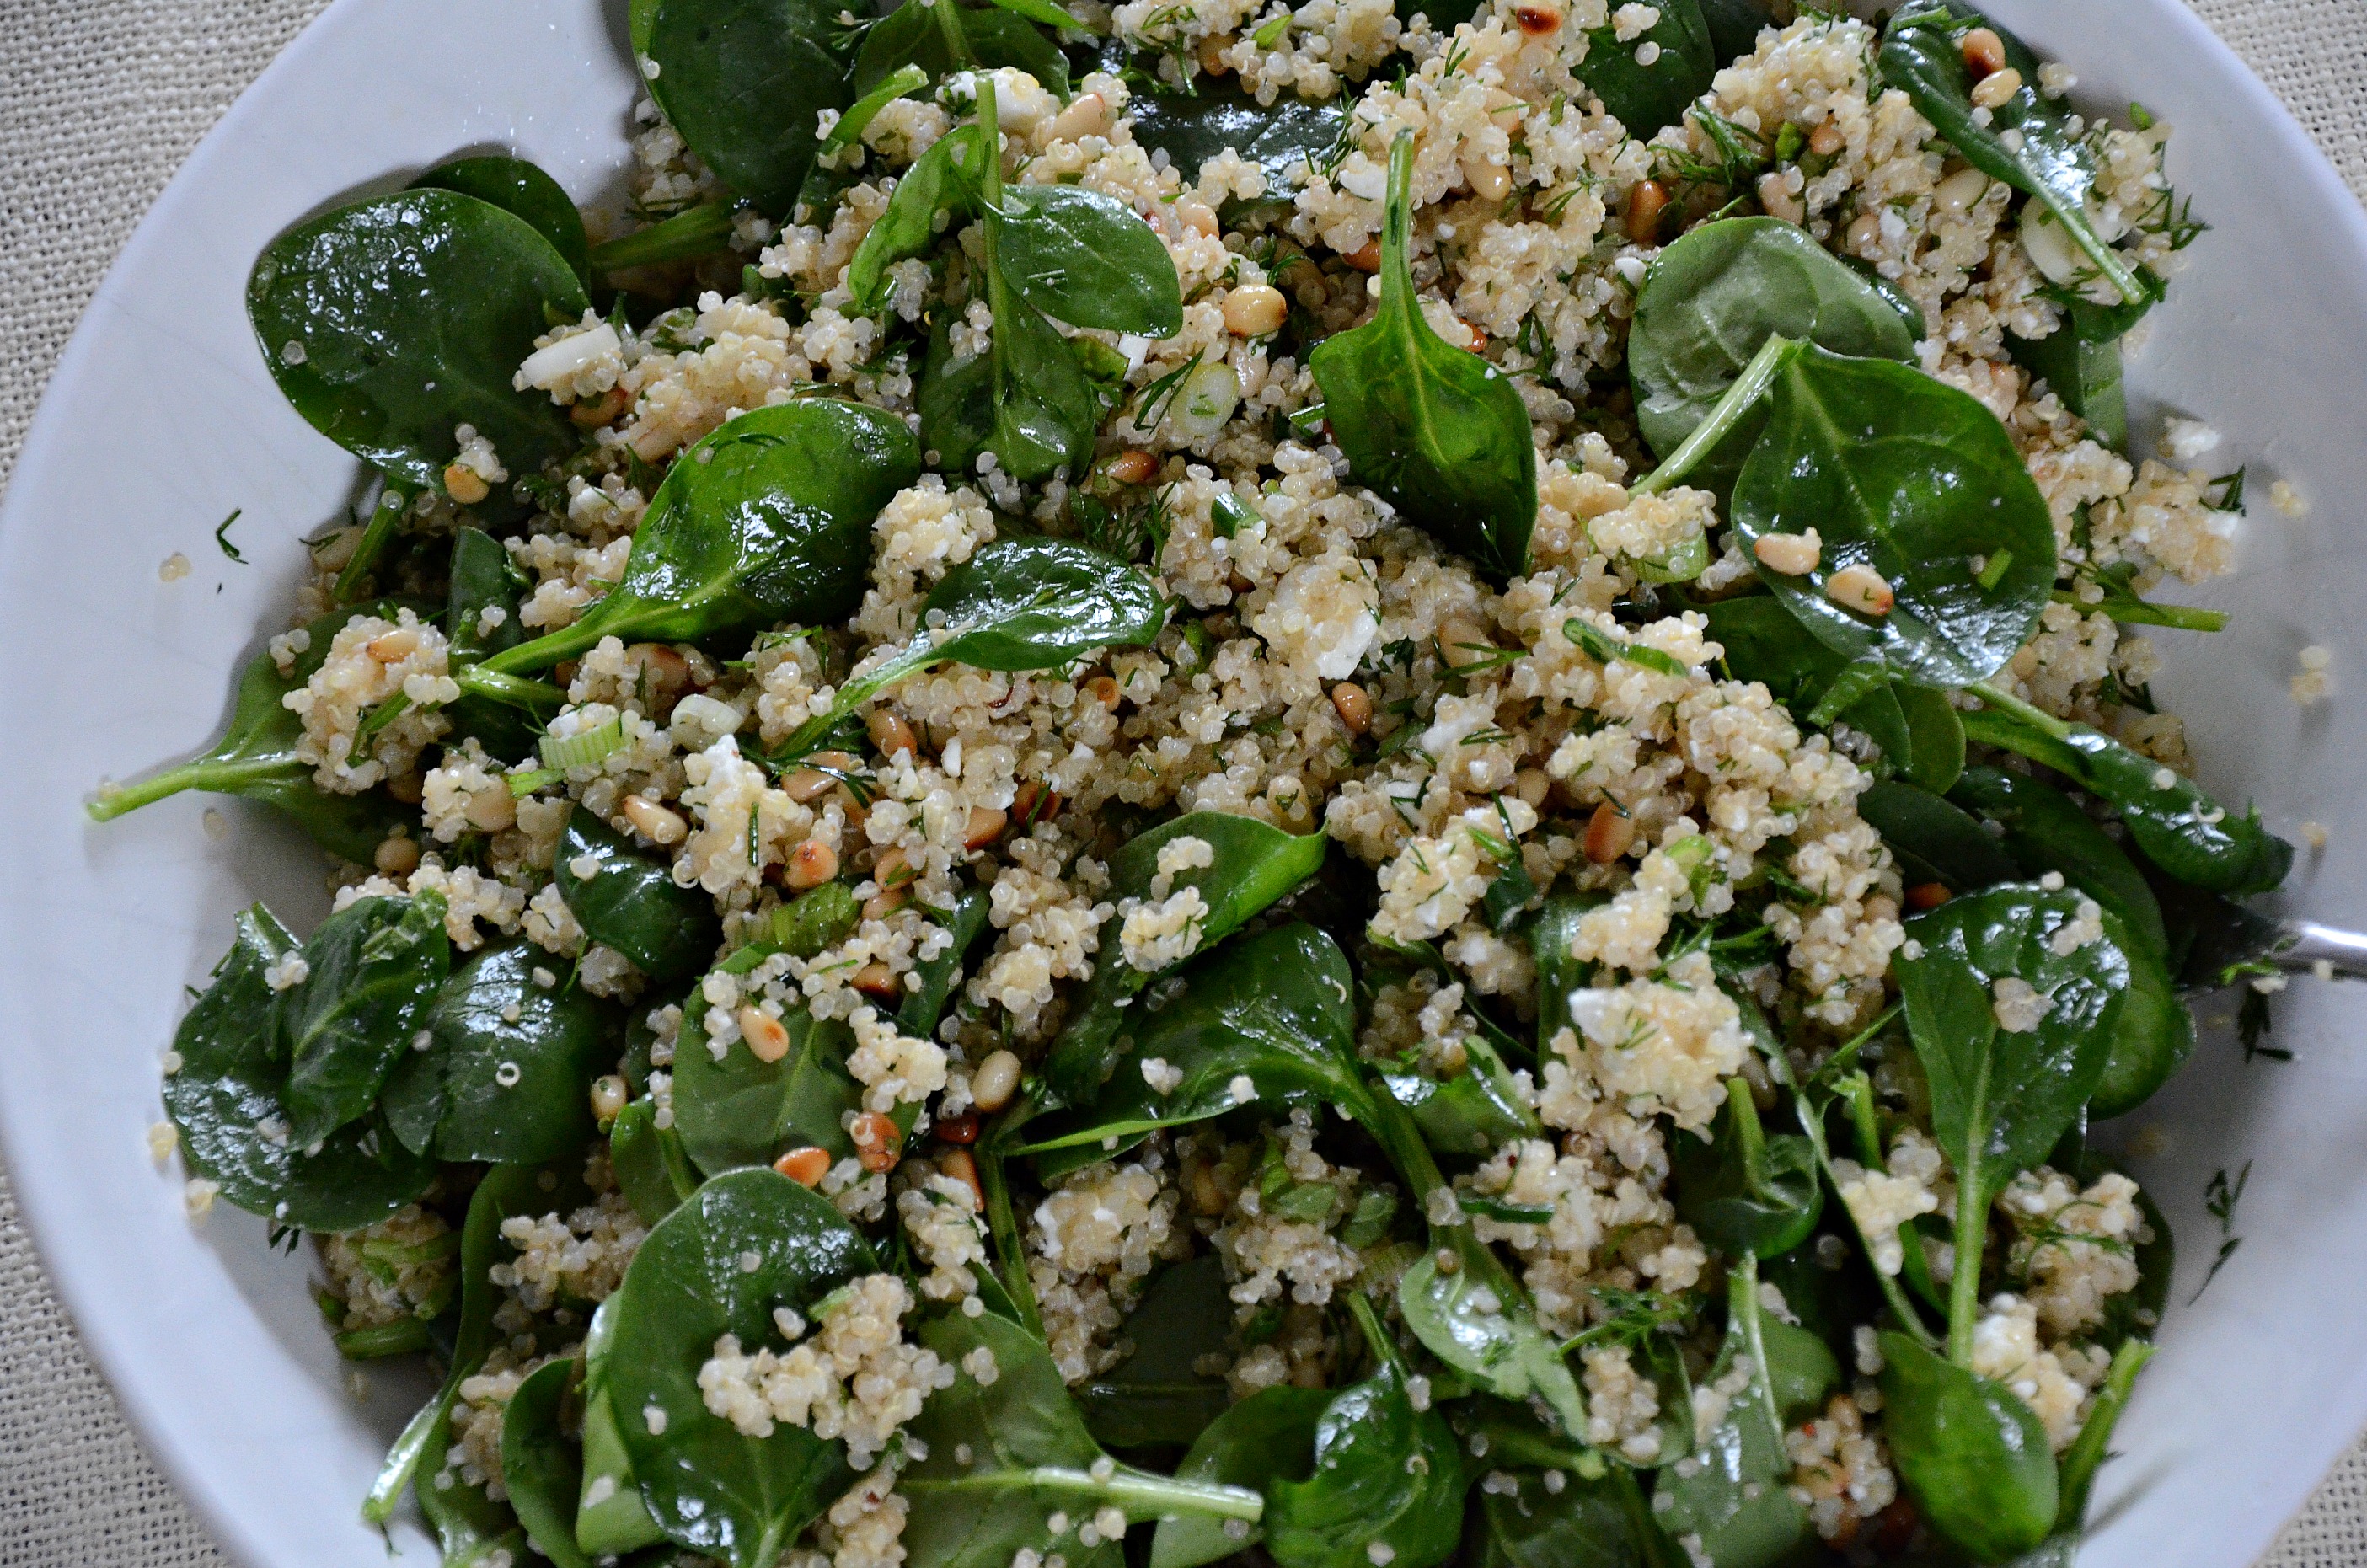
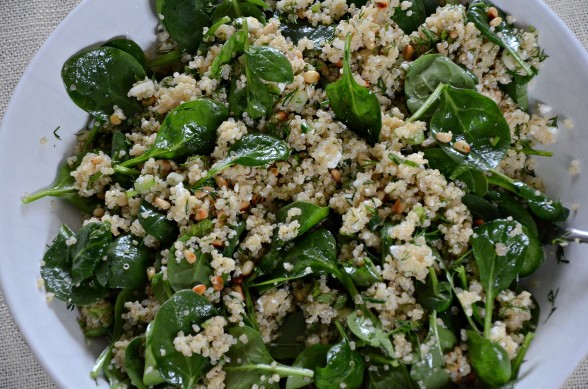
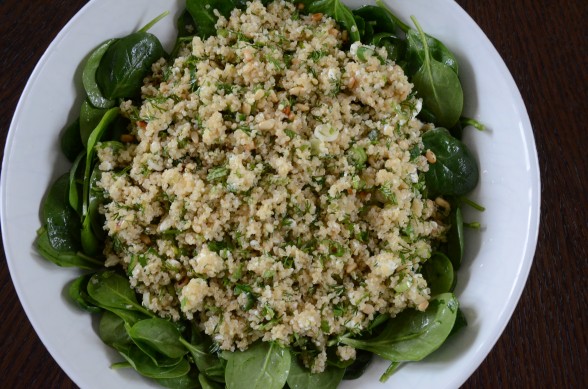
I know it’s still February, but I think a spring bug bit me.  The new strawberries, asparagus, sugar snap peas and artichokes were calling my name last weekend at the farmer’s market and I felt myself thinking ahead to the next season. Just noticing that the sun is setting later and later is making me giddy.  Yesterday I was working at home and felt inspired to make one of my favorite quinoa dishes with baby spinach, fresh dill and mint.  It was like a bowl of fresh air.

This salad is based on the ingredients in spanakopita, the very rich and tasty Greek pie made from layers of phyllo dough (and butter), stuffed with cheese, spinach and herbs.  My friend John gave me his mother, Libby’s heavenly recipe for spanakopita which I have been making for at least 10 years now, but not quite as often as I used to since loads of dairy, processed wheat and fat aren’t friendly to a certain someone.  So these days spanakopita makes an appearance only once a year at our Yom Kippur break-the-fast dinner.  Don’t feel sorry for me too fast.

Since I still crave those flavors, I came up with a lighter and fresher way to enjoy them.  Hence this salad was born.   Would you think I was lying if I told you I like this quinoa just as much, maybe more than spanakopita?  Of course, I acknowledge this is still a salad and not a flaky, buttery hot mess of three kinds of cheese bound by chopped spinach.  But I do like this quinoa better!!  I like that it’s fresh, zingy and makes me feel energized instead of weighed down.  Quinoa has that effect on me.  It’s gluten-free and full of high quality protein, fiber and healthful minerals.  For something so nutritious, it is also bouncy and light.  Plus I can prepare this salad in a faction of the time it takes me to butter 20 sheets of phyllo dough.

My girls came home from school yesterday and polished off what was left in the serving bowl.  I was hoping to ask Mr. Picky to try one bite.  In the past, he has only been willing to eat the spinach leaves after he wiped them clean with his napkin.  But lately I’ve noticed he has been a little more tolerant of quinoa, not minding if a spoonful or two gets mixed in with some kale salad or sugar snap peas.  This is part of the slow and steady process to which I have committed.

For those of you with actual dietary restrictions or aversions, this is an incredibly flexible recipe.  Vegans and dairy-free people can omit the feta and add some kalamata olives for a salty bite.  I know there are mint-haters out there (really? very hard to believe!), so feel free to leave that out, especially since Libby’s recipe calls for only dill.  And for those of you who would rather not use pine nuts, I have also used sliced almonds or roasted pistachios before with success.  I love quinoa with a little crunch.  This salad is the perfect lunch or light dinner on its own, but I have also served this with dozens of different sides including roasted carrots and beets, grilled zucchini,  sauteed green beans with shallots or minted snap peas.  Can you say “Spring It On?!”


5.0 from 5 reviews
Spinach and Quinoa Salad with Feta and Dill
Author: 
Serves: 4-6
 
Ingredients
  • 1 cup uncooked quinoa, RINSED (see Step 1)
  • Sea salt
  • ½ cup pine nuts, toasted (optional)
  • 2 scallions, thinly sliced or 1 garlic clove, minced
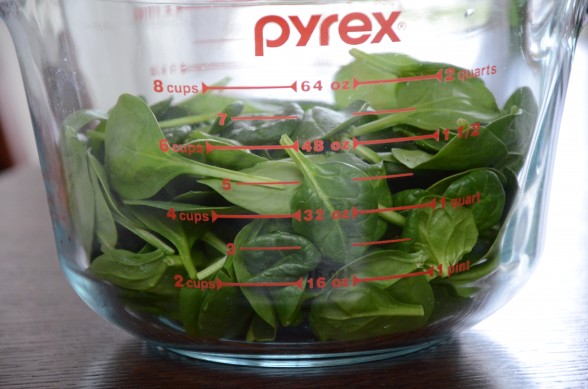
  • 6 cups lightly packed baby spinach leaves (3 ounces)
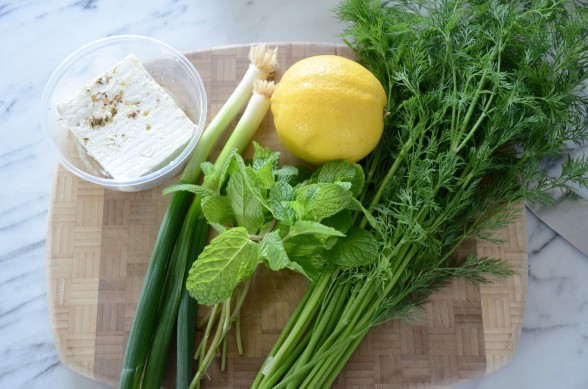
  • ½ cup chopped fresh dill
  • ¼ cup chopped fresh mint (optional)
  • ¼ cup freshly squeezed lemon juice
  • ¼ cup unrefined, cold-pressed extra-virgin olive oil
  • 6 ounces feta, preferably made from goat or sheep’s milk
  • ½ teaspoon sea salt
  • Freshly ground black pepper to taste.
Instructions
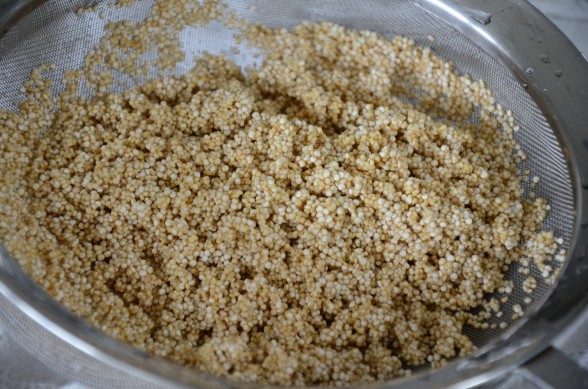
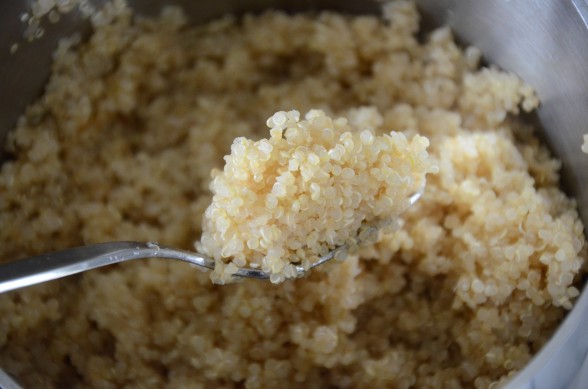
  1. Rinse quinoa in a bowl with water or place quinoa in a fine mesh sieve and rinse under cold water until water runs clear. Drain and transfer to a medium saucepan with a pinch of sea salt and 1 ¾ cups of water. Bring to a boil, cover and lower heat to a simmer. Cook until water is absorbed, about 15 minutes. Let sit, covered for 10 minutes. Quinoa can remain in the pot until ready to combine with other salad ingredients or transfer to a serving bowl and fluff with a fork. Allow quinoa to cool slightly.
  2. To the quinoa add remaining ingredients and toss to combine. * Or you can place the spinach on a serving platter and toss with 1 Tablespoon of the lemon juice and 1 Tablespoon of the olive oil. Combine quinoa with remaining ingredients and mound on top of the spinach leaves. Taste for salt and pepper and adjust seasoning, if necessary. Serve warm or at room temperature.
Notes
Other additions can include Kalamata olives, halved cherry tomatoes, diced cucumbers, and/or fresh corn kernels.


My favorite tuna salad

Well people, sandwich season is upon us and I’m proposing that we branch out and see if we can avoid making peanut butter and jelly everyday.  In fact, I know many of you are in nut-free schools and can’t rely on the old standby at all.  On the other hand, luncheon meats freak me out a bit — and not for any scientific reason.  I just can’t get past the idea that this turkey was cooked who knows when and squished and reformed into this new product with lots of “natural flavors.”  I’d rather poach or grill organic chicken breasts and give the kids chicken sandwiches, which is exactly what I do and I save a little money while I’m at it.

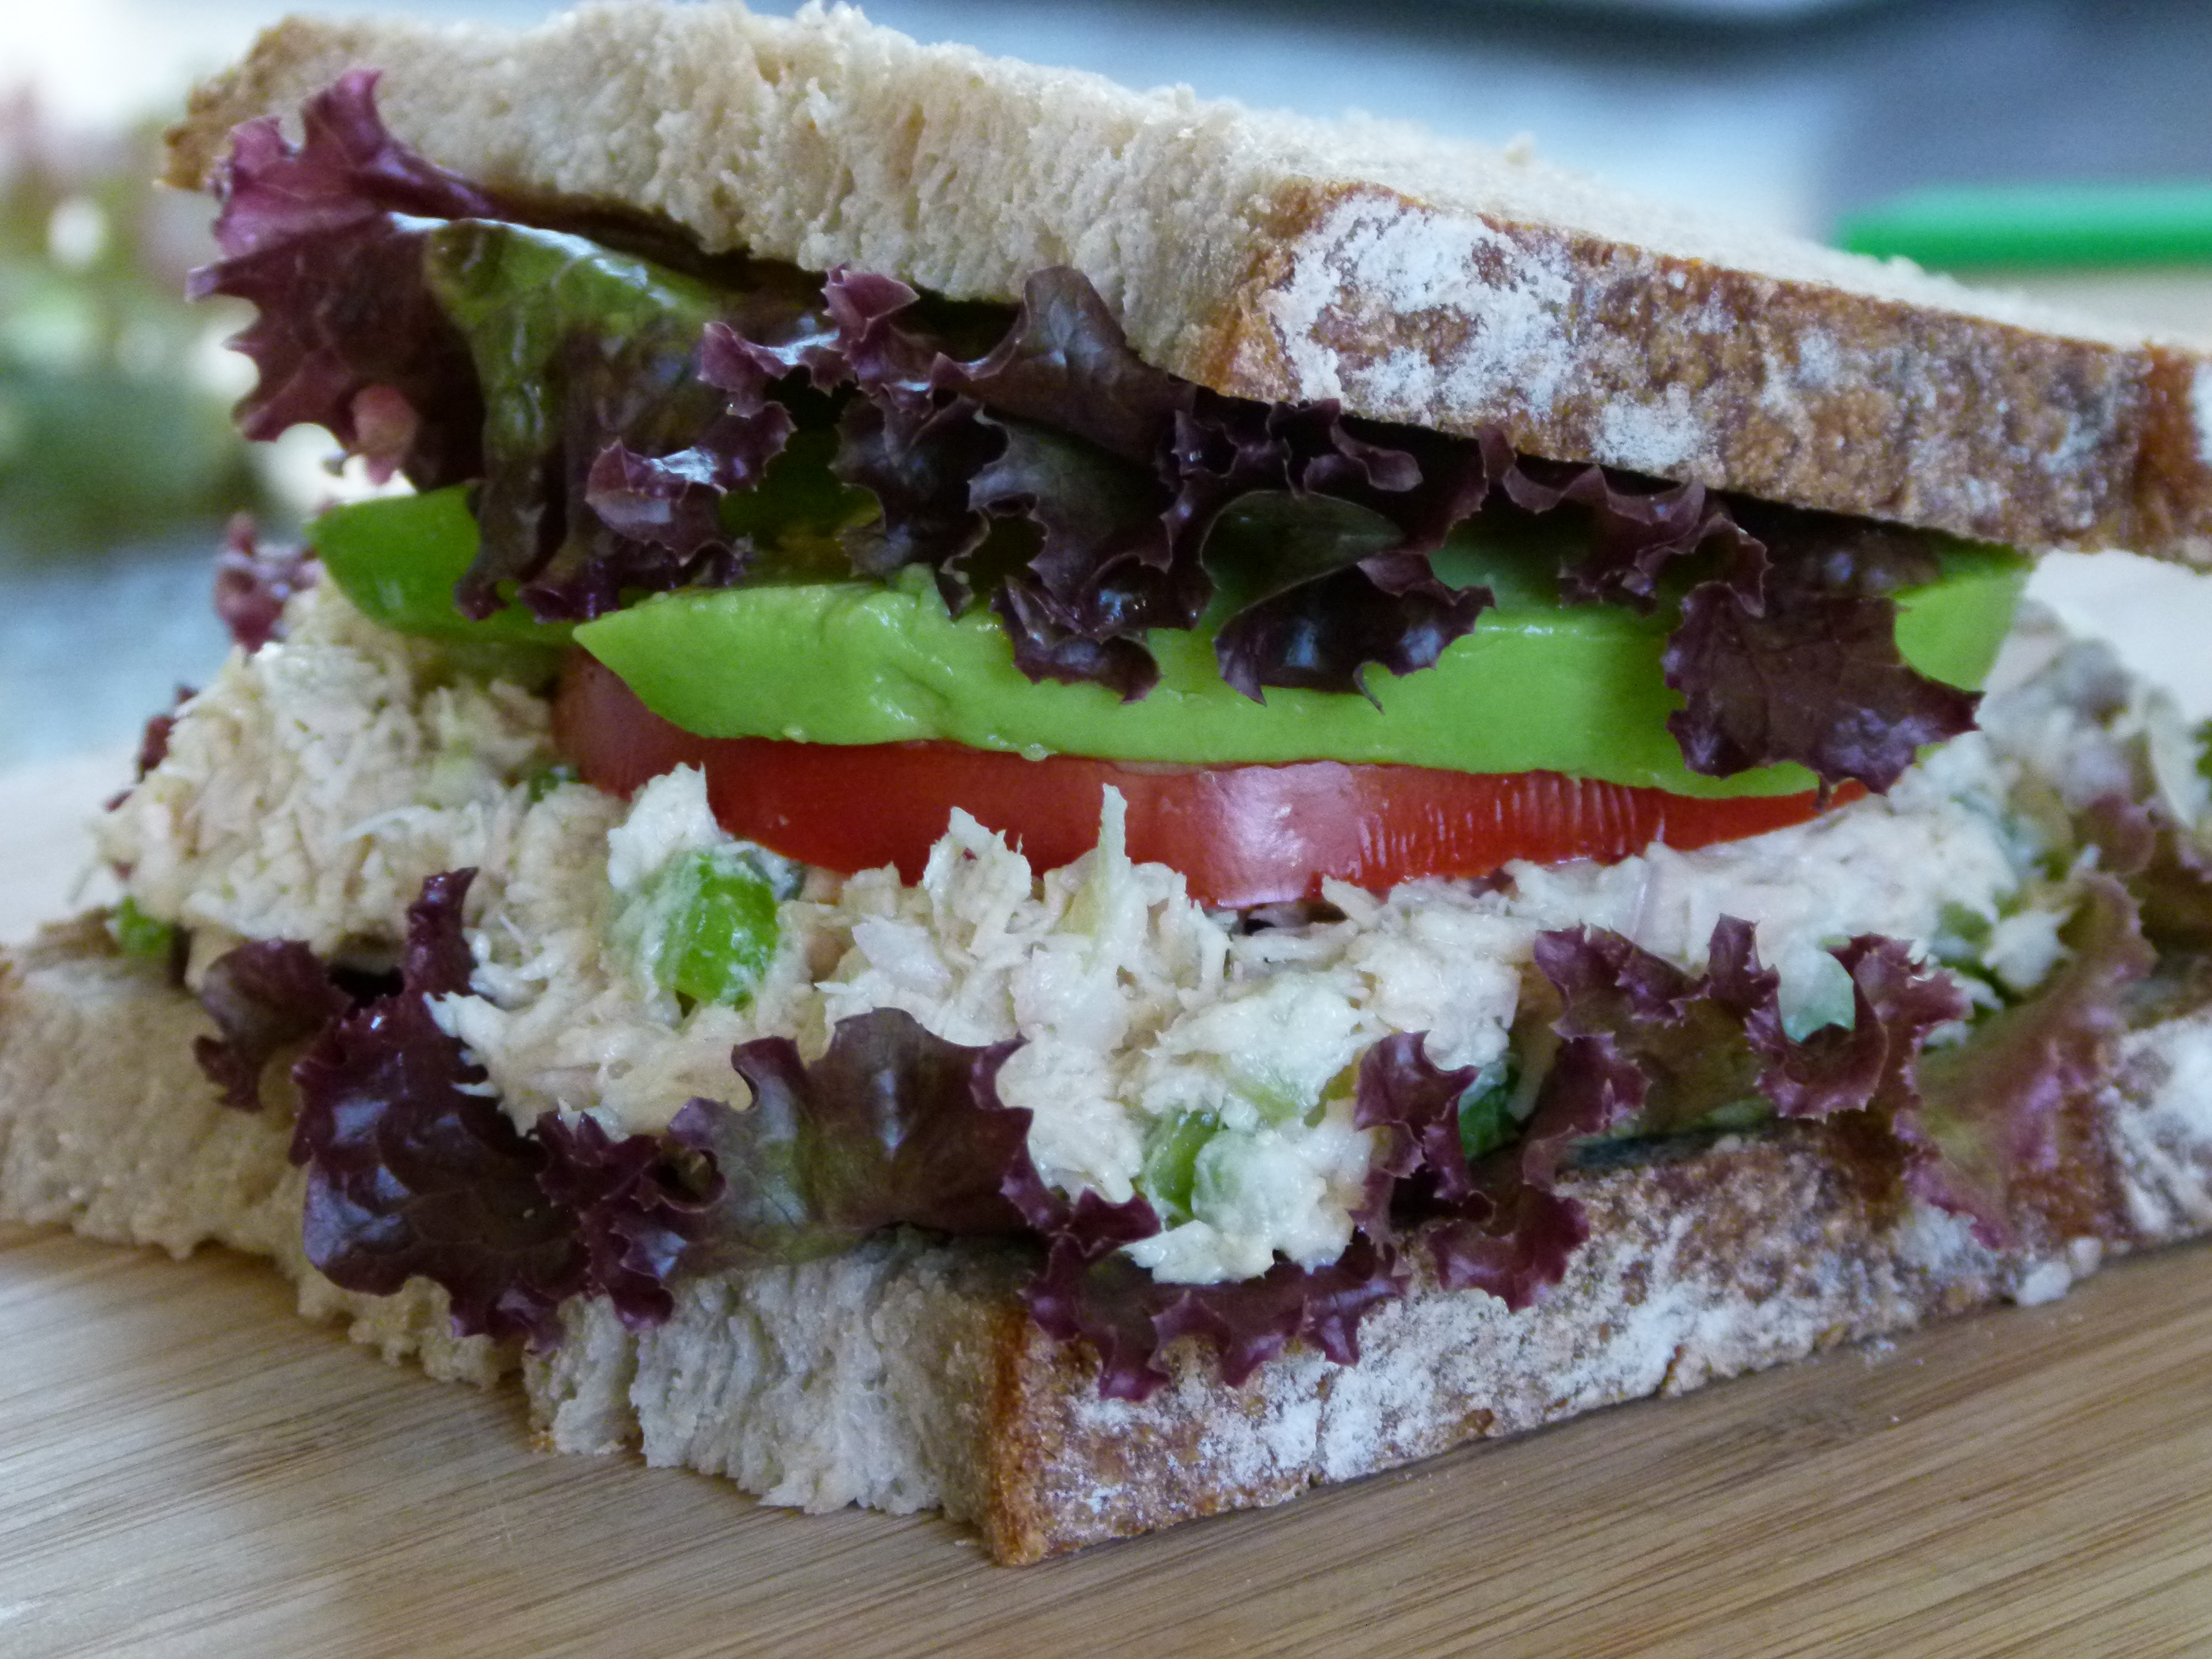
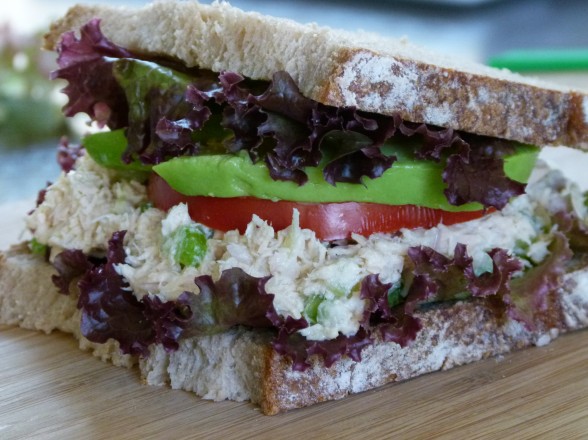
As for me, I’m not much of a sandwich eater, mostly because I prefer to eat quinoa over bread.  But if I had to pick a sandwich for my last supper, it would be tuna salad with lettuce, tomato and avocado on whole grain bread.  If there happen to be some grilled onions lying around, I would add those in, too.  But this wouldn’t be just any tuna salad, it would be this one right here, which my kids also love — hooray!

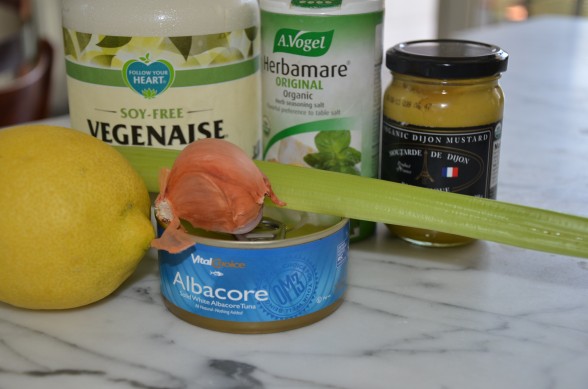
I found the canned tuna of my dreams at Vital Choice — cooked once, BPA-free cans, minimal mercury and absolutely the best tasting tuna ever.   (It’s also one of the most expensive tunas out there.  Drat!)  Tuna is high in Omega-3 fatty acids (very anti-inflammatory and you’re probably not getting enough of them) and high in protein (so important when the kids are at school).  I mix it with some of the expected like a little mayo (I like soy-free Vegenaise), celery, diced shallot (I hate cutting 2 tablespoons of onion and then wrapping the cut onion in the fridge), a little lemon juice to brighten everything up and a touch of Dijon mustard to give it some zing.  But don’t get mad when I tell you I have a random secret ingredient.  My friend Daisy introduced me to Herbamare, an organic herb and salt seasoning, several years ago and my tuna salad peaked.  It just adds the perfect flavor to complement the tuna.  I buy it at Whole Foods, but you can also find it on amazon.com.  Otherwise, just use some sea salt to taste.

You can make your tuna salad the night before to make your morning easier.  Mr. Picky doesn’t like sandwiches (hard to believe, right?), so he takes his tuna in a (BPA-free) container with a spoon.  My teenage girls would please like a breath freshener in their lunch bags on tuna day, and that does NOT mean a sprig of parsley.  Got it.  Look out for more lunch ideas in a future post!


5.0 from 1 reviews
My Favorite Tuna Salad
Author: 
Serves: serves about 3
 
Ingredients
  • 1 6-ounce can water-packed tuna, drained
  • ¼ of a lemon
  • 1 stalk celery, diced, about ½ cup
  • 1 small shallot, diced, about 2 Tablespoons
  • 2-3 Tablespoons mayonnaise (I like soy-free Vegenaise) or half Greek yogurt and half mayo
  • 1 teaspoon Dijon mustard (optional)
  • ⅜ teaspoon Herbamare or sea salt
  • Freshly ground black pepper to taste
Instructions
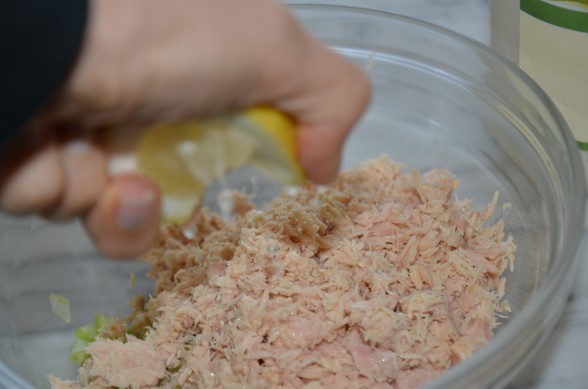
  1. Right in the can, flake the tuna with a fork over a medium bowl, at the same time allowing the tuna to fall into the bowl. Squeeze the lemon over the tuna.
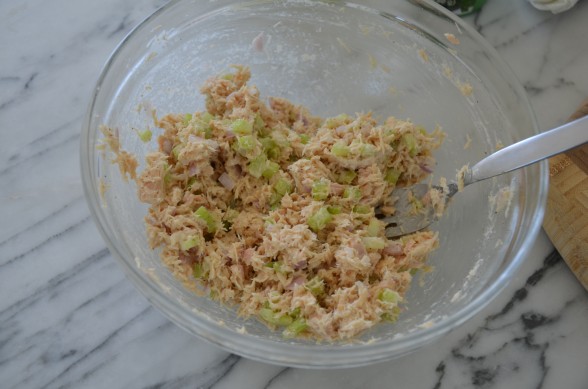
  2. Add the remaining ingredients to the bowl and mix well. Taste for seasoning.
Notes
Notes: other additions can include diced apple, diced sweet bell pepper, sliced manzanilla olives (the ones stuffed with pimentos), chopped nuts, chopped water chestnuts, fresh dill


Hummus 4 ways

I was talking with my summer intern Hannah about how much I love hummus and how easy it is to make.  I think I have been making my own hummus since before she was born, but the last couple years I have felt hummus boredom so I’ve had a little fun experimenting with different flavors.   Hannah was intrigued since she thought hummus was like puff pastry, which NO ONE makes from scratch.  Well, I knew we had a cooking lesson on our hands!

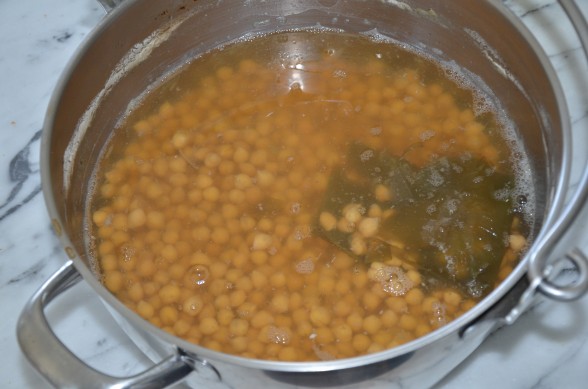
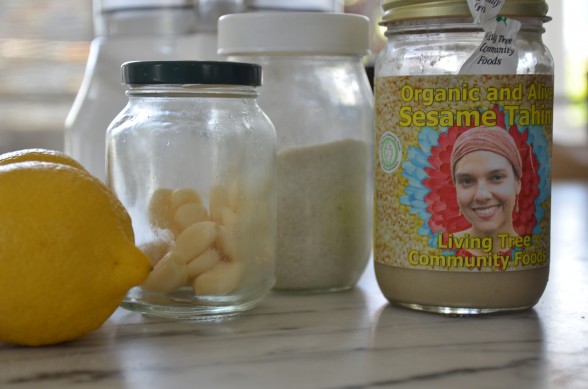
Hummus is a Middle Eastern dip made from cooked chickpeas (a.k.a. garbanzo beans) pureed with tahini (a paste made from ground up sesame seeds), garlic, lemon juice, and salt.  I add a little liquid from the pot (or can) of cooked chickpeas and some people add olive oil.  Sure you can add cumin or hot sauce, but essentially that’s it.  I maintain that hummus tastes so much better when I make my beans from scratch, although really you can use canned and it will still be fabulous.  But what kind of a cooking lesson would this be if we used chickpeas from a can?  So I started soaking a ton of dried chickpeas that day, cooked them for 90 minutes the next morning and we began our hummus factory.

I had an idea to make several of my favorite flavors just for kicks, so we also roasted a couple beets, a red bell pepper and cut some cilantro from the garden.  After we made our first batch, which was the traditional kind, Hannah looked at me in disbelief.  “That’s it?! ”  Yep.  That’s it.  “If people knew how easy it was to make hummus, they would never buy it!”  I’m so glad that thought was put out there to the universe.

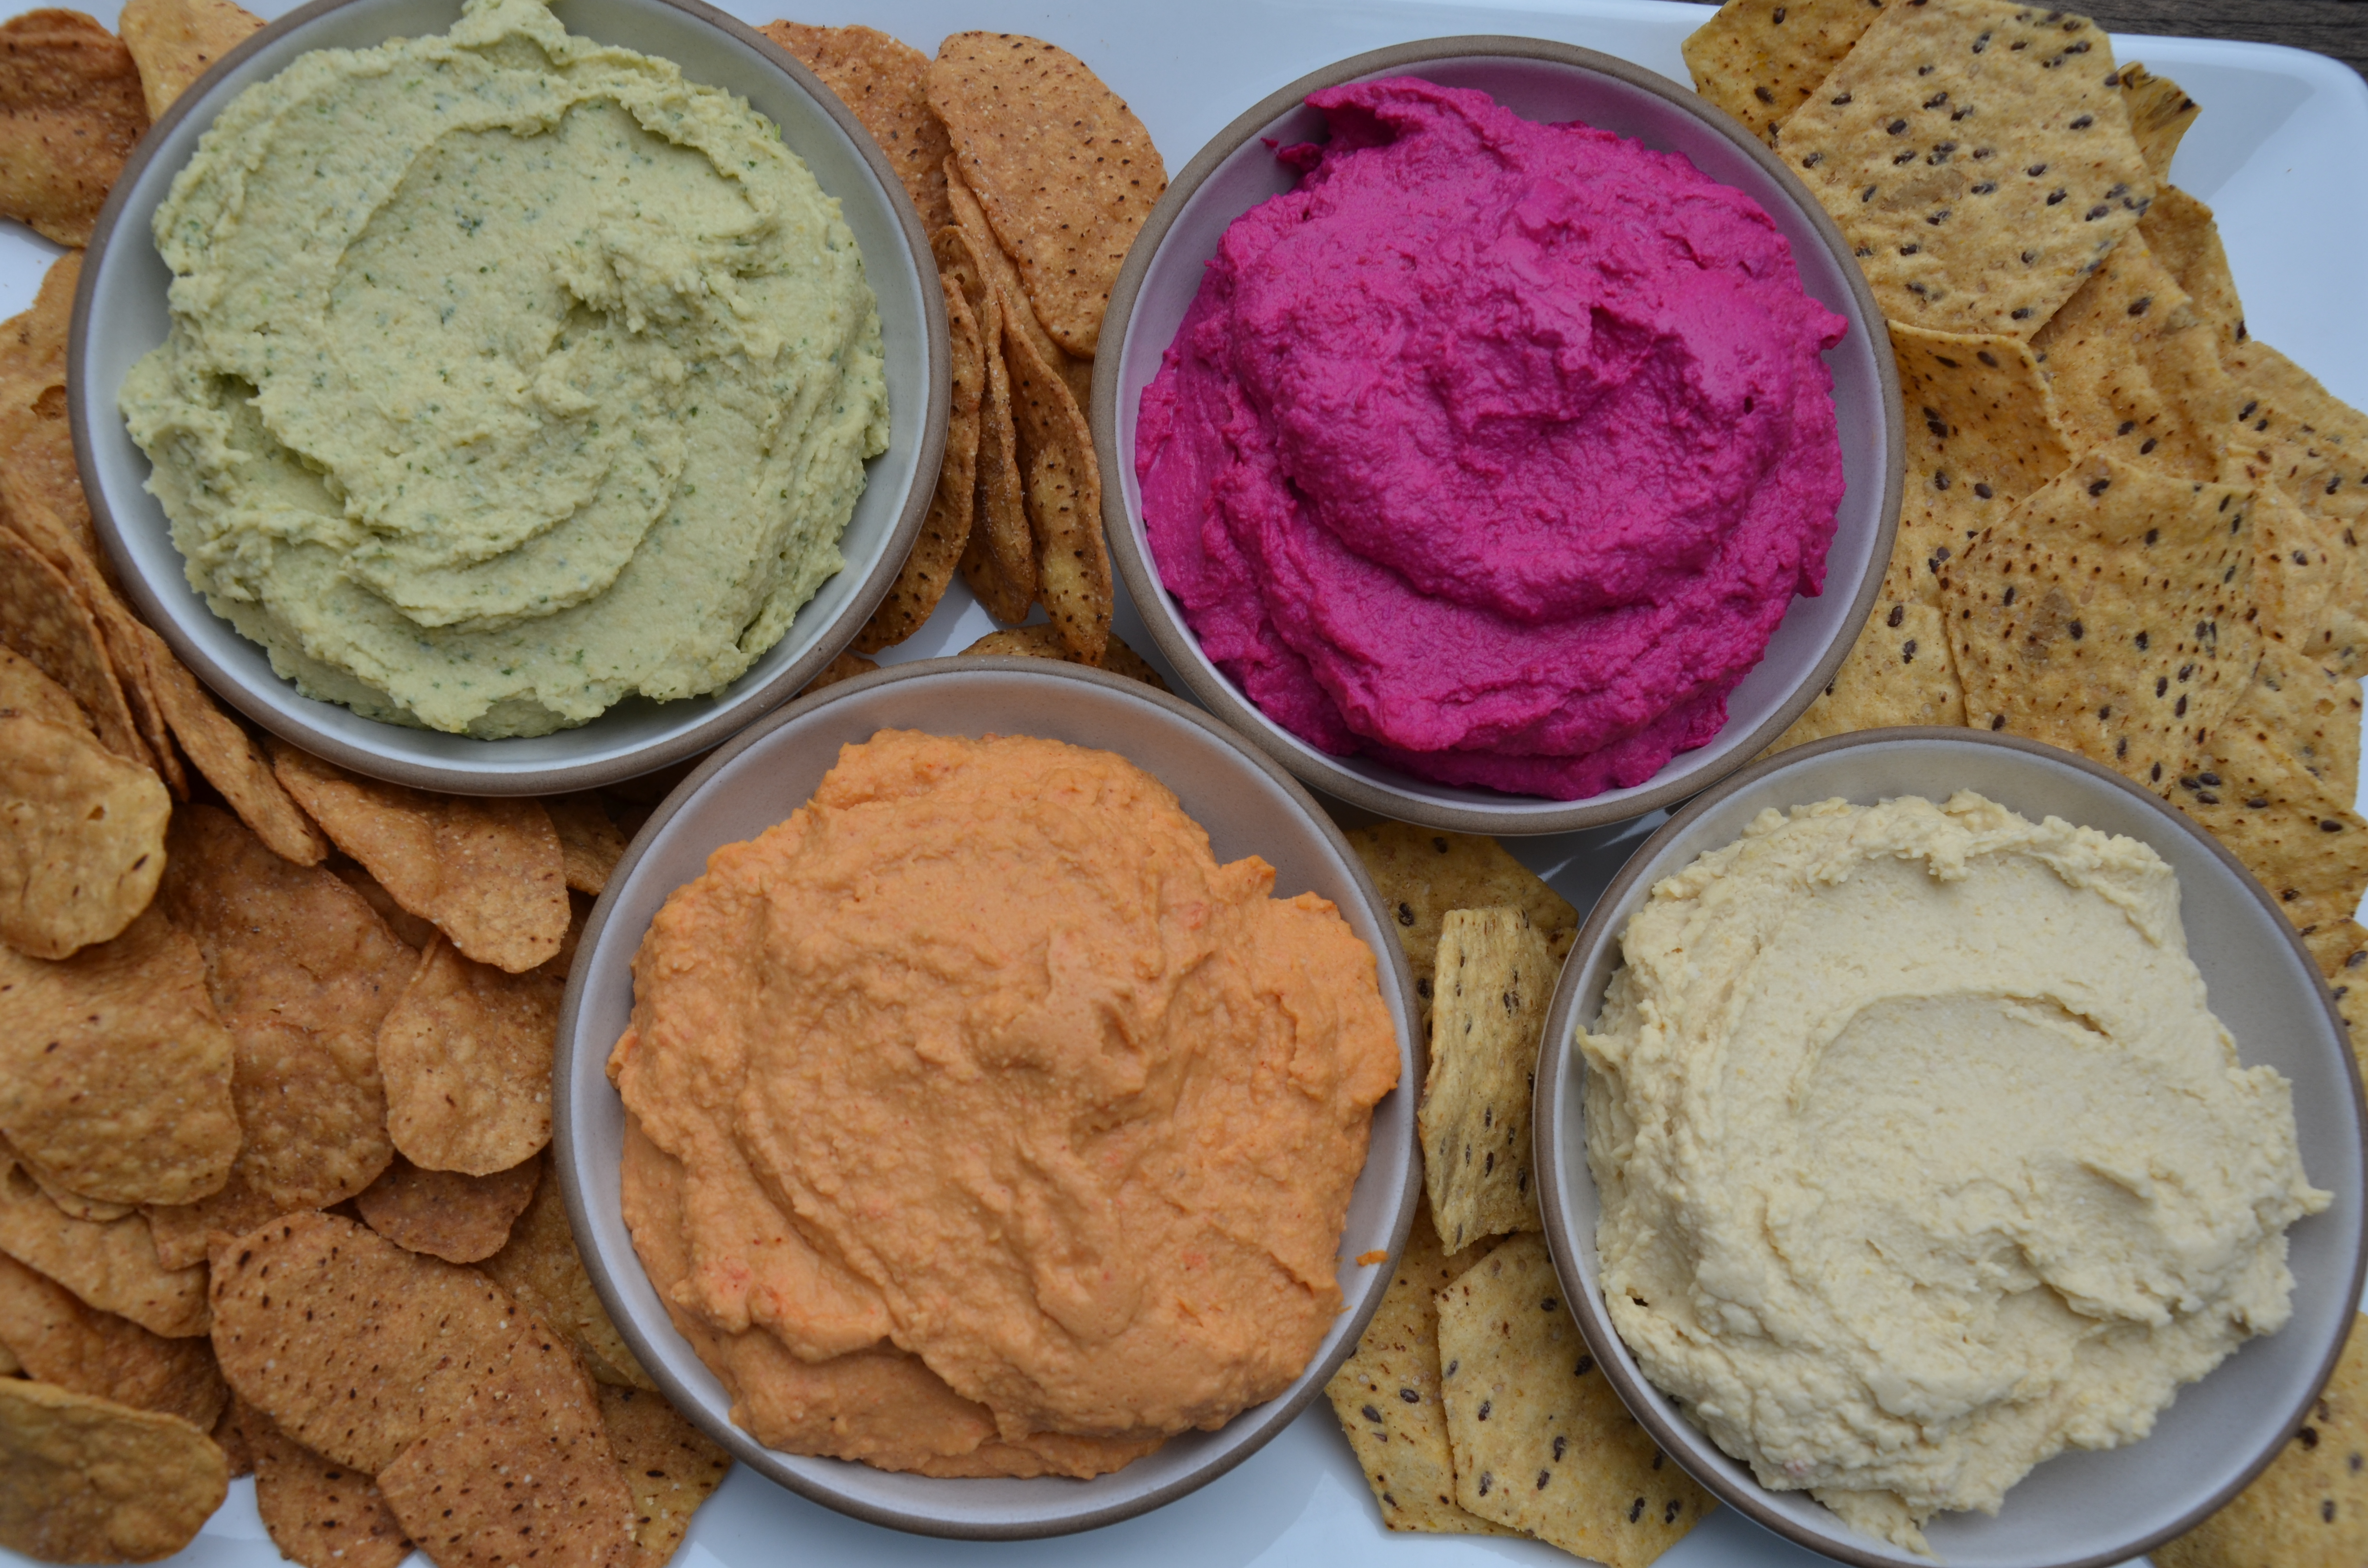
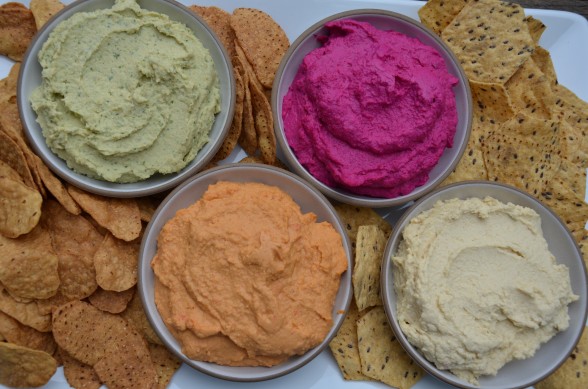
After that, we made hot pink hummus with a roasted beet, which I agreed would be super cute for a (girl) baby shower or a bachelorette party (Hannah’s idea.)  Cilantro hummus turned out a lovely pale green with a fresh herby flavor.  Lastly, my favorite was roasted red pepper hummus to which I added a little smoked paprika and a dash of cayenne.  We tried all the flavors with raw carrot, cucumber and sweet bell pepper slices, as well as some gluten-free chips.  But I also love the red pepper version on veggie burgers and the cilantro one on a turkey sandwich.  The beet hummus is for pure shock value since despite adding a roasted beet, it just picks up a subtle sweetness and really tastes a lot like the traditional.  You can never have enough healthful dips for summer entertaining.  With July 4th around the corner, there’s no better time to add some pizzaz to an old classic!

Traditional Hummus
Author: 
 
Ingredients
  • 3 cups cooked chickpeas, if canned, drained and rinsed, liquid reserved*
  • 3 garlic cloves
  • ½ cup sesame tahini
  • 4-5 Tablespoons freshly squeezed lemon juice
  • 6 Tablespoons chickpea liquid
  • 1 teaspoon plus a pinch sea salt
Instructions
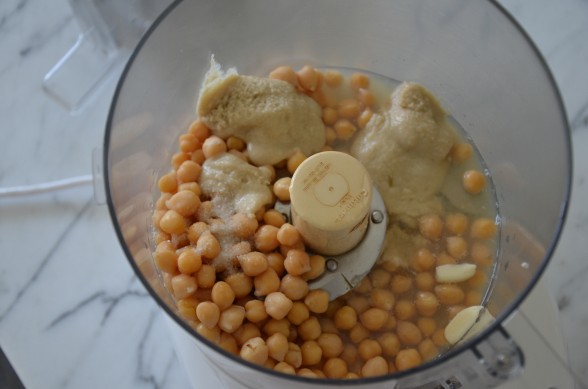
  1. Place all the ingredients in a food processor fitted with the steel blade and process until the hummus is smooth. Taste for seasoning and texture.
  2. I like it very smooth and creamy, so I let the food processor run for a few minutes. I also prefer to eat it immediately at room temperature, but if you will be refrigerating it, you can add a little extra chickpea liquid since the hummus will thicken after it has been refrigerated.


: : : : : : : : : : : : : : : : : : : : : : : : : : : : : : : : : : : : : : : : : : : : : : : : : : : : : : : : : : : : : : : : : : : : : : : : : : : : : : : : : : : : : : : : : : : : : : : : : : : : : : : : : : : : : : : : : : : : : : : : :


Variations:

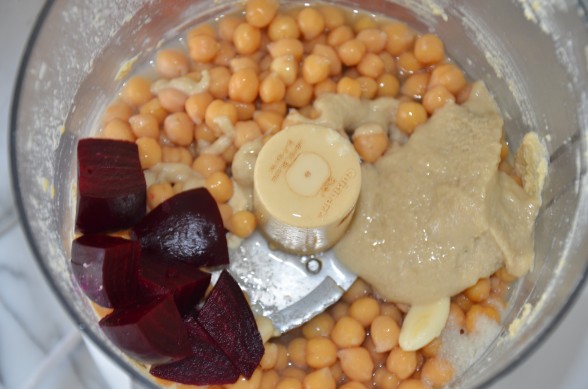
Beet Hummus: add 1 large roasted and peeled red beet to Traditional Hummus ingredients in food processor.  Blend until thoroughly combined.


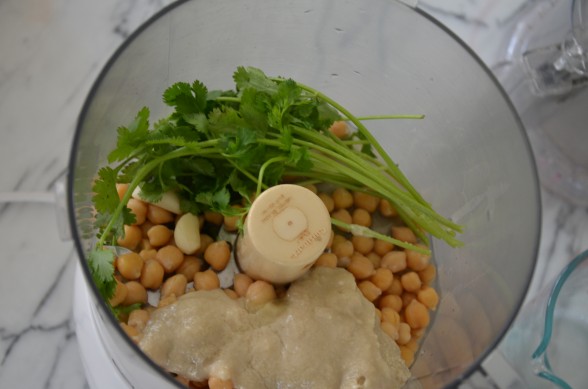
Cilantro Hummus: add 24 sprigs of cilantro and a few dashes of cayenne pepper to Traditional Hummus ingredients in food processor.  You can use either lemon juice or lime juice.  Blend until thoroughly combined.  Feel free to use more cilantro.
 

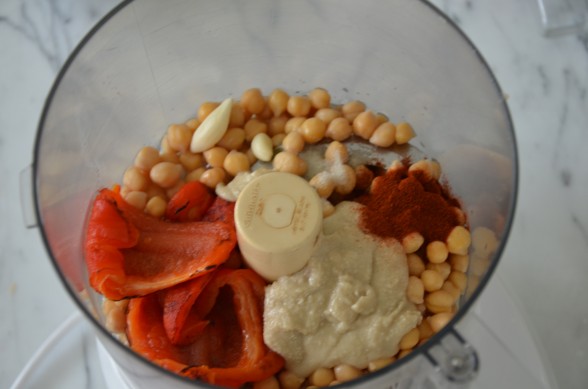
Roasted Red Pepper Hummus: add 1-2 teaspoons smoked paprika, a few dashes cayenne pepper and 1 large roasted, peeled and seeded sweet red bell pepper to Traditional Hummus ingredients in food processor.  Reduce lemon juice to 1 Tablespoon and sea salt to ¾ teaspoon.  Blend until thoroughly combined.  Taste to adjust seasonings.

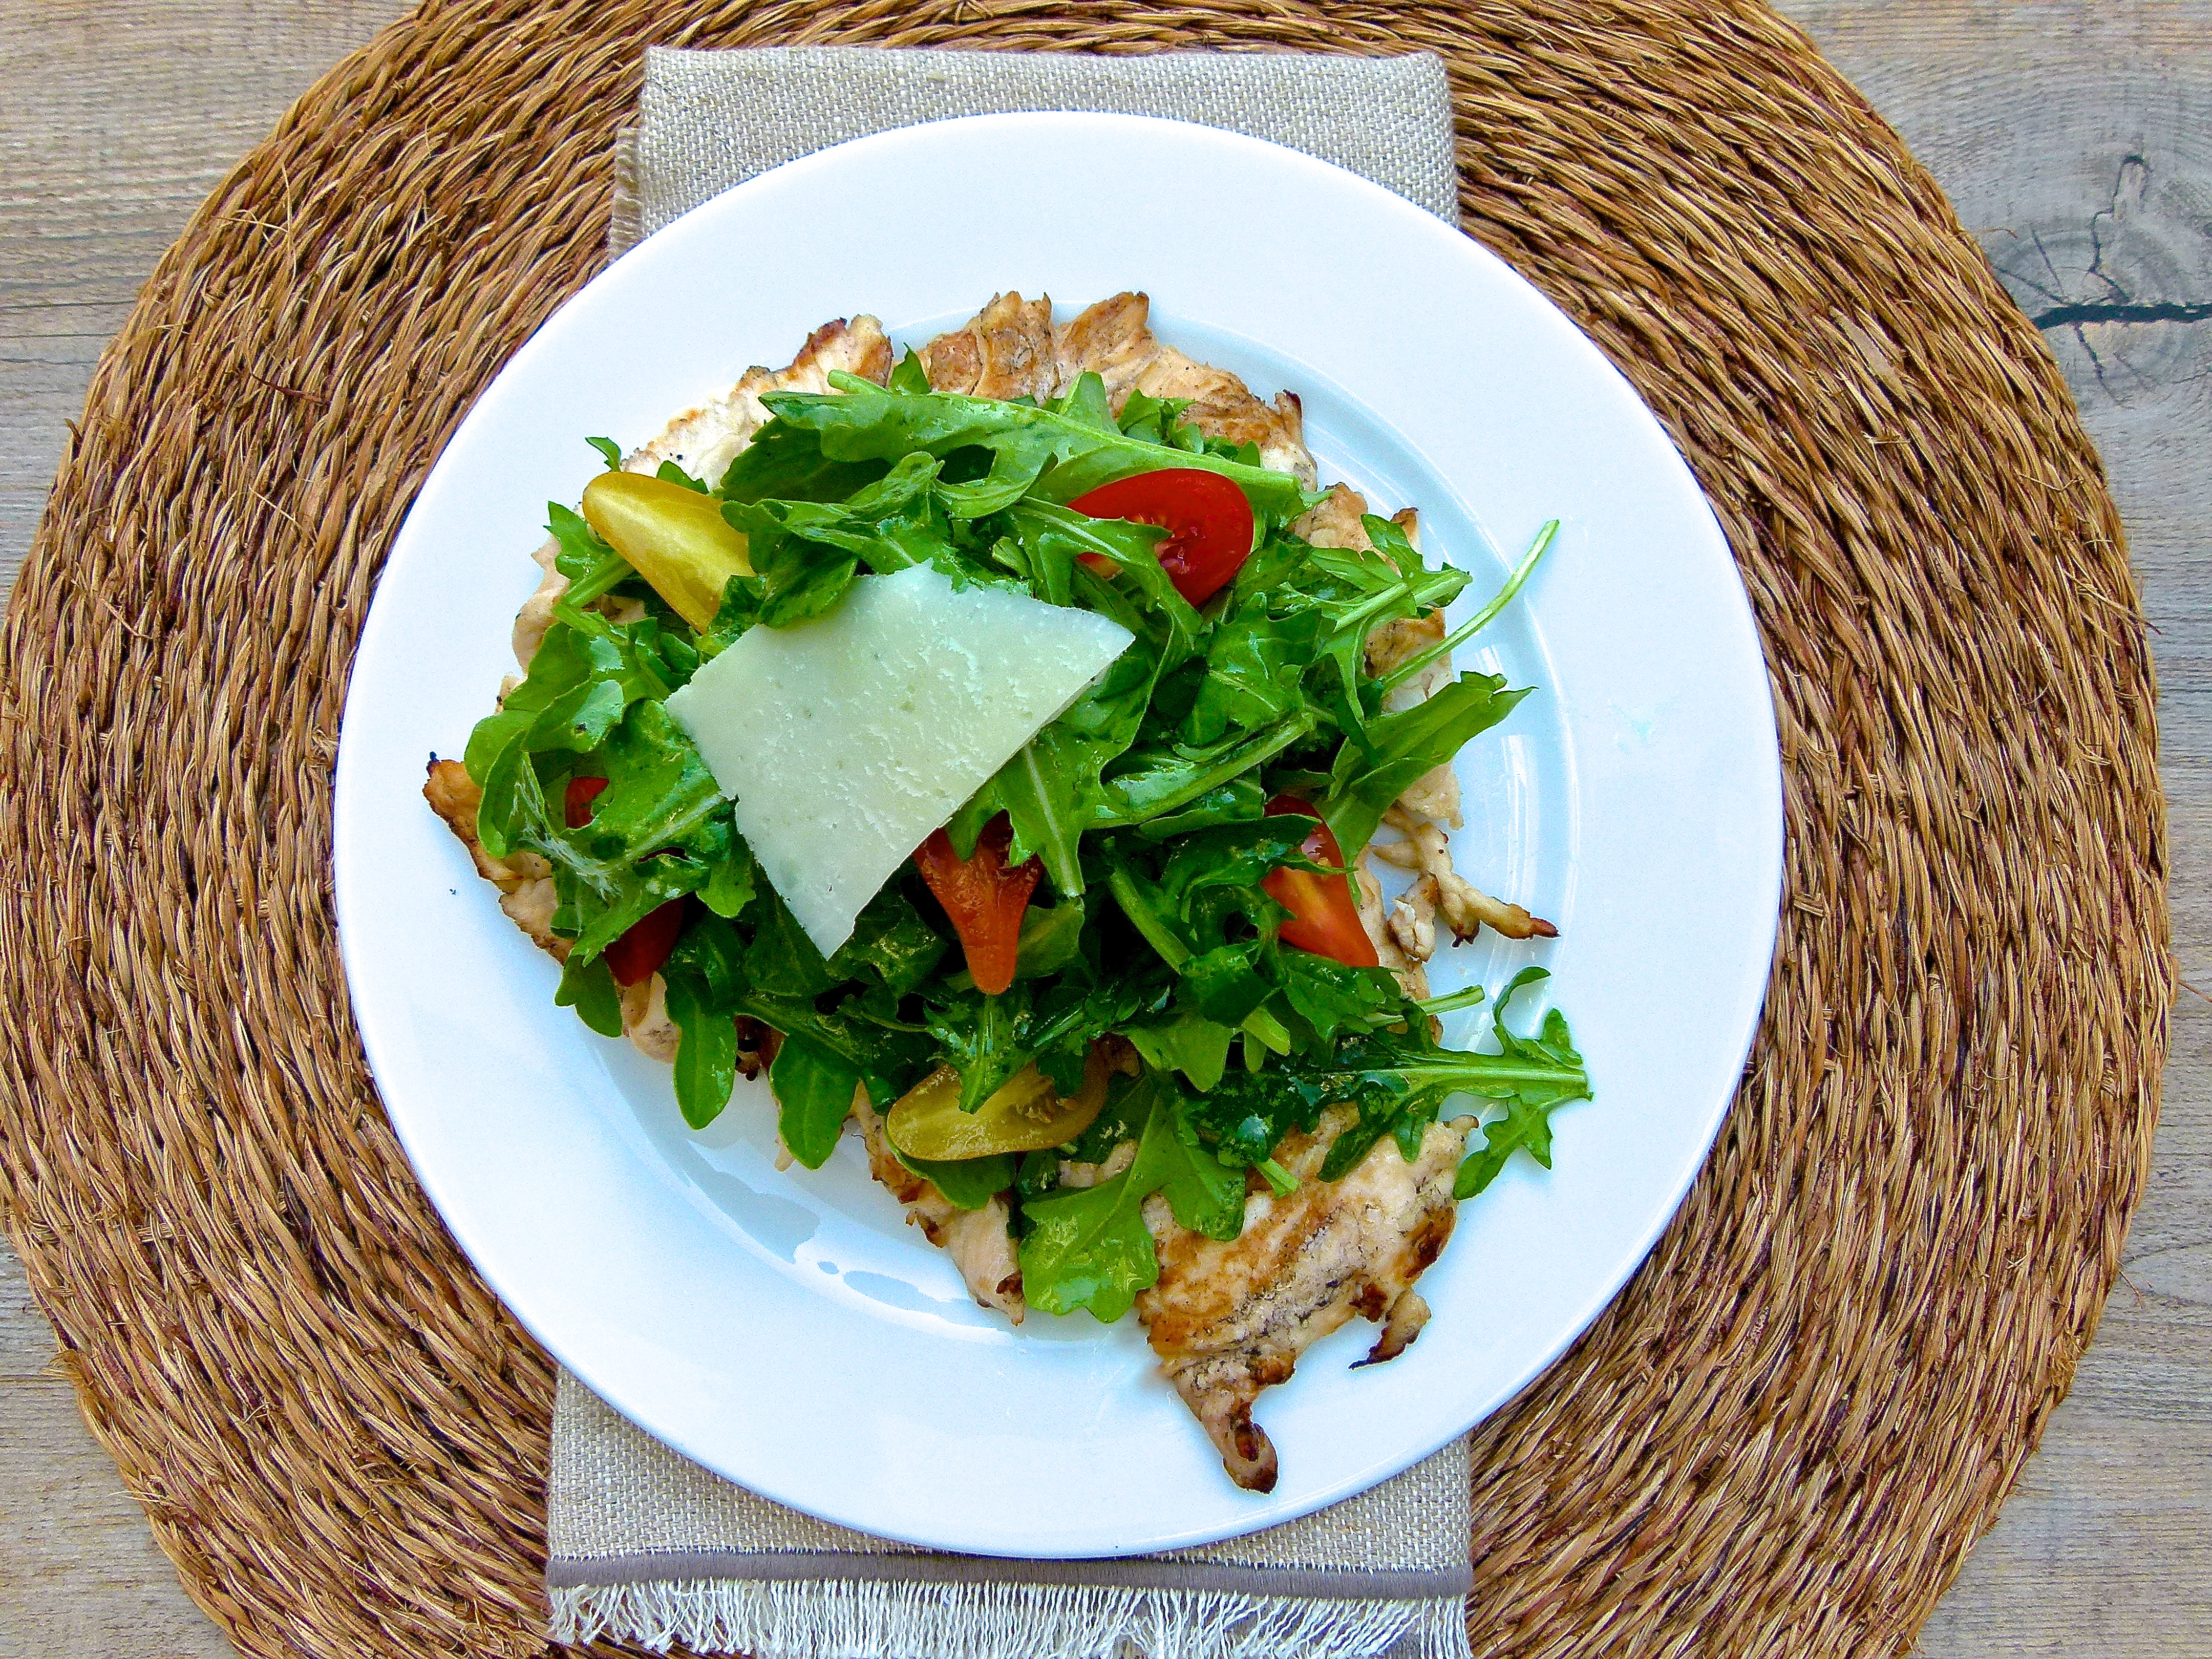
Grilled chicken paillard with arugula and lemon vinaigrette

chicken paillard with arugula

By now you have figured out that I promote one meal for the whole family.  I think there is a beautiful connectedness that comes from everyone sharing the same meal and sharing the same energy from that food.  In addition, I believe that we help our children develop better eating habits when we expose them to a wide variety of foods during their lives and we encourage them to try new things.  By giving in to the picky eater in the family and making him chicken tenders or buttered pasta every night because he won’t eat grown-up food, we are basically ensuring that he will grow up with only a taste for “kid cuisine” and the flavors associated with it.  Not only that, who in the world has time to make more than one meal every night?

Mr. Picky is my 7-year-old and he is a challenge at mealtime even though I have done everything right.  I am a great eater and I have set a good example for him (the most important thing.)  I have exposed him to every vegetable and whole grain countless times.  He has helped me prepare dozens of meals.  We have gone shopping together at the supermarket and farmer’s markets.  We have planted seeds and grown our own food.  And he is still a total pain in the ass neck and still quite picky, although he is slowly coming around.  But I am not stressed out about it because Daughter #1 was the exact same way, even worse!  Until one day something clicked and now she eats everything I eat from beet greens and bok choy to millet and muesli.

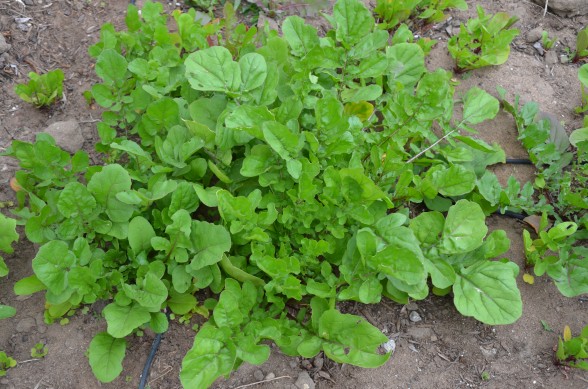
What does this have to do with chicken paillard and arugula salad when 99% of kids hate arugula?  Of course they hate it.  It is peppery and bitter and their tastebuds haven’t developed to the point that it tastes good to them.  I didn’t like arugula when I was 7, but I am a maniac for it now.  I even grow tons of it in my garden.  So should I cater to the lowest common denominator in my family and prepare arugula-less meals?  Heck no!  I want arugula salads every now and then with a lemon vinaigrette and thinly pounded chicken breast.  It’s one of my favorite quick-fix meals.  But this is where I think flexibility should play a role.   I will cut the chicken into strips and lay them on top of the arugula so that  it is more appealing to my son and I allow him to eat just the chicken.  He can look around the vegetable crisper and see if there’s something else that he would like, such as a raw carrot.  In this way, I am not making him a whole different meal for him and the rest of us get to eat what we want.

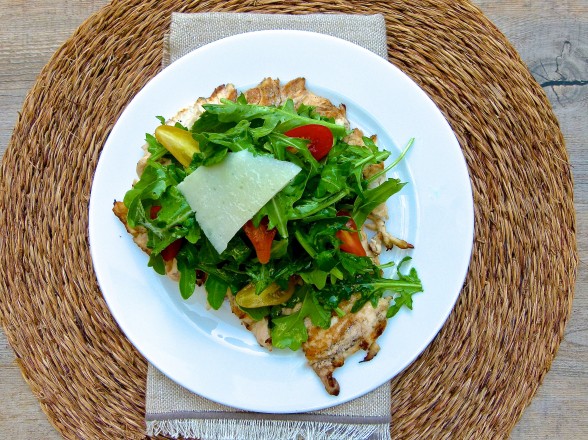
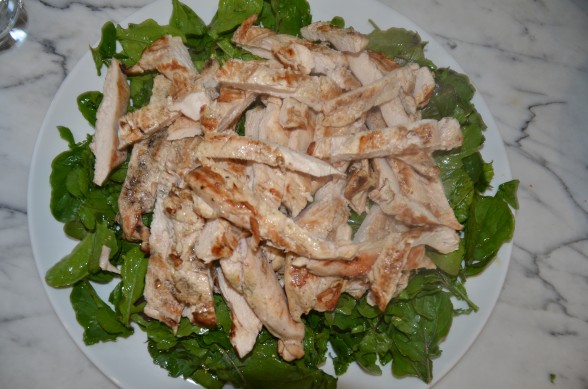
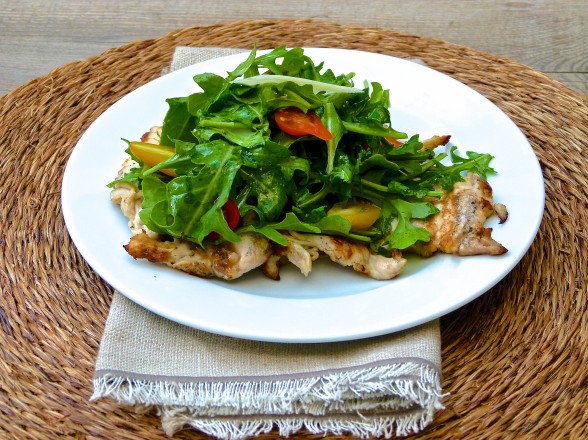
No one likes everything, not even me.  I very much dislike papaya, tarragon and poached or runny eggs.  If you dislike arugula, feel free to substitute spinach or a crisp romaine.  If you dislike chicken, you can add steak or chickpeas and shaved parmesan cheese.  This is a great recipe to make for a crowd or for just one.  The photo below shows a big platter I made when my cousin Joanna and her husband Anthony stopped by for dinner.  I literally came home after they arrived at my house and whipped this together in front of them.  The other finished photo at the top is my lunch yesterday when I was working at home testing recipes.  As luck would have it, Mr. Picky came home for lunch and asked if I would share my chicken with him.  My pleasure, as long as I get all the arugula for myself!  One day he’ll be asking for that, too.


chicken paillard with arugula


5.0 from 1 reviews
Grilled Chicken Paillard with Arugula and Lemon Vinaigrette
Author: 
Serves: 4
 
Ingredients
  • 2 boneless, skinless chicken breasts
  • Juice of 1 lemon + 3 Tablespoons lemon juice
  • Olive oil
  • Sea salt and black pepper
  • 1 clove garlic
  • 1 teaspoon Dijon mustard
  • 8 ounces arugula
  • 1 tomato, chopped
Instructions
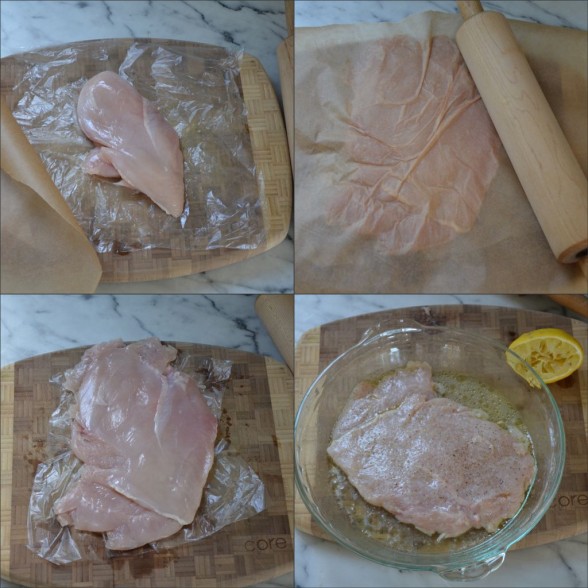
  1. Place the chicken breasts one at a time in between to pieces of parchment paper or plastic wrap and pound to a ¼-inch thickness. You can use a meat mallet or a rolling pin. The idea is to get the chicken to an even thickness all around. Remove from the paper and place in a glass baking dish and squeeze the juice of 1 lemon on top. Drizzle with an equal amount of olive oil. Sprinkle with ½ teaspoon sea salt or kosher salt and black pepper to taste. Allow to sit at room temperature for 30-60 minutes.
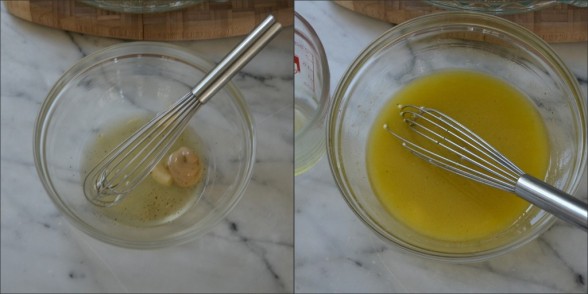
  2. Heat the grill to medium. In the meantime, prepare the salad dressing. Cut the garlic clove in half and rub the inside of a medium bowl with the cut side of the garlic. Add the garlic to the bowl. To the bowl, add 3 Tablespoons lemon juice, Dijon mustard, ½ teaspoon sea salt, and black pepper to taste. Whisk to combine. Pour ½ cup olive oil into the bowl, whisking constantly to emulsify. Taste for seasoning and tartness. Add more oil if necessary.
  3. Remove chicken from marinade and grill a few minutes on both sides until golden brown. Place on a cutting board. Arrange the arugula on a platter and drizzle with enough of the dressing to coat lightly. Cut the chicken into strips and arrange on top of the arugula. Scatter tomatoes on top and drizzle a little more dressing. Or arrange the chicken on a platter and top with dressed arugula leaves and tomato.
Notes
I also love this salad with chickpeas, olives, shaved parmesan cheese, or thinly sliced fennel.

Do ahead: you can make the dressing several days in advance and wash and dry your greens in advance, too. Just wrap them in a damp kitchen towel and store in the refrigerator.


Quinoa Tabbouleh Recipe

Father’s Day is this Sunday and we are getting ready to celebrate the man of the house.  I have already begun planning my menu, which no doubt will involve some grilling since we all know that’s a man’s favorite thing to do.  If my husband had his way, the meal would consist of cheeseburgers, hot dogs, grilled corn and ice cream sandwiches.  And the reason my husband has been able to maintain his girlish figure all these years is because he is not in charge of meals.  Before you accuse me of being no fun whatsoever, please know that grass-fed burgers with raw cheddar cheese and Applegate Farms organic grass-fed hot dogs will be in the house.  Thankfully several people in our family like my turkey burgers enough that I will be making a batch of those.  But more importantly, what am I going to eat?

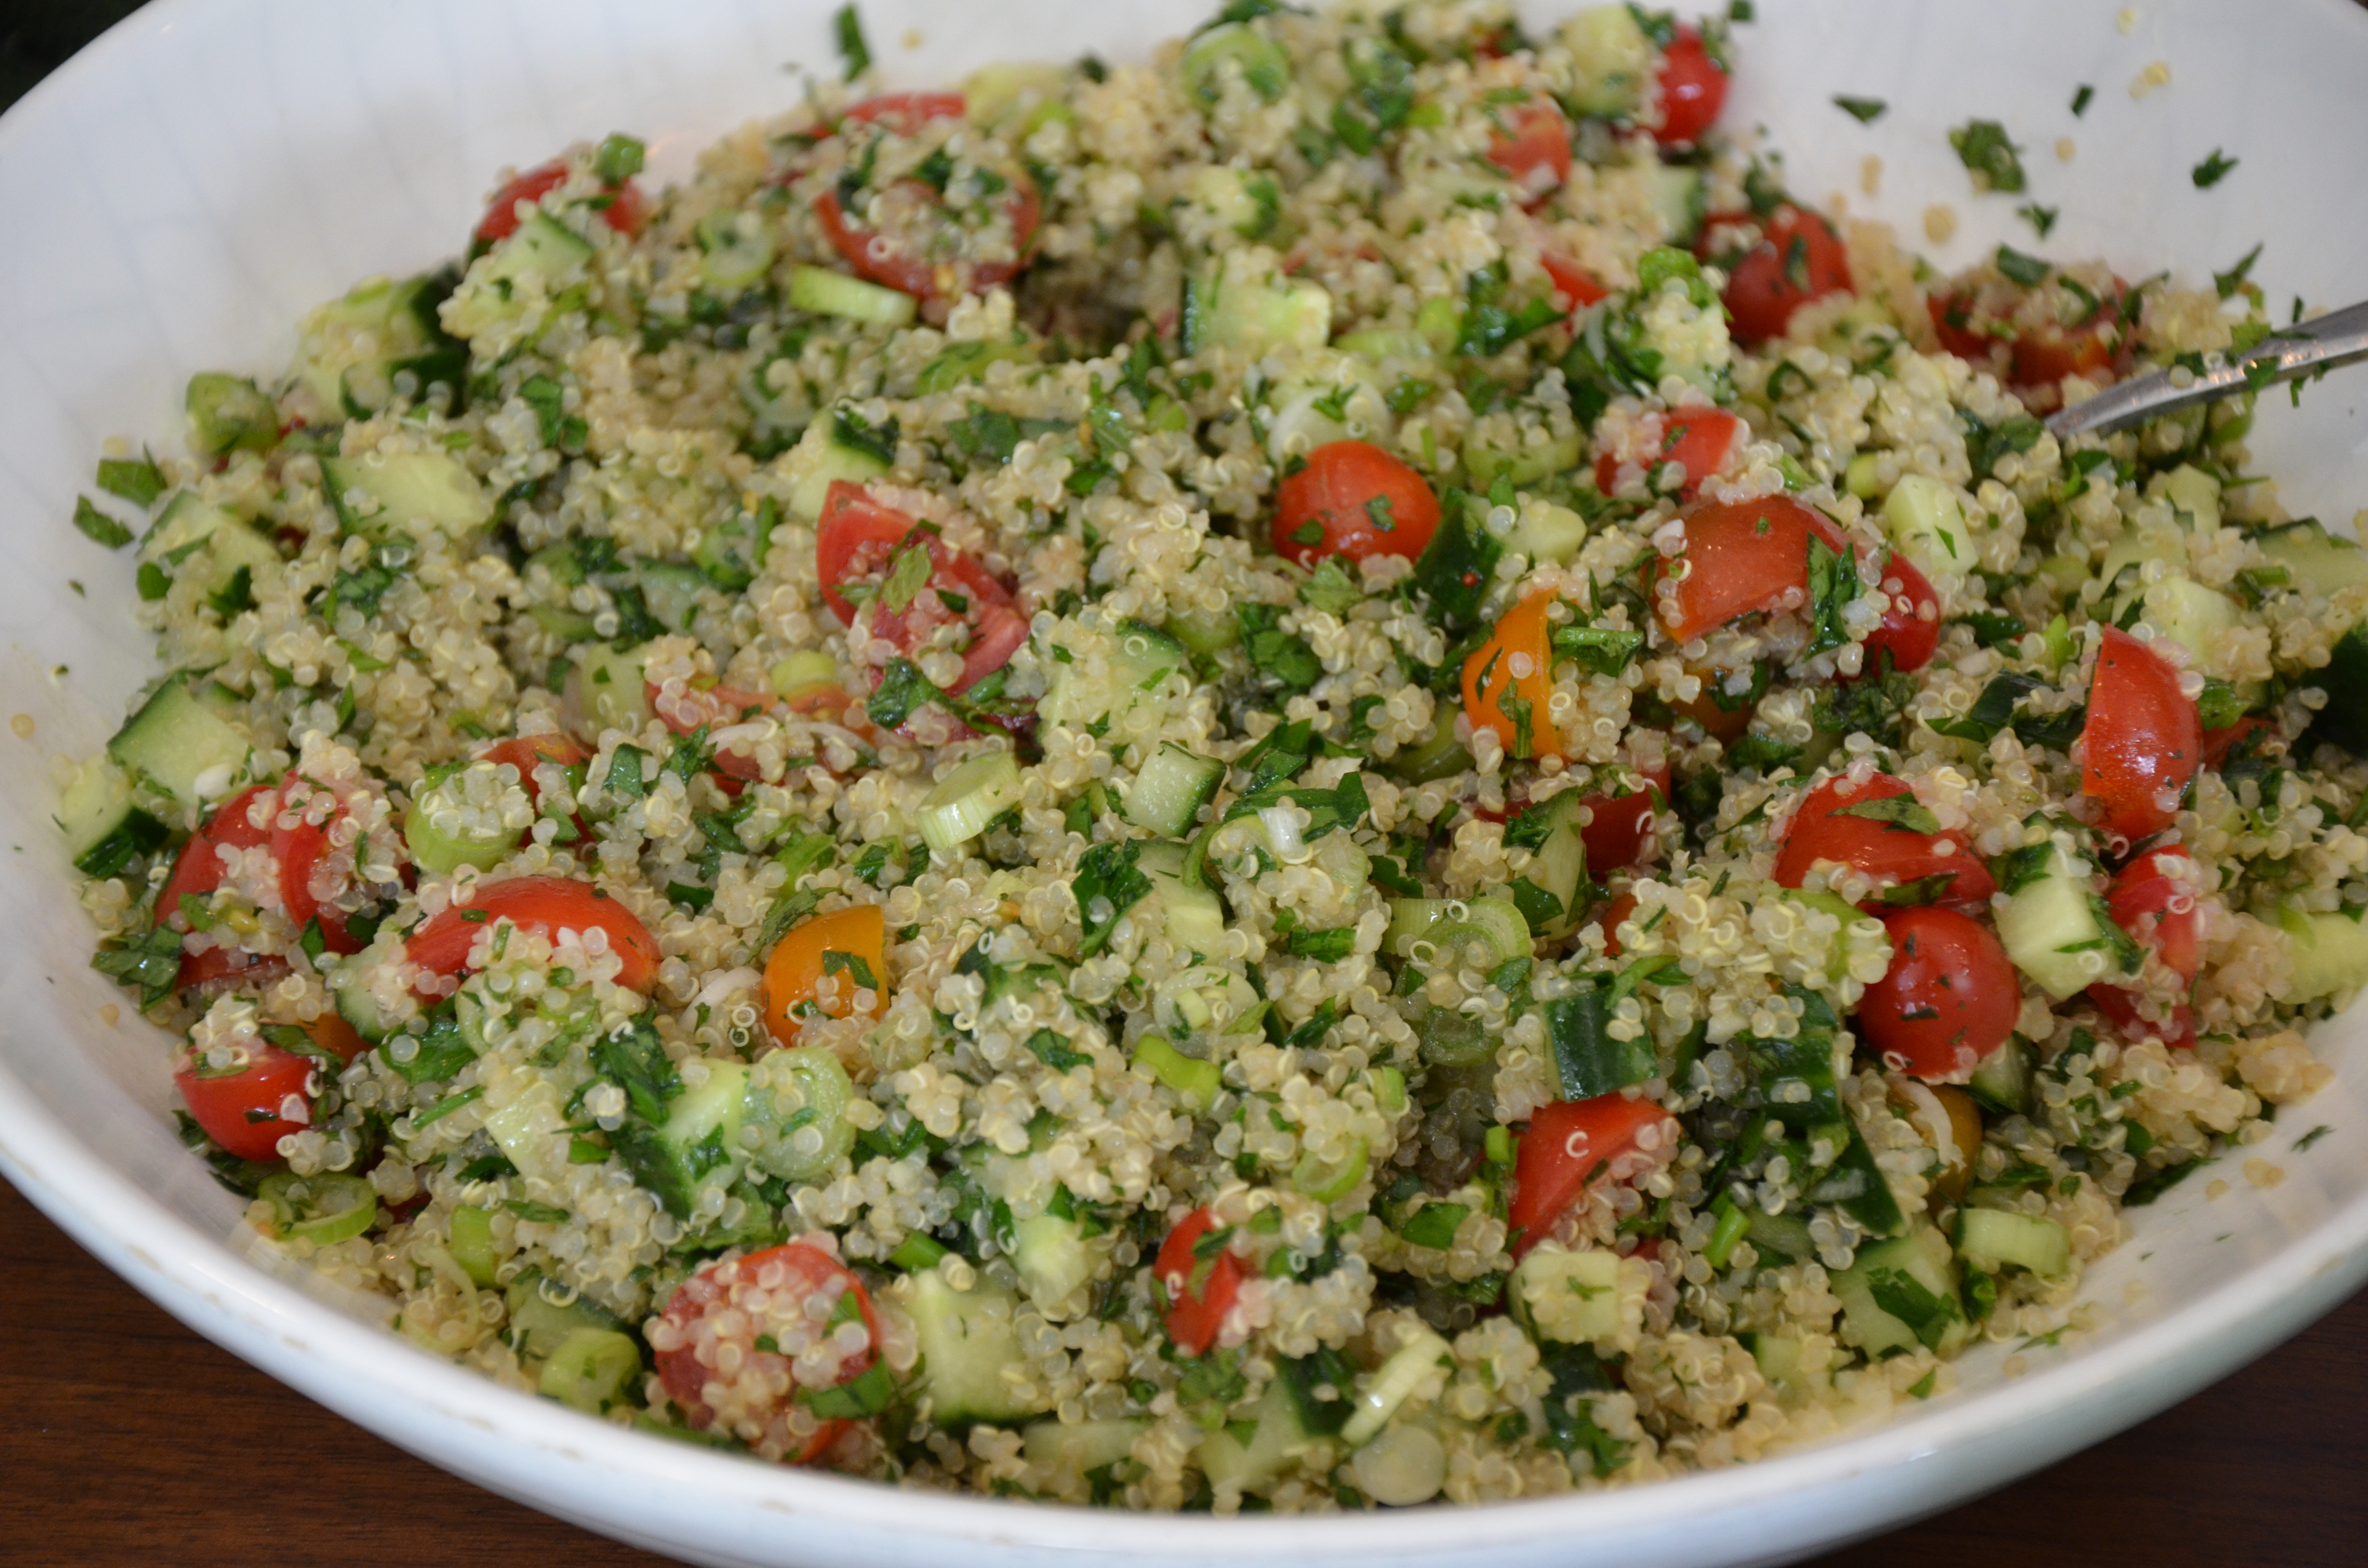
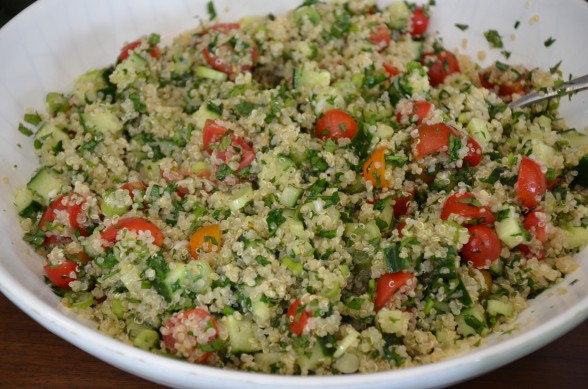
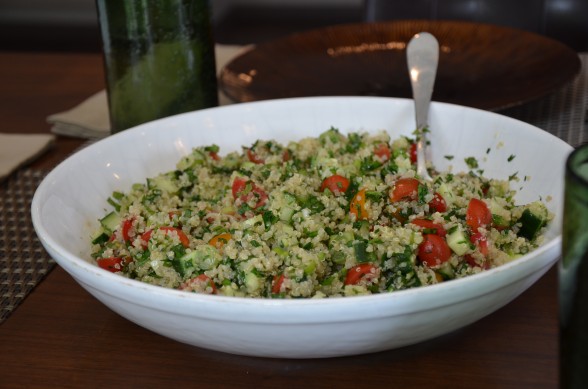
Did I really find a way to make Father’s Day all about me?  No, no, this will be Dad’s day, but it’s my job to make sure there’s a little balance in the meal and protein for the non-hot dog eaters.  Like me.  When I think about one of my favorite things to make for a backyard barbecue, something versatile enough to complement anything, delicious in its own right, lovely to look at and healthful enough that you can almost justify eating all that meat, quinoa tabbouleh immediately comes to mind.  Just look at it!  Light and bouncy quinoa mixed with sweet cherry tomatoes (use whatever colors you like), crunchy cucumber and all those fresh herbs.  Who wouldn’t want to eat it?  Don’t answer that, because I know what you’re thinking.  I took this salad to my friend Karen and Jonathan’s house the other day for a barbecue and every man there not only tried the quinoa, but finished every little grain.

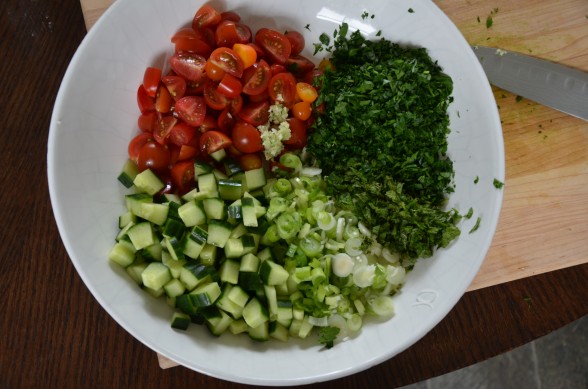
Quinoa works really well as a substitute for tabbouleh’s traditional bulgar wheat.  (Like you really need to eat more gluten.)  You can even mix different colors of quinoa and different colors of tomatoes.  When I brought it to Karen’s, the quinoa was still too warm to mix with all the vegetables and herbs so I kept that in a separate container and brought a little glass jar with the lemon juice, olive oil and salt.  Everything else was prepared ahead and kept in a serving bowl.  Before we sat down to eat, I mixed the quinoa with the vegetables and herbs and poured in the dressing.  Super easy, really nutritious and you know what?  Real men don’t eat quiche, but they do eat quinoa!


Quinoa Tabbouleh
Author: 
Serves: serves 6 as a side dish
 
Ingredients
  • 1 cup uncooked quinoa
  • Sea salt
  • 2 cups diced unpeeled Persian or Japanese cucumber (or cucumber with a tasty skin)
  • 2 cups halved or quartered cherry tomatoes
  • 4 scallions, thinly sliced
  • ½ teaspoon minced garlic
  • ¾ cup finely chopped fresh flat leaf parsley or as much as you can chop -- the more, the better!
  • ¼ cup finely chopped fresh mint leaves
  • ⅓ cup freshly squeezed lemon juice
  • ⅓ cup unrefined, cold-pressed extra-virgin olive oil
  • Freshly ground black pepper
Instructions
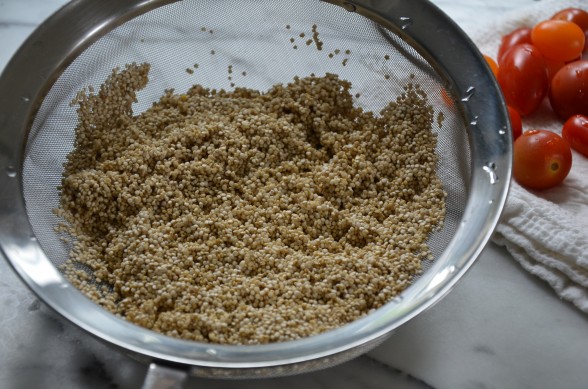
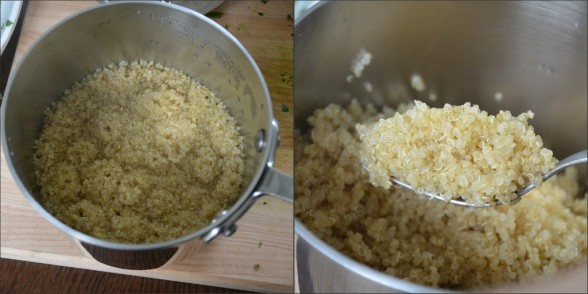
  1. Rinse quinoa in a bowl with water or place quinoa in a fine mesh sieve and rinse under cold water until water runs clear. Transfer to a saucepan and add a healthy pinch of sea salt and 1 ¾ cups of water. Bring to a boil and simmer until water is absorbed, about 15 minutes. Turn off the heat and let sit covered for 10 minutes.
  2. Transfer quinoa to a serving bowl and allow to cool. Fluff with a fork periodically.
  3. Combine cooled quinoa and remaining ingredients plus 1 ½ teaspoons sea salt. Toss to mix well. Taste for seasoning.


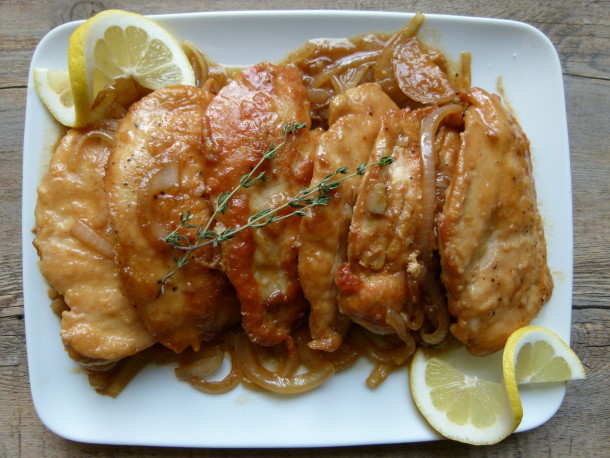
Lemon-thyme chicken recipe

lemon-thyme chicken | pamela salzman

Once upon a time, I used to enjoy spending lots of time experimenting in the kitchen.  I had fabulous cookbooks in which I found interesting and challenging recipes to make for dinner.  On a weekday.  And then it was over.  My kids started playing team sports.  Do you know this new life?  Are you driving to some field at exactly the same time you should be soaking and sauteeing or poaching and shredding?  And then back an hour later to pick-up, unless of course there’s a GAME.  Then you’re sitting on bleachers for two hours trying to figure out how dinner will be ready the second you walk in the door with starving children.

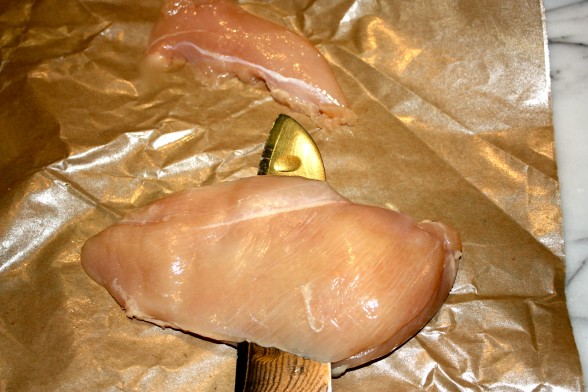
how to slice into cutlets

“Baked Lemon Chicken” from The Union Square Cafe Cookbook was one of my favorite chicken entrees before sports.  Bone-in chicken pieces baked with lots of sauteed onions, lemon and thyme.  It was even good enough to serve to company.  But there would be no more basting every 15 minutes for me on a Tuesday at 5:00.  So what’s a girl to do?  Adjust the recipe to cutlets, of course!

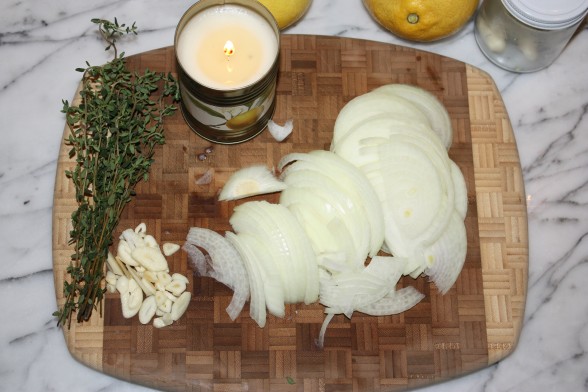
sliced onions and garlic, fresh thyme

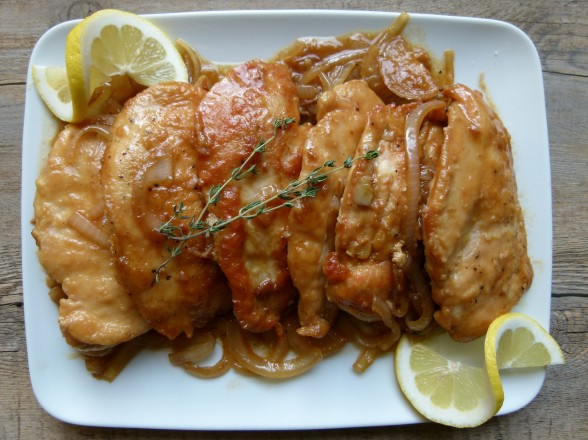
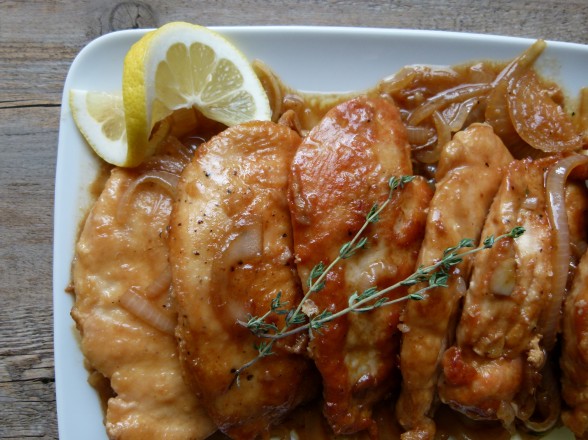
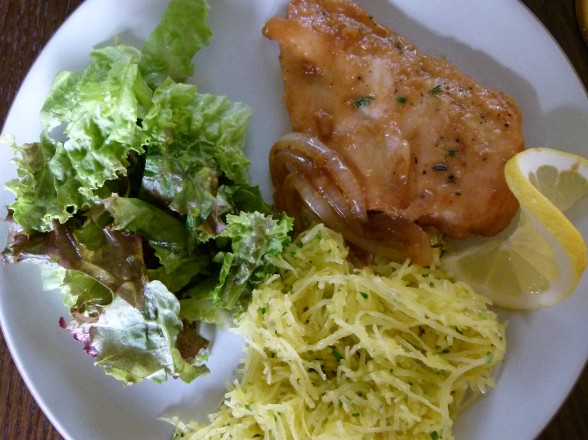
Even though I generally prefer bone-in chicken to boneless, this dish is not lacking for flavor or moistness.  The onions get soft and saucy with lemon and infused with fresh thyme and the chicken takes it all in.  The best part about this is that it’s super easy and can be done in stages, if necessary.  You can flour and saute the chicken and then take the kids to practice.  Come back and saute the onions, add the thyme, lemon and stock.  Pick up the kids from practice and when you get home add the chicken to the onions and let everything cook together while you saute some spinach with garlic.  Hopefully you made a vinaigrette and washed some lettuce a few days ago, so assembling a salad will take you no time at all.  Can you say, “Home run!”

lemon- thyme chicken | pamela salzman


lemon-thyme chicken | pamela salzman


Lemon-Thyme Chicken
Author: 
Serves: 6
 
Ingredients
  • 2 pounds chicken cutlets (I show a photo of how I cut a boneless, skinless breast half into cutlets, but you can ask your butcher to do this)
  • Sea salt and freshly ground black pepper
  • Flour for dredging (whole wheat pastry flour or brown rice flour (gluten-free) are the two I use)
  • Unrefined, cold-pressed extra-virgin olive oil
  • 1 large onion, halved and sliced thinly (I use a candle when I am cutting onions to prevent crying -- it works!)
  • 4 cloves garlic, sliced thinly
  • ½ cup fresh lemon juice
  • 1 cup chicken stock
  • a few sprigs of fresh thyme
Instructions
  1. Season the chicken cutlets on both sides with sea salt and black pepper. Dredge them with flour and shake off the excess.
  2. Warm about ¼ cup olive oil over medium heat in a large skillet. Add the chicken cutlets and sauté on both sides until golden brown. Transfer the chicken to a plate.
  3. Add the onions and garlic to the skillet and season with sea salt and pepper. Sauté until tender, about 8 minutes. Pour the lemon juice into the pan and scrape any brown bits on the bottom. Add the chicken stock and thyme sprigs and bring to a simmer. Transfer the chicken back to the pan with any accumulated juices. Simmer until cooked through, about 5 minutes.
  4. Remove thyme sprigs and serve immediately.


Â