Do-it-yourself almond milk — 3 versions

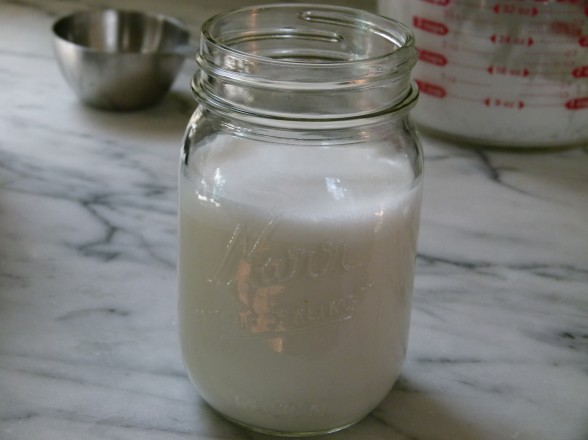
You saw from my Alternative Milk Guide that these non-dairy beverages are basically nuts/seeds/grains pureed with water and strained.  Although Mr. Picky drinks raw milk regularly, the rest of us don’t and the non-dairy milk that is used most often in our house is almond milk.  Once I learned how easy it is to make your own extremely delicious, pure almond milk, I have never purchased it off the shelf again.  This is a great, non-messy activity to do with your kids since they can help with the process and it is also really cool for them to see how almonds become almond milk.  It was also really cool for my husband to see how to “milk” an almond because he was having a tough time visualizing it.

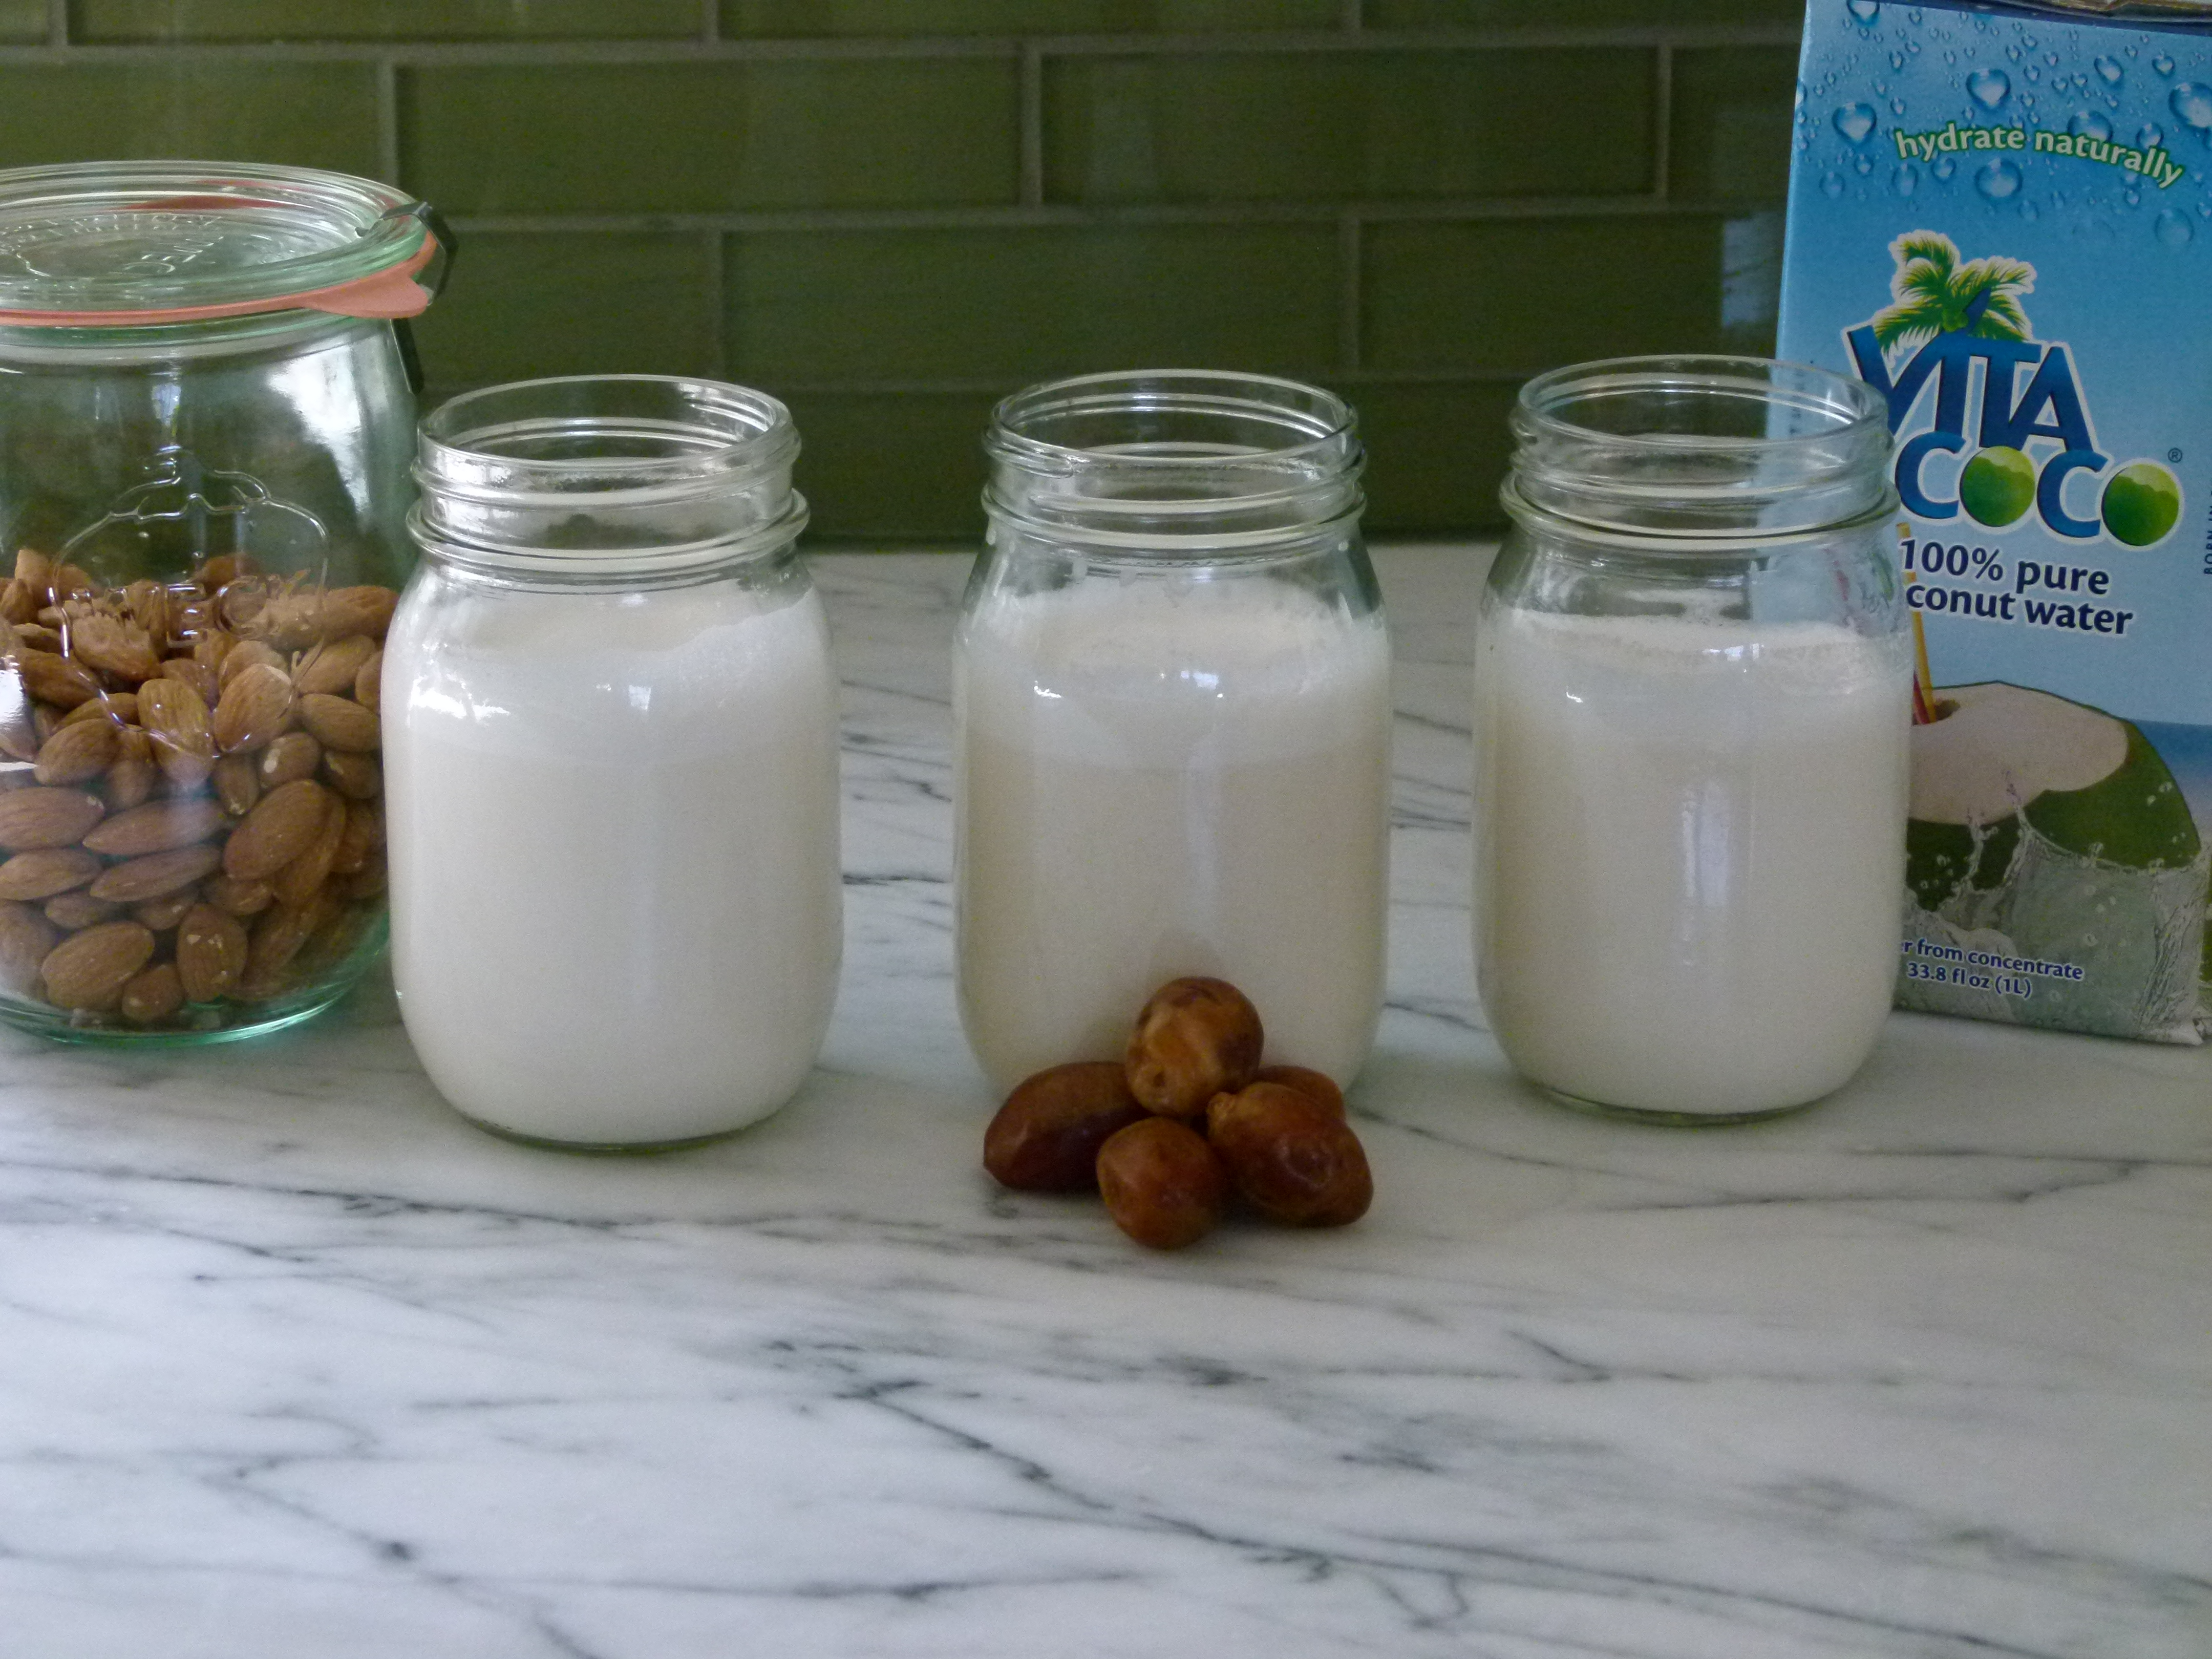
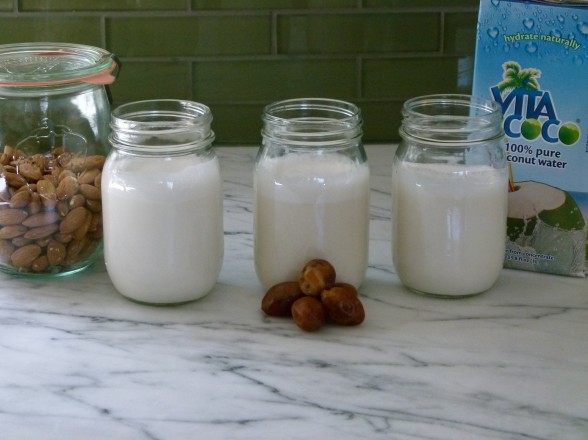
I made a basic almond milk from almonds and water the first time around and it was the kind I was familiar with.  But then my friends Baelyn and Shiva told me about The Mylk Man in Venice, California who makes and delivers fresh organic almond milk made from almonds and coconut water.  Genius!  Lastly, my friends at Pressed Juicery in Brentwood make an unbelievable almond milk from almonds, dates, vanilla, sea salt and water.  I had to give both of these a try at home since I’m not always in the city and voila!  Amazing!

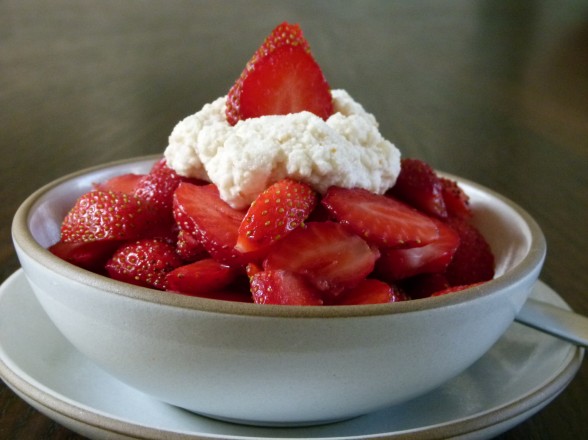
We met our friends Jane, Matt and their daughters for dinner the other night at our local YMCA tennis club and Matt happened to mention that he is recently dairy-free and has discovered the joys of almond milk.  Where most couples might go out for an after-dinner drink, I knew where we were going — back to our house for an almond milk taste testing! Everyone was blown away by the coconut water and date-sweetened versions.  We even figured out what to do with the almond pulp I had saved from straining the milk.  Drinks and dessert!


Basic Almond Milk
Author: 
Serves: makes about 2¾ cups
 
Ingredients
  • 1 cup raw almonds
Instructions
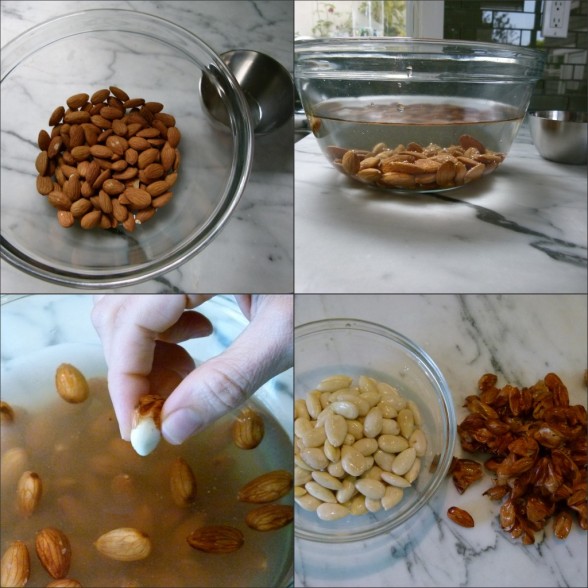
  1. Soak 1 cup raw almonds in bowl with plenty of room temperature water for 6-8 hours. (Soaking will make the almonds softer and more digestible.)
  2. Drain the almonds in a colander and rinse with fresh water. Remove the skins from the almonds by pressing them through your thumb and forefinger.
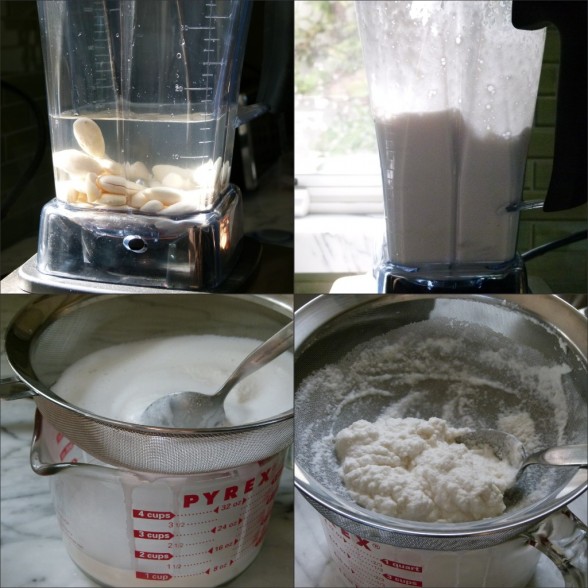
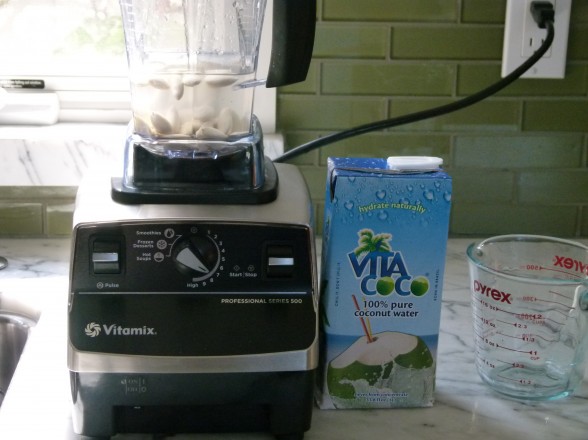
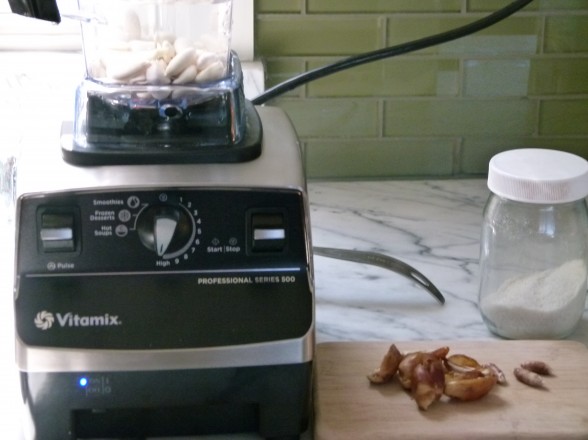
  3. Discard the skins and place the almonds in a blender or Vitamix. Add 3 cups fresh water and blend until the nuts are pulverized.
  4. Strain through a fine mesh sieve, cheesecloth or a nut milk bag into a glass bowl. If using a sieve, use a spoon to scrape the almond meal around and allow as much liquid to drain through.
  5. Transfer to a glass jar and refrigerate, covered for up to 4 days. Add the remaining pulp, sweetened with honey or maple syrup, to hot cereal, granola or fruit.

almond milk with coconut water

Soak almonds in regular water, but use coconut water to blend with the skinned almonds.


almond milk sweetened with dates

Follow directions for basic almond milk, but blend skinned almonds with water and 8 pitted dates.  You can add a drop of vanilla and sea salt, if you like, but it is delicious just like this.  You don’t need to sweeten the remaining pulp if you choose to eat it since it is already sweet from the dates.

Date-sweetened banana bread recipe

Date-Sweetened Banana Bread | Pamela Salzman

One of my pet peeves is when people label a dessert as “healthy,” and not because that is grammatically incorrect, but rather because desserts have sugar of some form and that will never be “good” for you no matter how much whole wheat flour you throw in there.  Of course, you could say one dessert is more healthful than another or that it will lead to the demise of your health less quickly than its traditional counterpart.  But to call a dessert healthful because we use yogurt instead of butter, but then add in 3 cups of sugar, is just plain delusional.

Date-Sweetened Banana Bread | Pamela Salzman

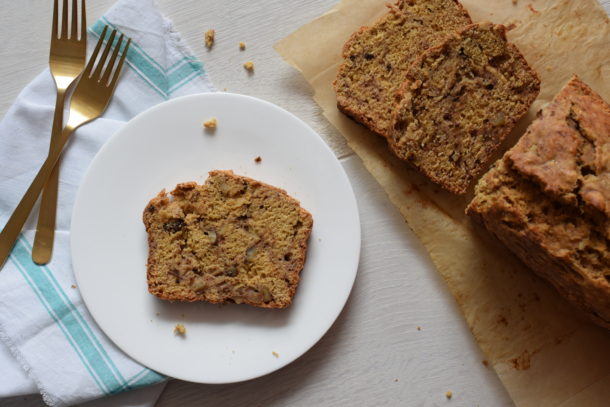
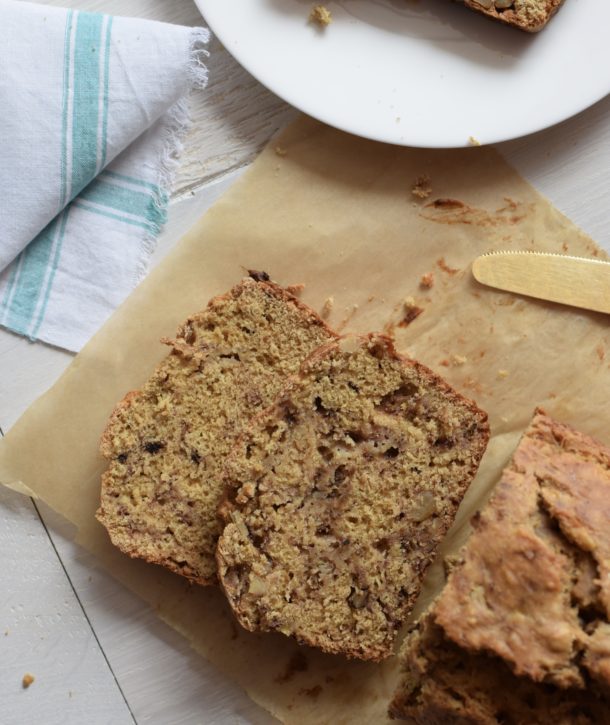
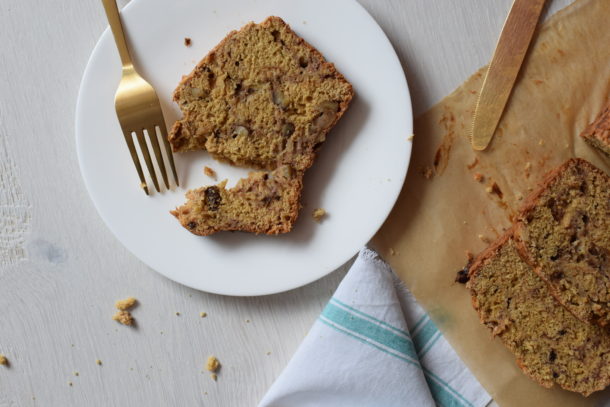
Would you call me a hypocrite if I told you I have a recipe for a healthful dessert?  I don’t blame you, but stay with me here.  I know of a sweet something that calls for no sugar of any kind — not even my favorite, maple syrup.  Don’t be silly, I am not going artificial on you!  It is a delicious banana bread sweetened only with ripe bananas and pureed dates.  Dates grow locally in Southern California, so we have access to some fantastic varieties here, my favorite being the Medjool.  If you are ever craving something sweet, but don’t want to give in to processed junk, take a pitted date or two and stick a pecan in the middle.  Amazing.  I digress.  The dates do double duty as sweetener and add moistness so we cut back on some of the butter, too.  The key, though, with any banana bread is using super ripe bananas, well-speckled with lots of black dots (the kind many people toss in the garbage — arrgh!).

Date-Sweetened Banana Bread | Pamela Salzman

Banana bread freezes beautifully and makes a terrific muffin, as well.  I adapt this recipe according to the season, adding blueberries in the summer, fresh cranberries in the fall and walnuts or pecans in the winter.  This banana bread is not as sweet as the ones you may be used to, so yes, you can add chocolate chips or a drop of maple syrup if you must.  Just don’t call it healthy!

Date-Sweetened Banana Bread | Pamela Salzman

Date-Sweetened Banana Bread | Pamela Salzman

4.8 from 47 reviews
date-sweetened banana bread recipe
Author: 
Serves: Makes 1 9X5 loaf
 
Ingredients
  • 1 cup dried dates (about 7 ounces), pitted
  • ½ cup hot water
  • 4 Tablespoons (1/2 stick) unsalted butter or unrefined coconut oil, at room temperature
  • 2 large eggs, at room temperature
  • 1 Tablespoon pure vanilla extract
  • 2 cups white whole wheat flour, spelt flour or sprouted spelt flour
  • ½ teaspoon fine grain sea salt
  • 1 teaspoon baking soda
  • ½ teaspoon aluminum-free baking powder
  • 3 large, ripe bananas, mashed
  • ½ cup raw walnuts or pecans, coarsely chopped (or fresh blueberries or cranberries)
Instructions
  1. Preheat oven to 350 degrees. Grease a 9 x 5 x 3 loaf pan. (Can be lined with parchment if it is aluminum.)
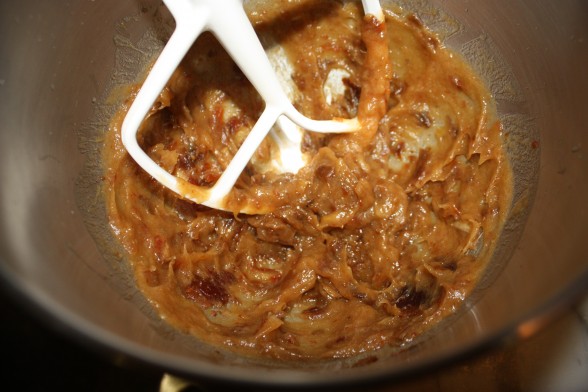
  2. Place the dates in the bowl of an electric mixer fitted with the paddle attachment. Add the hot water and allow the dates to soften for at least 10 minutes. (I usually get the rest of my ingredients ready while the dates are softening.)
  3. Turn the mixer on low speed and blend until the water has incorporated with the dates. Turn the mixer to medium low speed and beat the dates until a smooth puree forms.
  4. Add the butter or coconut oil and beat until well blended. Add the eggs, one at a time, beating well after each addition. Add the vanilla extract and mix.
  5. In a medium bowl, combine the flour, baking soda, baking powder and salt. Add to the butter-date mixture and mix until just combined.
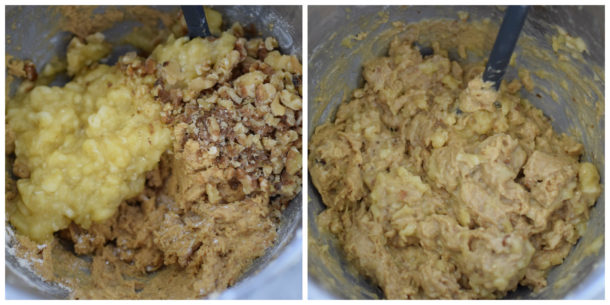
  6. Fold in the mashed bananas and walnuts.
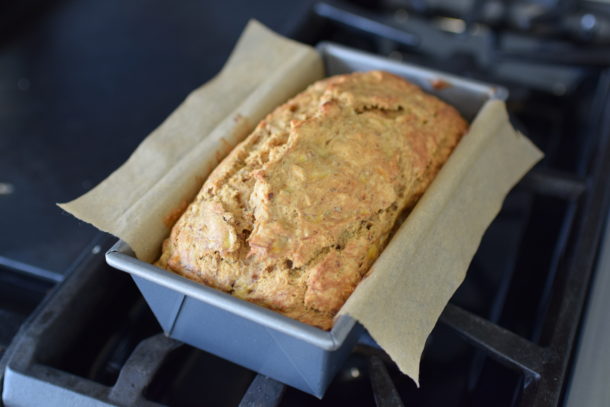
  7. Pour the mixture into the prepared pan and bake for 50-60 minutes (I made it in many different ovens with this range of time), or until a toothpick inserted in the center comes out barely clean. Cool in the pan for 10 minutes. Remove from the pan and cool on a rack.