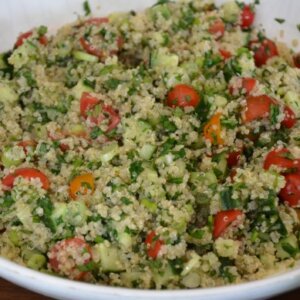
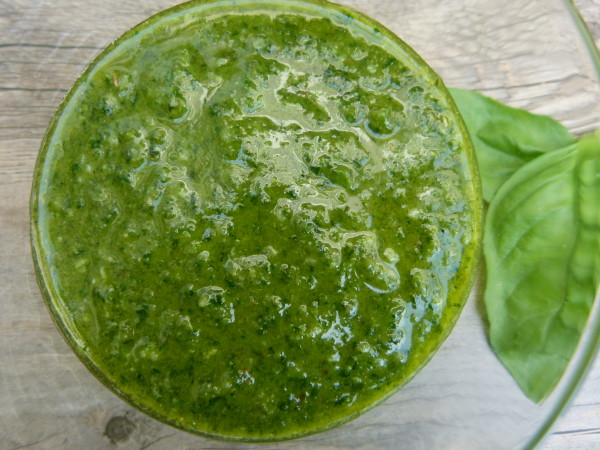
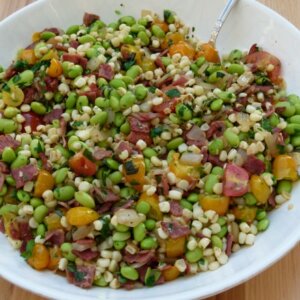
Corn and edamame succotash


This house sure is quiet. The girls are still in Connecticut and Mr. Picky is off at the batting cage for a little bit with his dad. I don’t think I’ve been alone in my house in a year. Or more. It’s sooooooooo nice. Don’t get me wrong. I adore my kids and my husband, but solitude is a precious luxury that I never get to indulge in. And silence. Just heaven. I find it funny that all this peace and quiet makes me hungry, so I give myself permission to make an early dinner for me and only me. It never happens that I only have my cravings to consider for dinner. I think being conscientious of many people’s likes and dislikes is a big challenge when planning meals for a family. But not tonight!

At yesterday’s farmer’s market I scooped up two of my summer favorites — corn and tomatoes. I was especially excited about the tomatoes since my plants won’t be producing fruit any time soon. Unfortunately, Manhattan Beach does not have tomato weather. The parsley and basil are doing beautifully in the garden, though and if I am lucky enough to have frozen shelled edamame in the freezer and turkey bacon in the fridge, corn and edamame succotash will be my dinner tonight.

Hooray! It’s all here! I secretly hope that my husband and Mr. Picky call me and ask if they can grab a bite out instead of home. I have visions of me and a giant bowl of corn and edamame succotash in front of the tv watching the new episode of “Million Dollar Decorators” without my husband doing Martyn Lawrence Bullard impressions so that I can’t hear what anyone is saying. Am I getting old that this is my idea of bliss tonight? Don’t care. I’ve got succotash to make.

I taught this recipe in my classes last August and I got great feedback, although people admitted they were skeptical of eating something called “succotash.” True, not a very sexy name, but succotash really just means a few sauteed vegetables usually mixed with corn and lima beans. I had found a recipe from an old Gourmet Magazine (sniffle) and changed it up a bit to suit my family, and I just love it. Since my kids are crazy for edamame, I always have bags of it in the freezer. That was a natural sub for the lima beans. It makes such a nice side dish for a weeknight family dinner or for entertaining in the summer, or a main dish since it is loaded with protein. It’s so tasty, as well as colorful, nutritious, and quick to put together, especially if your kids shuck the corn for you. Even by myself, I pulled this together very quickly. You definitely don’t need to use turkey bacon in this if you are vegetarian or just don’t like it, but I would compensate with a pinch of salt. As I sat there on the couch, by myself, eating this gorgeous succotash, I was able to concentrate on the food and really enjoy it. I couldn’t help but think how much I loved the crunch of the corn and edamame and the sweetness from the tomatoes. Couple more bites. The apple cider vinegar adds great tang and the smoky, salty flavor from the turkey bacon is perfectly complementary. Another few bites. I can’t believe there’s no salt. Yes, the edamame were cooked in salted water and the bacon has salt, but there’s no added salt and I don’t miss it. A few more bites. This is supposed to serve 6-8? Is that a typo? I’m halfway done with the bowl, but I keep eating anyway.

“Hi Mom! We’re home!” Well, it was nice while it lasted. Mr. Picky asks for some succotash. “Hey, that looks good.” Really? Tonight is the night you decide not to be picky?

Corn and Edamame Succotash
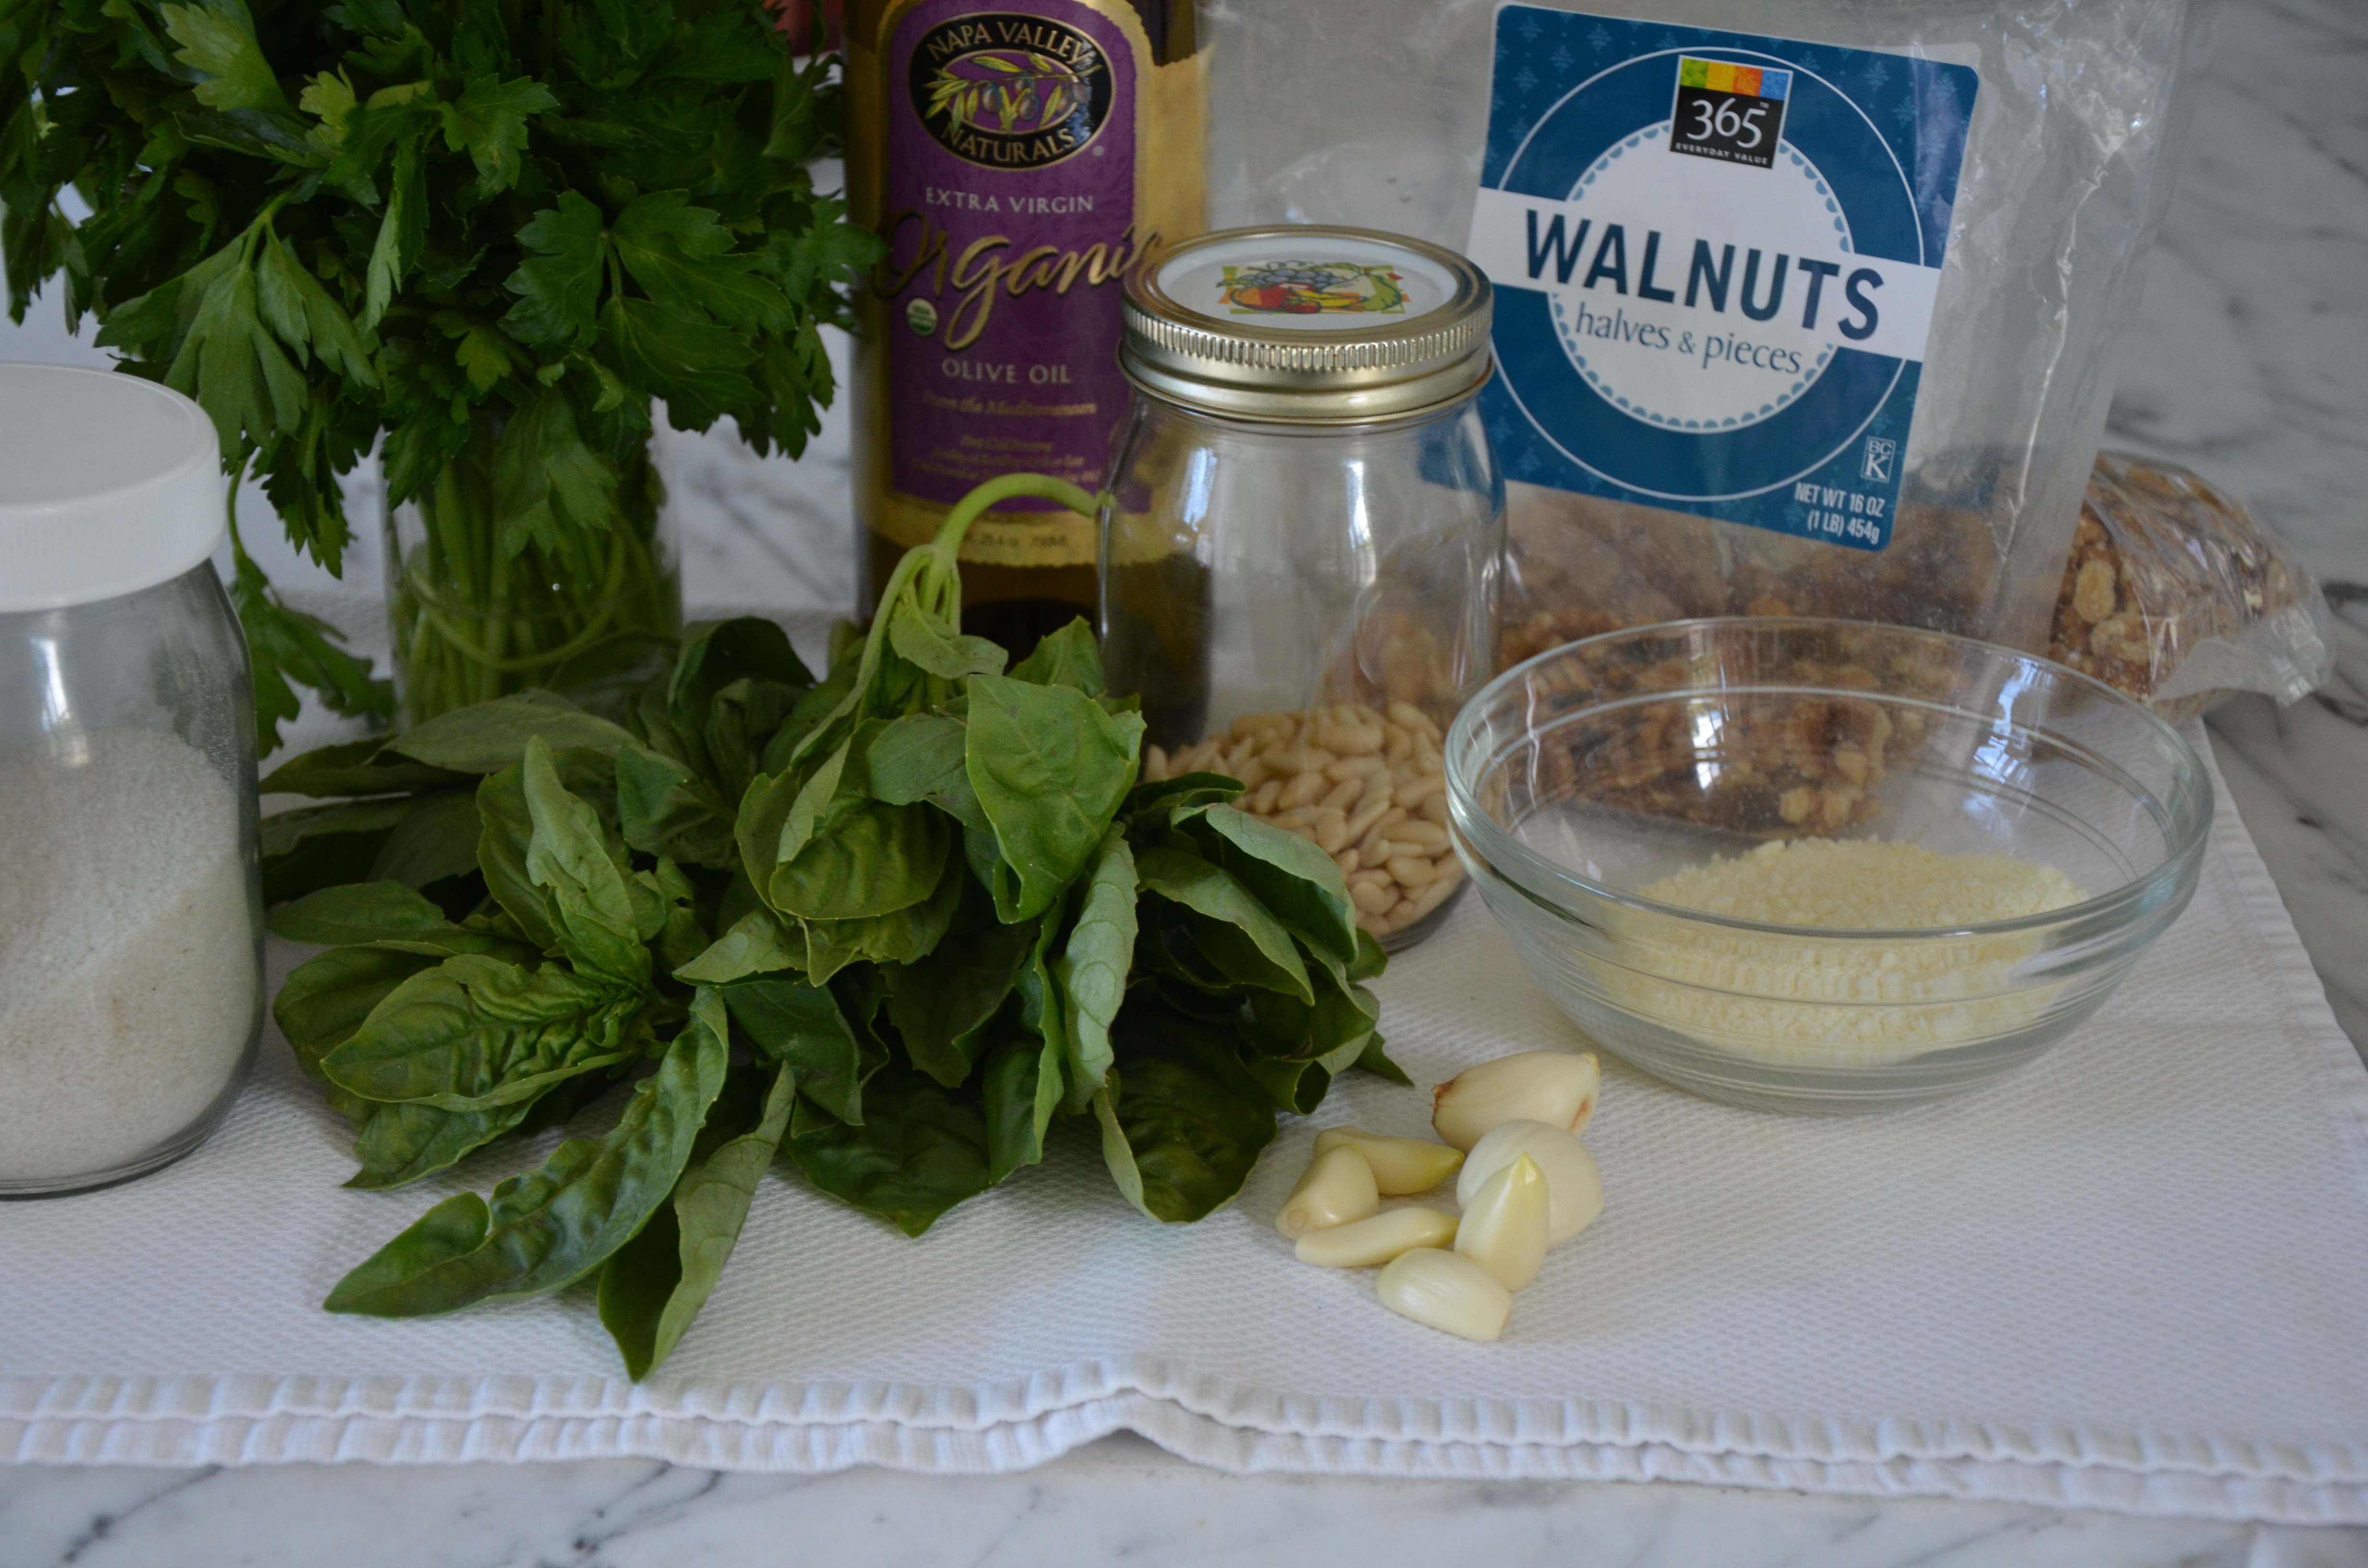
Ingredients
- 12 ounces frozen shelled edamame
- Kosher salt
- ¼ - ½ pound nitrate-free turkey bacon* optional
- 1 ½ tablespoons unrefined cold-pressed extra-virgin olive oil
- 1 small onion chopped
- 1 large garlic clove minced
- ¾ lb cherry tomatoes halved
- 4 ears corn kernels cut off cob
- 1 Tablespoon apple cider vinegar
- ¼ cup packed small fresh basil leaves or larger leaves chopped
- ¼ cup packed flat leaf parsley leaves chopped
Instructions
- In a medium pot of boiling salted water, cook edamame 5 minutes, or until just tender. Drain and rinse under cold water to stop the cooking process.
- Chop bacon. Add oil to a large skillet and cook bacon over medium heat until starting to crisp, 3-5 minutes. Add onion and sauté until softened. Add garlic and cook for 1 minute. Don’t worry if the bottom of the pan is getting brown from the bacon. The acid from the vinegar and tomatoes will clean it up.
- Add tomatoes, corn and vinegar to the skillet. Cook, stirring until tomatoes begin to lose their shape. Stir in edamame. Remove skillet from heat and stir in herbs. Serve immediately.
Notes