Chicken adobo recipe


Well, dear people, all good things come to an end and our trip to England came and went too quickly. We had such a good time and just as importantly, we traveled there and back in one piece. But there was way too much to see and I am already thinking about when we can go back. Even the food was better than expected! I didn’t say it was the most nutritious fare, but we had very delicious meals. I used to get stressed out about eating on vacation since it isn’t always easy to find kale salads and date-sweetened muffins when you’re away. I have since let that thinking go since I realize that that kind of negative thinking can’t be doing anything good for my body. However, this trip I think I may have “enjoyed” the local cuisine a little too much. It’s one thing to eat a scone and it’s another to eat three. At one time. With clotted cream.

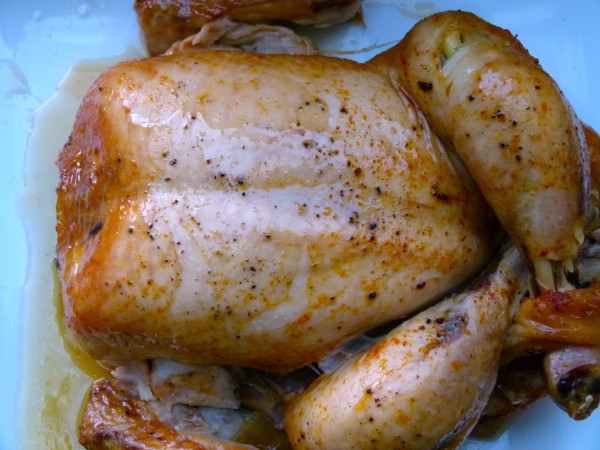
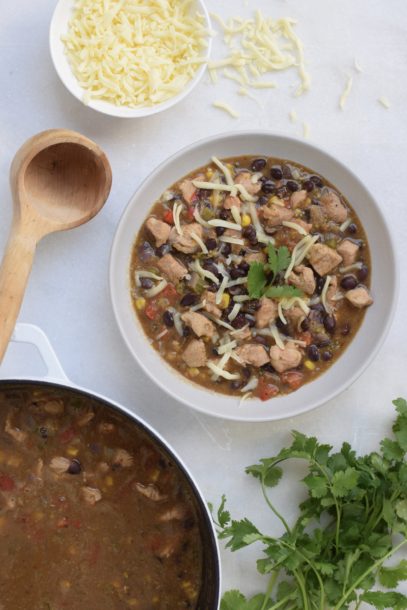
Alas, I eagerly pulled out my juicer as soon as I returned home and got back to a simpler way of eating. It’s a weird feeling for me to not cook at all for 8 days, so I was perfectly happy to get back in the kitchen and make all my familiar staples, quinoa and millet, almond milk, and lots of fresh veggies. For our first dinner home I made chicken adobo, one of the easiest things I can make that everyone likes. It is a traditional Filipino dish where chicken or pork are braised in vinegar and soy sauce with garlic. It’s a little sour, a little salty and a touch of sweet. And the soy really tenderizes the chicken so that it’s super soft. I usually shred it for the kids and serve it over rice with a green vegetable on the side. Simple dimple!

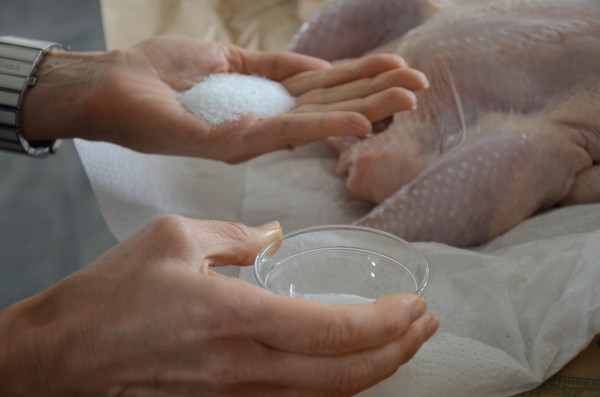
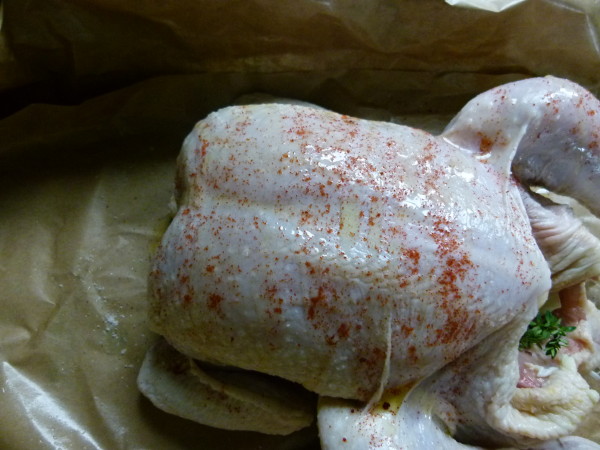
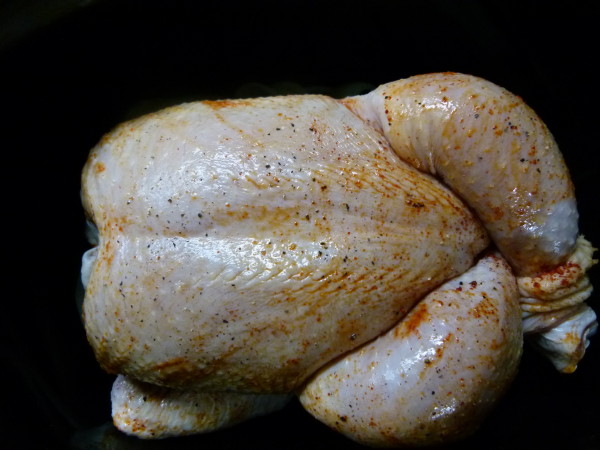
This dish is really only made with thighs and/or drumsticks and there’s a reason for that. Breast meat gets too dried out when simmered. I tried this with breast meat and it just wasn’t as good as the dark meat. What I will say is that because the sauce is dark, no one will know that the thighs are thighs and not white meat. I have made a few variations of chicken adobo and I’m giving you the easiest here with boneless, skinless chicken pieces. If you use pieces with the skin, you’ll end up having to brown the chicken to start in order to render some of the fat from the skin and to make it look more attractive (rubbery chicken skin gives me the creeps.) My family doesn’t eat the skin anyway so it was an easy decision for me to leave it out. This isn’t the most beautiful chicken dish you’ll ever eat, but I make no apologies because it’s very tasty and beyond easy! Also, it’s way more healthful to cook animal protein in a liquid or by steaming. A few carcinogens are created anytime animal protein comes into contact with high heat, like a pan or a grill. Total bummer, but that’s the facts.

I think you could also make a chicken adobo rice “bowl” with a big scoop of rice, shredded chicken and some steamed or roasted vegetables with a few spoonfuls of sauce on top. Believe me, no matter how you make it, this is a no-brainer for a busy weeknight especially if you’ve been on vacation from the kitchen for a bit!

- ¼ cup apple cider vinegar or white vinegar
- ¼ cup naturally brewed soy sauce or shoyu or GF tamari (I like Ohsawa)
- 4 whole garlic cloves, crushed
- 4 bay leaves
- 6 black peppercorns
- 2 pounds skinless chicken thighs and/or drumsticks, bone-in or boneless* (I used 8 boneless thighs)
- ⅓ cup water
- Mix vinegar, soy sauce, garlic, bay leaves and peppercorns in a container just small large enough to hold the chicken, such as a glass mixing bowl or a small Pyrex. Cover and marinate 1 hour to overnight. Longer is better.
- Transfer chicken and marinade to a medium or large saucepan with a tight-fitting lid and add water. Bring to a boil, lower to a simmer and cook covered for 30 minutes.
- Uncover, raise the heat and gently boil an additional 10 minutes to reduce sauce. Serve hot over steamed rice.