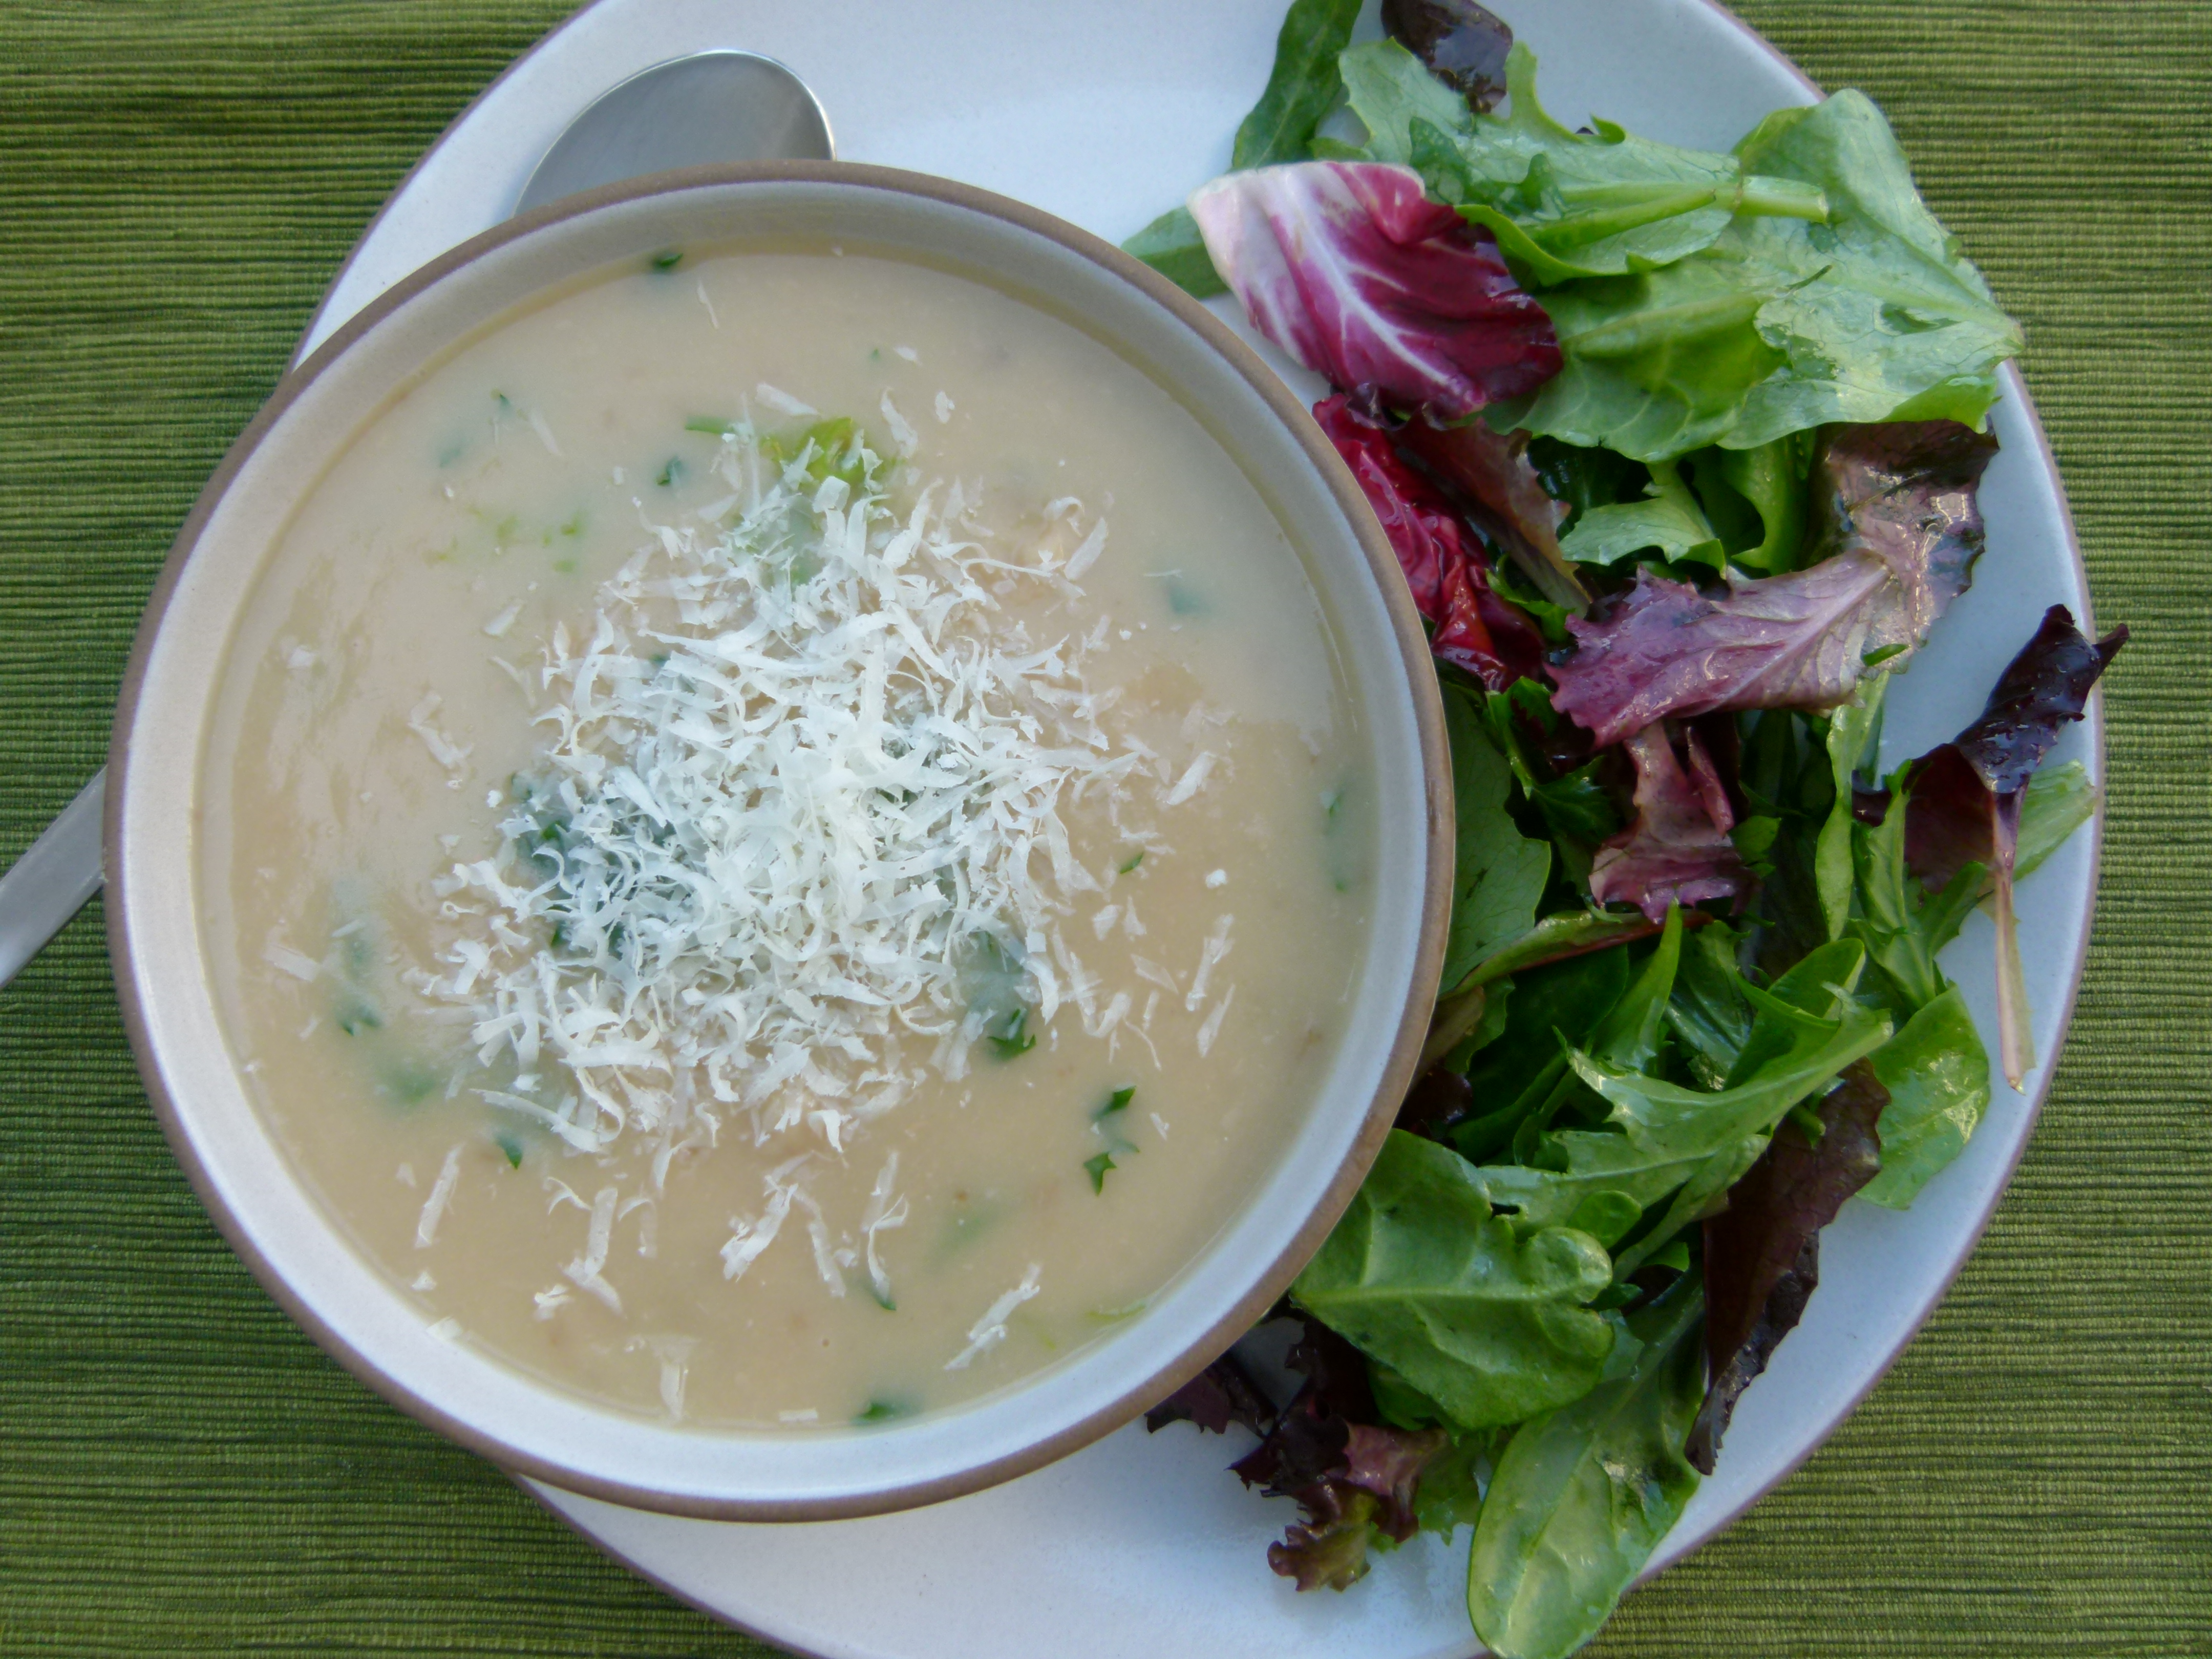
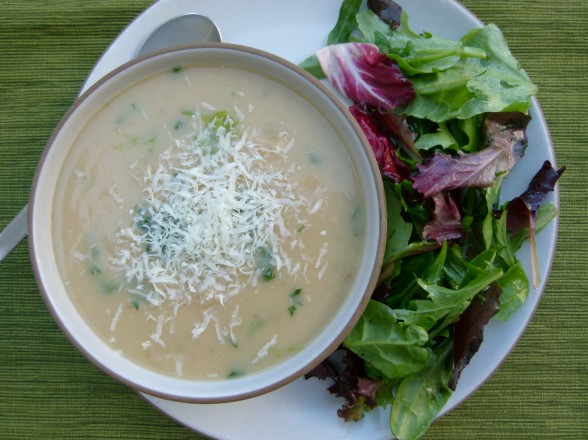
Potato and bean soup (patate e fagioli)

Who invented the idea of “Meatless Monday?”  The U.S. Food Administration did during World War I and urged families to conserve key staples to aid the war effort, but the idea was revived in 2003 by an ad exec-turned health advocate for dietary and environmental reasons.   Ironically, the Food Administration also tried to promote “Wheatless Wednesday” during WWI, which I would love to see make a comeback.  But I have a feeling you won’t see the US government advocating abstaining from any big political donors major food industries anymore.  However if you ask my sisters and me who invented “Meatless Monday,” we would tell you with conviction that it was our mother.   Vegetarian dinners on Mondays were a part of my life growing up.  I loved them since I was a vegetarian from about the age of 10 to 18.  But believe me, my mother was not trying to cater to me at all.  Her thought was that we tended to indulge over the weekend with heavy meals, usually centered on lots of pasta, meat and cheese and that we needed a break.  My sisters, who were most definitely NOT vegetarians called it “Low Budget Night,” since Monday’s dinners tended to be less expensive and less fancy.

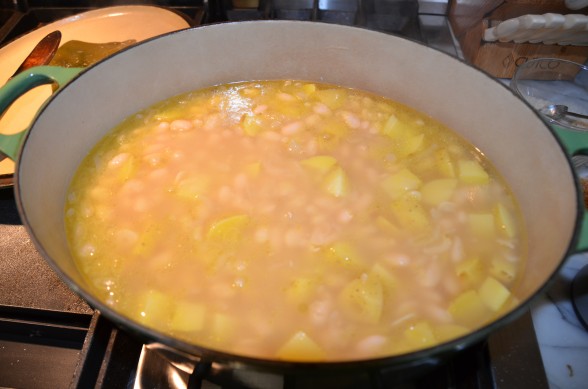
Beans or lentils were almost always the star of the show on Mondays and they usually found their way into a soup.  This potato and white bean soup is just a take on a traditional pasta and bean soup or “pasta e fagioli,” as you might see it on a menu.  I love that potatoes, a whole food, take the place of pasta, which is a (processed) food I eat very occasionally.  The recipe requires so few ingredients, many of which you probably have in your pantry.  And if you make your beans from scratch, this soup will cost you practically nothing.  The potatoes and beans both add a rich creaminess to the soup, as well as work together to form a complete protein.  Even though beans are typically bland, this soup has a nice, almost smoky flavor and feels very satisfying despite the lack of fat.  A typical Monday dinner would be a nice big bowl of this soup with a side of sauteed greens or a salad and some crusty bread.  Sometimes my parents would also add a wedge of good cheese (that my father smuggled in his suitcase from Italy) to the table and that was that.

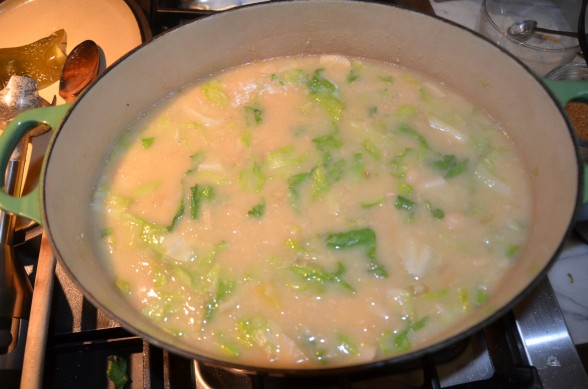
My husband grew up with neither Meatless Mondays nor Meatless Any Days, so getting him to buy into a dinner of potato and bean soup took some time.  Now he loves it and especially how it makes him feel afterwards (“not gross”).   Lest anyone feel cheated, I happily serve both a salad and some roasted vegetables on the side.  All my kids, Mr. Picky included, love this soup.  It’s white!  What kids don’t like white food?  Of course,  I can’t help but stir in some escarole in at the end.  You know me and my greens.  They’re going to save your life, so I’ll find anyway to include them that I can.  If your local market doesn’t carry escarole, feel free to add some spinach, arugula or chard.  I always plan to have extra soup for thermoses in the next day’s lunch boxes, which works out perfectly for “Trash-free Tuesday” at our school!

Have you made any new year’s resolutions?  I’ve been contemplating a few, but what tends to work better for me are measurable resolutions, such as “cook dinner five nights a week” or “do yoga every Sunday.”  I’ve never had luck with “eat better” or “exercise more.”  Most people tend to come up with resolutions about diet and health, but they’re usually about short term weight loss or feeling better after 6 weeks of holiday overindulgence.  I think “Meatless Mondays” is an easy one to try and it doesn’t mean you’re becoming a vegetarian or a vegan, not that there’s anything wrong with that.  It just means a commitment to eating more plant-based foods and acknowledging the heavy environmental footprint of raising animals in this country.  Just a thought.

Talk to me here — am I the only one who grew up with Meatless Mondays?  Does your family currently partake?  I need some inspiration for my new year’s resolutions — feed me!  Or just make this soup.  Here’s to a happy and healthy 2012!

5.0 from 1 reviews
Potato and Bean Soup (Patate e Fagioli)
Author: 
Serves: 8
 
Ingredients
  • 1 pound dried white beans, such as Great Northern or cannellini, about 2 ½ cups*
  • 1 2-3 inch piece of kombu (optional)
  • 2 Tablespoons unrefined, cold-pressed extra-virgin olive oil
  • 1 large onion, halved and thinly sliced
  • 4 large garlic cloves, thinly sliced
  • 8 cups chicken stock, vegetable stock or water
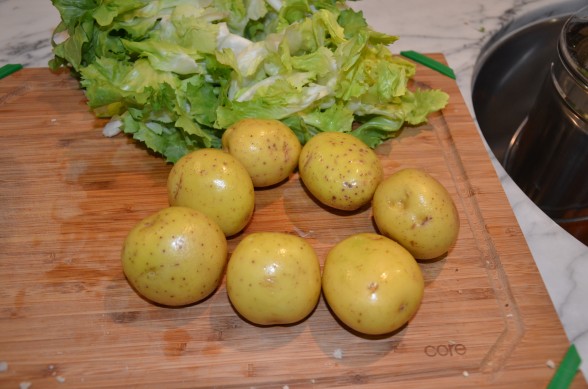
  • 1 pound Yukon Gold potatoes (or other boiling potato), cubed
  • 1 6-inch sprig of fresh rosemary (optional, I like it just as much without)
  • 3-4 teaspoons sea salt (depending on saltiness of the stock)
  • 1 head escarole, leaves coarsely chopped
  • Grated Pecorino-Romano or Parmesan cheese for serving, if desired
Instructions
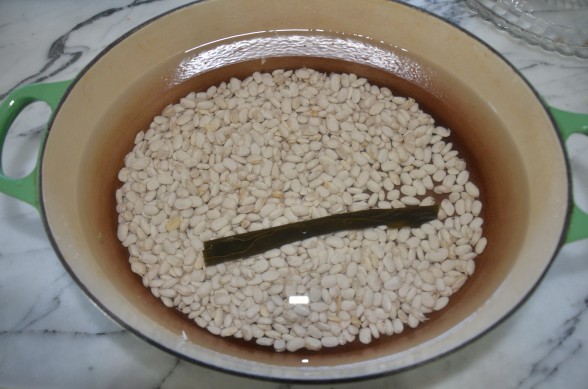
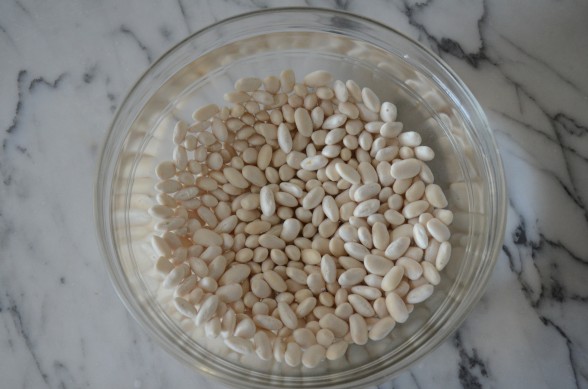
  1. Wash beans well and pick over for stones and debris. Soak beans with kombu in plenty of fresh cold water overnight or at least 6 hours. This can be done in a covered container or in a pot (I use the same pot for soaking as for cooking the soup) on a countertop. Refrigerate if your kitchen is warm.
  2. Just before you begin cooking, drain the beans into a colander. Heat the oil over medium heat in a large heavy-bottomed pot, and add the onion and garlic. Cook until softened, about 8-10 minutes.
  3. Add the beans and stock to the pot and raise the heat to high. You can add the kombu to the pot, if you like for additional alkalinity. Bring soup to a boil, cover, then lower to a simmer. Cook for 1 hour.
  4. Add the potato, sea salt and (optional) rosemary. Cover and simmer for 30 minutes. Test the beans for tenderness. If they’re not done, continue to simmer until they’re tender. Once beans are tender, you can puree the soup to your desired consistency or leave chunky. Remove the kombu and sprig of rosemary before pureeing.
  5. Stir in the escarole and cook until wilted. Serve with grated cheese, if desired.
Notes
If you want to use canned beans, you will need 4 15-ounce cans, or about 6 cups. I like Eden Organic. Follow the directions below:

Saute onions and garlic.
Add potatoes, stock, salt and (optional) rosemary. Cook for 30 minutes or until tender.
Add beans to pot and cook until heated through. Puree to desired consistency (or don’t). Stir in escarole.


Creamy white bean dip with roasted garlic

Do your kids ask you for things at the last possible second even though they have known about whatever it is they need for weeks?  My husband does this, too.  “If you knew last Friday that you would need to bring a wrapped gift for your party, why are you telling me as we’re getting into the car on the WAY to the party??”  It really messes up the walk I talk about being organized.

One of my daughters was going to a girl scout meeting which started at 6:00 pm, and guess what?  She announced at 5:25 that she needed to bring an hors d’oeuvre.  That 10 pre-teens would actually want to eat.  And “not like something so totally healthy either, Mom.”  Like cool!  Like let’s pretend we’re on an episode of Chopped!  But seriously, even though I like the idea of being able to whip something yummy together with stuff from my pantry in 20 minutes, it’s a little stressful.

Normally, my go-to would have been hummus, which I can make in 10 seconds and I know my daughter and her friends like it.  But of course, on this day I had no cooked chickpeas.  So you know what they say about necessity being the mother of invention.  I found some canned white beans in the pantry and added them to the food processor with a few other staples that generally taste good with white beans and we had ourselves a winner dip.  My daughter even said she liked it better than hummus.  At the time, I made it with a raw garlic clove and it was terrific, but another day when I wasn’t under the gun I tried it with a whole head of roasted garlic and looooooved it more.

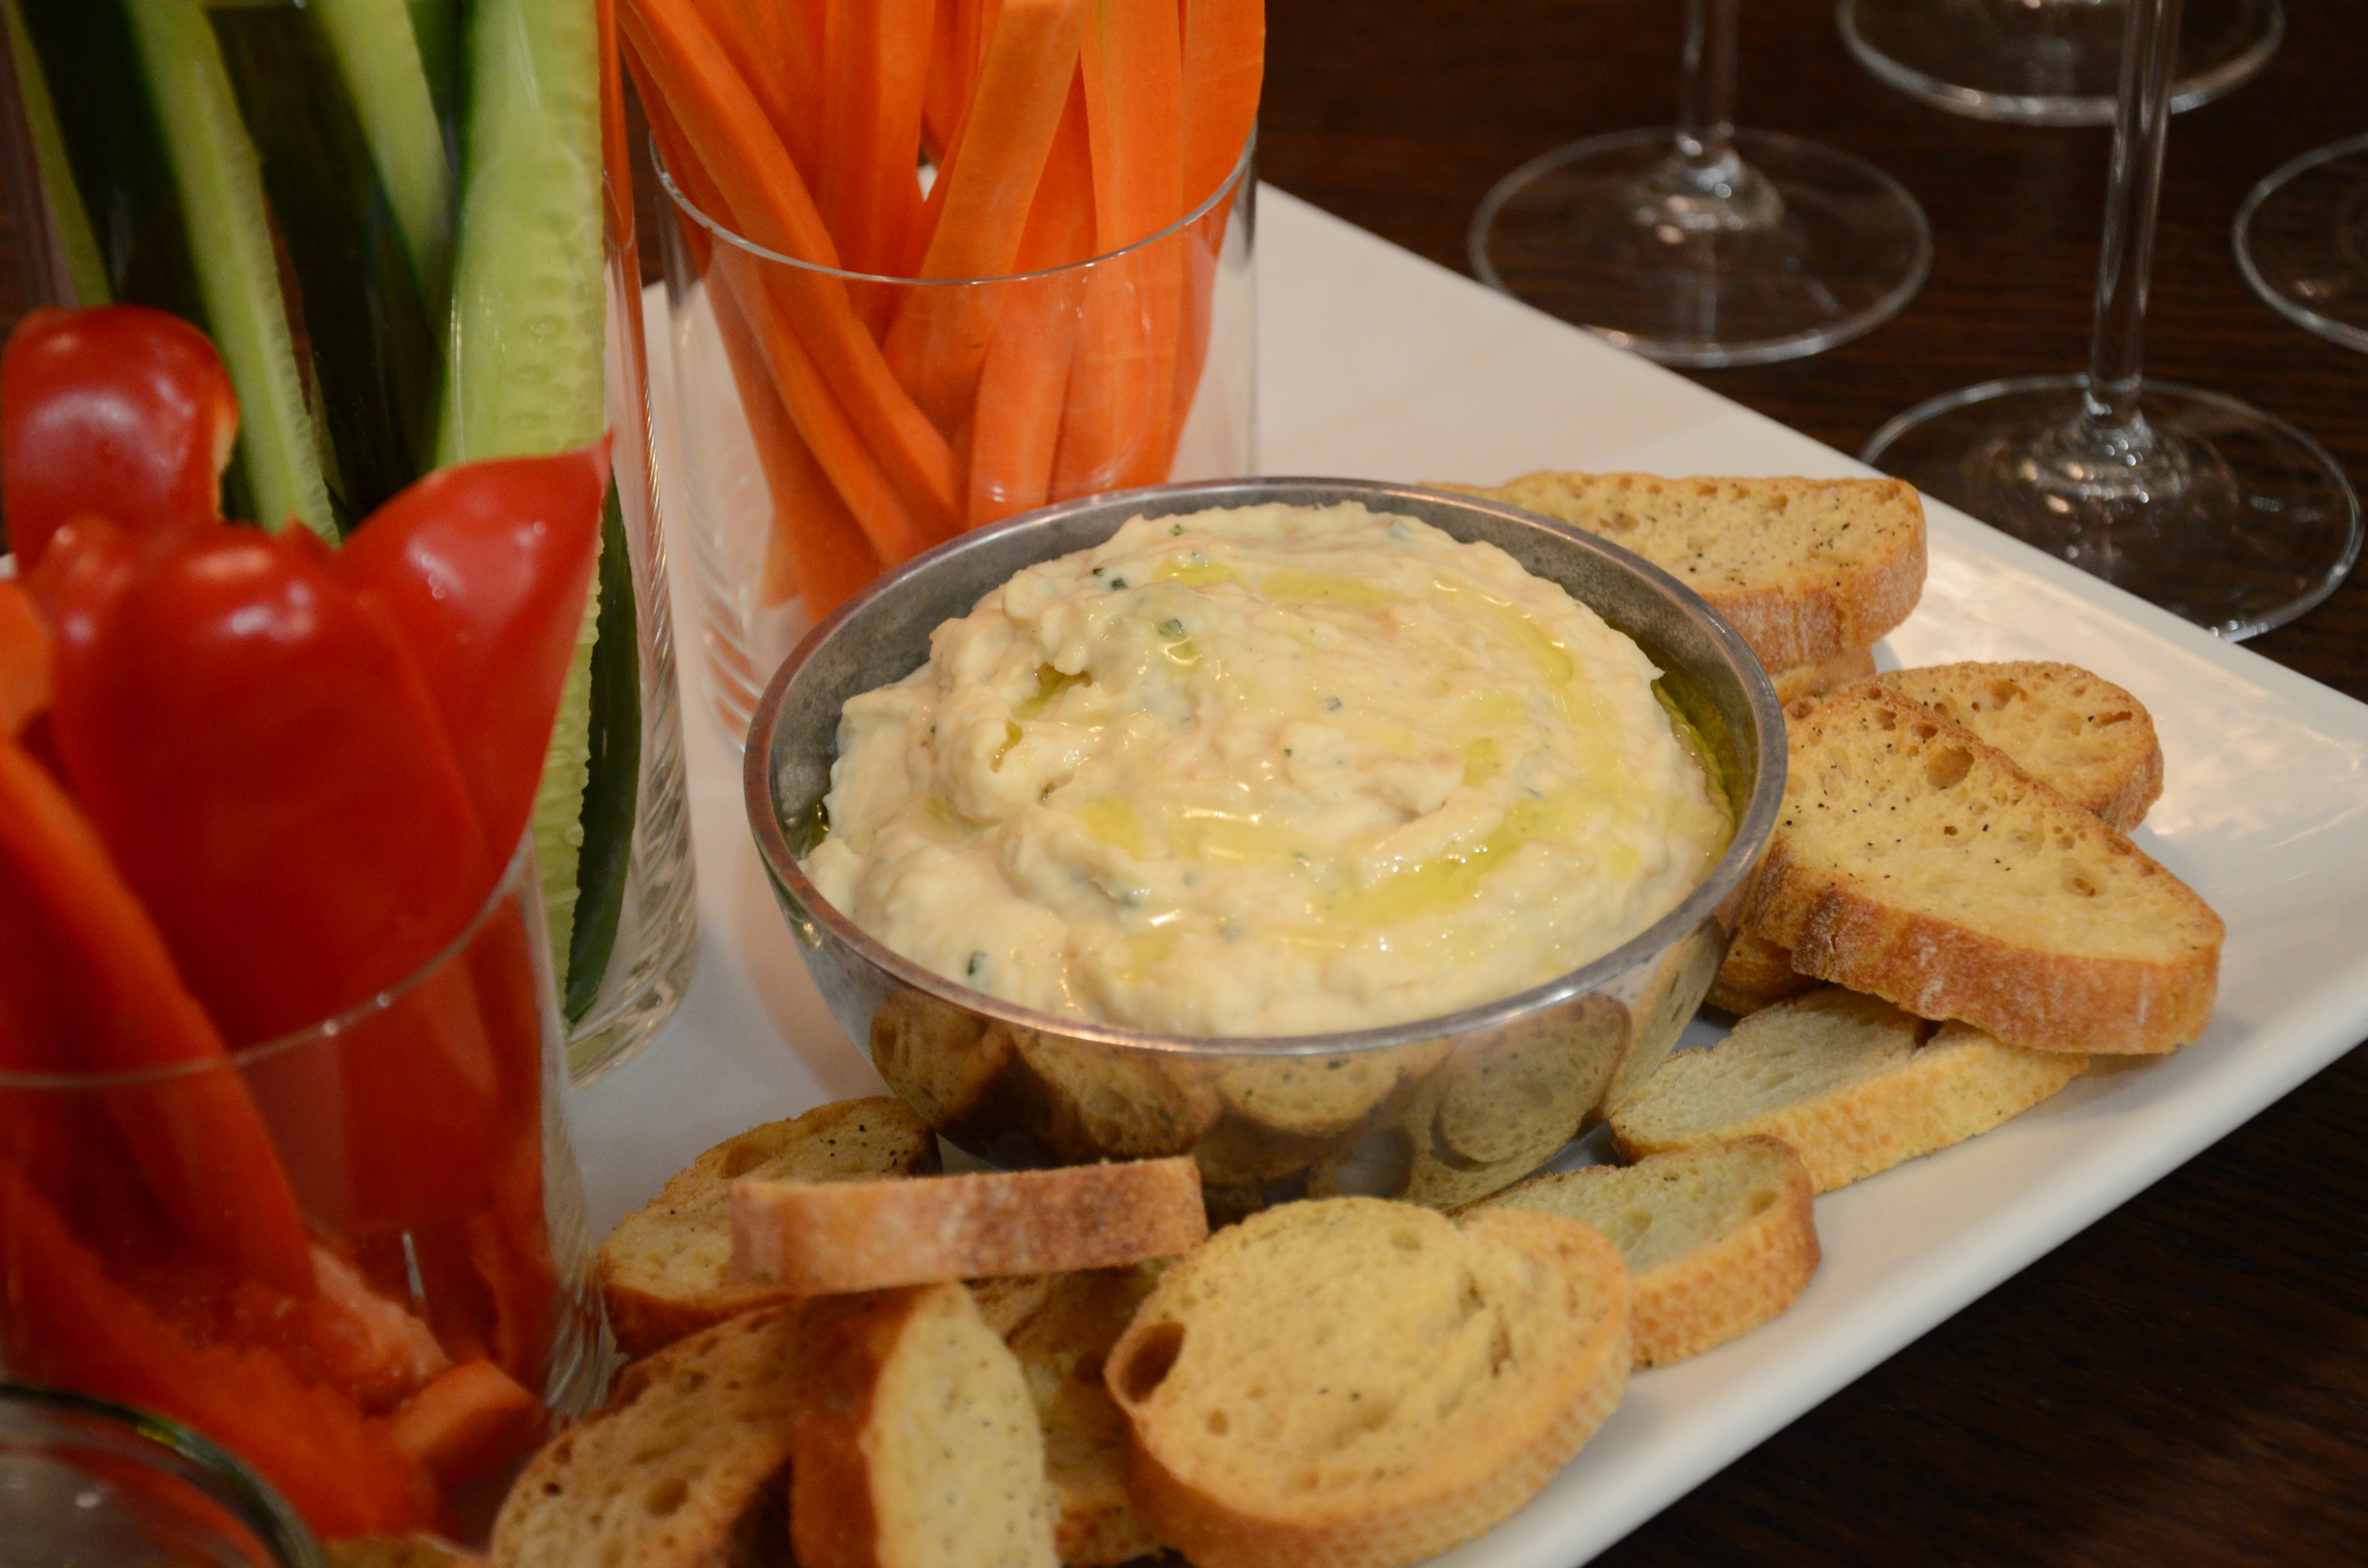
I just made the bean dip again recently to bring to a birthday dinner with some health-conscious ladies and served it with some crudites as shown in the picture.  I stole the idea from Martha Stewart of putting the cut veggies in modern drinking glasses.  It always makes for a pretty presentation.  I also included a small bowl of balsamic vinegar and olive oil with a pinch of sea salt — another stolen idea, this time from an Italian restaurant.  We have also used the dip as a sandwich spread with grilled vegetables.  Fabulous with eggplant, sweet bell peppers and zucchini!

Sure I could have gone to the market on the way to the meeting and picked up a tub of salsa and a bag of chips, but thankfully I didn’t because then there would of been two of the same hors d’oeuvre at the meeting that night. (At least it’s not just my kid.)

Creamy White Bean Dip with Roasted Garlic
Author: 
 
Ingredients
  • 1 head of garlic, unpeeled to roast or 1 large clove raw garlic, peeled
  • 2 cups cooked white beans*, such as cannellini or Great Northern, drained and rinsed, if canned
  • ¼ cup cold-pressed, unrefined extra-virgin olive oil
  • 2 Tablespoons freshly squeezed lemon juice
  • 1 teaspoon minced fresh rosemary
  • Several dashes hot sauce
  • ½ teaspoon sea salt
  • a few grinds finely ground black pepper
Instructions
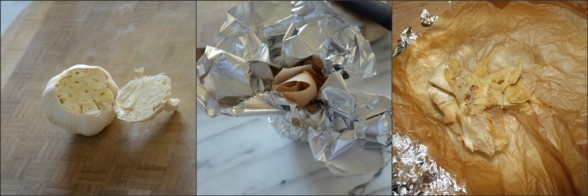
  1. Roast the garlic: preheat oven to 350 degrees. Slice off the top fifth of the head of unpeeled garlic. Add a drop of olive oil. Replace the top. Wrap with parchment paper and then aluminum foil. Bake for 1 hour. Discard foil and parchment.
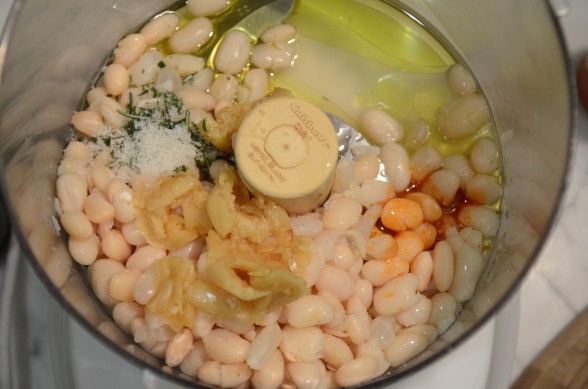
  2. Take the top off of the garlic and squeeze the softened garlic out of the skins into the bowl of a food processor fitted with the metal blade. Add remaining ingredients and process until smooth and creamy. When I'm ready to serve it, I like to drizzle it with a touch of fruity olive oil. Can be made a day ahead and kept covered and refrigerated.
Notes
I like to serve this as a dip with crudités or blanched vegetables and/or with warm pita bread, chips or toasted slices of baguette. You can even assemble your own crostini with grilled baguette toasts and white bean spread topped with sautéed greens. It is also great as a sandwich spread.

To cook your beans from scratch, soak dried beans in lots of cold water for at least 6 hours or longer. Drain them. Put them in a pot with enough fresh water to cover by 4-6 inches. Bring to boil. Reduce to a simmer. Cook until tender, anywhere from 45 minutes to 1½ hours, depending on the age of the beans. I like to add a tablespoon of kosher salt to the beans and allow them to cool in their cooking liquid for 30-60 minutes, if possible, but it's not necessary. Drain and use immediately or store in the fridge for 3 days. Beans also freeze very well.

Spaghetti squash with kale and chickpeas

Did you participate in the low-carb craze of the 90’s?  If you did, you may have eaten a lot of spaghetti squash with tomato sauce trying to convince your carb-starved body that you were actually eating pasta. The body is no fool, though.  At least mine isn’t.  I ate lots of “spaghetti” for a good year, but never really felt like I was eating pasta and then I had a negative association with this pasta imposter.  The better attitude to take is to acknowledge that spaghetti squash is a delicious food unto itself and that replacing a processed food (pasta) with something whole and full of vitamins and minerals is a fantastic idea.  I had sworn off spaghetti squash for 15 years because I thought the only way to eat it was with marinara sauce and I had O.D.’d on that.  But my lovely summer intern, Hannah, had found this recipe that sparked my interest and I was back.


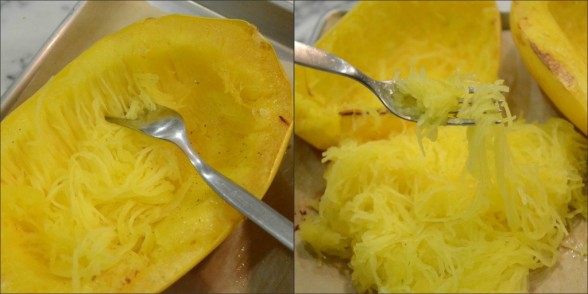
Spaghetti squash comes into season in the early fall and lasts through the early spring.  Like most winter squashes, spaghetti squash lasts quite a while off the vine without losing nutrients.  In fact, many winter squashes actually get a little sweeter when they’ve been allowed to “cure” on your countertop for a bit.  What is unique about spaghetti squash is that the flesh is not meaty like other winter squashes like butternut squash or pumpkin, for example, but instead stringy after it has been cooked.  It resembles spaghetti strands when you rake your fork through the flesh.  Pretty cool, actually.  The flavor of spaghetti squash is like the glass half empty-glass half full.  It has a very subtle flavor — really subtle — which means it tastes kind of bland, but it also means you’re not that limited with flavors you can use.

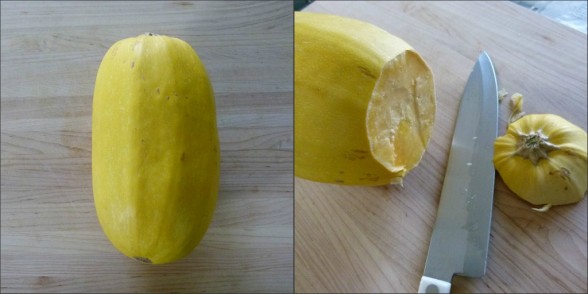
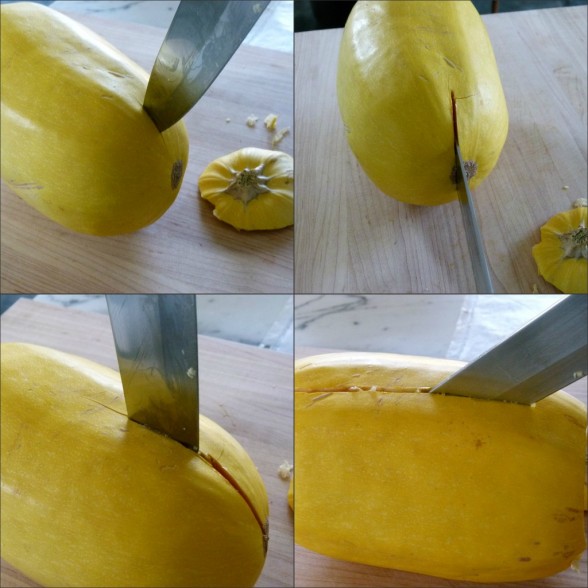
Funny enough, the trickiest part about cooking spaghetti squash is actually cutting it open.  I have tried numerous methods and the one that is hands-down the best is what I call the slot machine method.  You can see from the photos that I insert the tip of my big, sturdy chef’s knife into the flesh of the squash a few inches from the bottom and pull down.  Then I inch my way up the squash towards the middle and keep inserting and pulling down the knife.  This is the safest and easiest way to do it.  If you don’t want to try cutting it open and you have extra time, you can pierce the squash a few times with the tip of your knife so it doesn’t explode in the oven (ask me how I know this) and roast it whole.  This way it will soften up and be much easier to cut open, but you’re adding an extra 15-20 minutes to the cook time.  I prefer to roast the squash halves, which takes about 45 minutes.  You can also plunge the halves into a pot of boiling water for about 13 minutes if you’re in a rush, but I think you lose nutrients when you boil vegetables for a long time like that.  Also, it’s easier to overcook it and then the subtle flavor becomes even more subtle (as in, it tastes like water.)  I’m well aware that people also microwave spaghetti squash halves, but this is a site about NOT microwaving food, so you’ll have to figure that one out on your own.

 

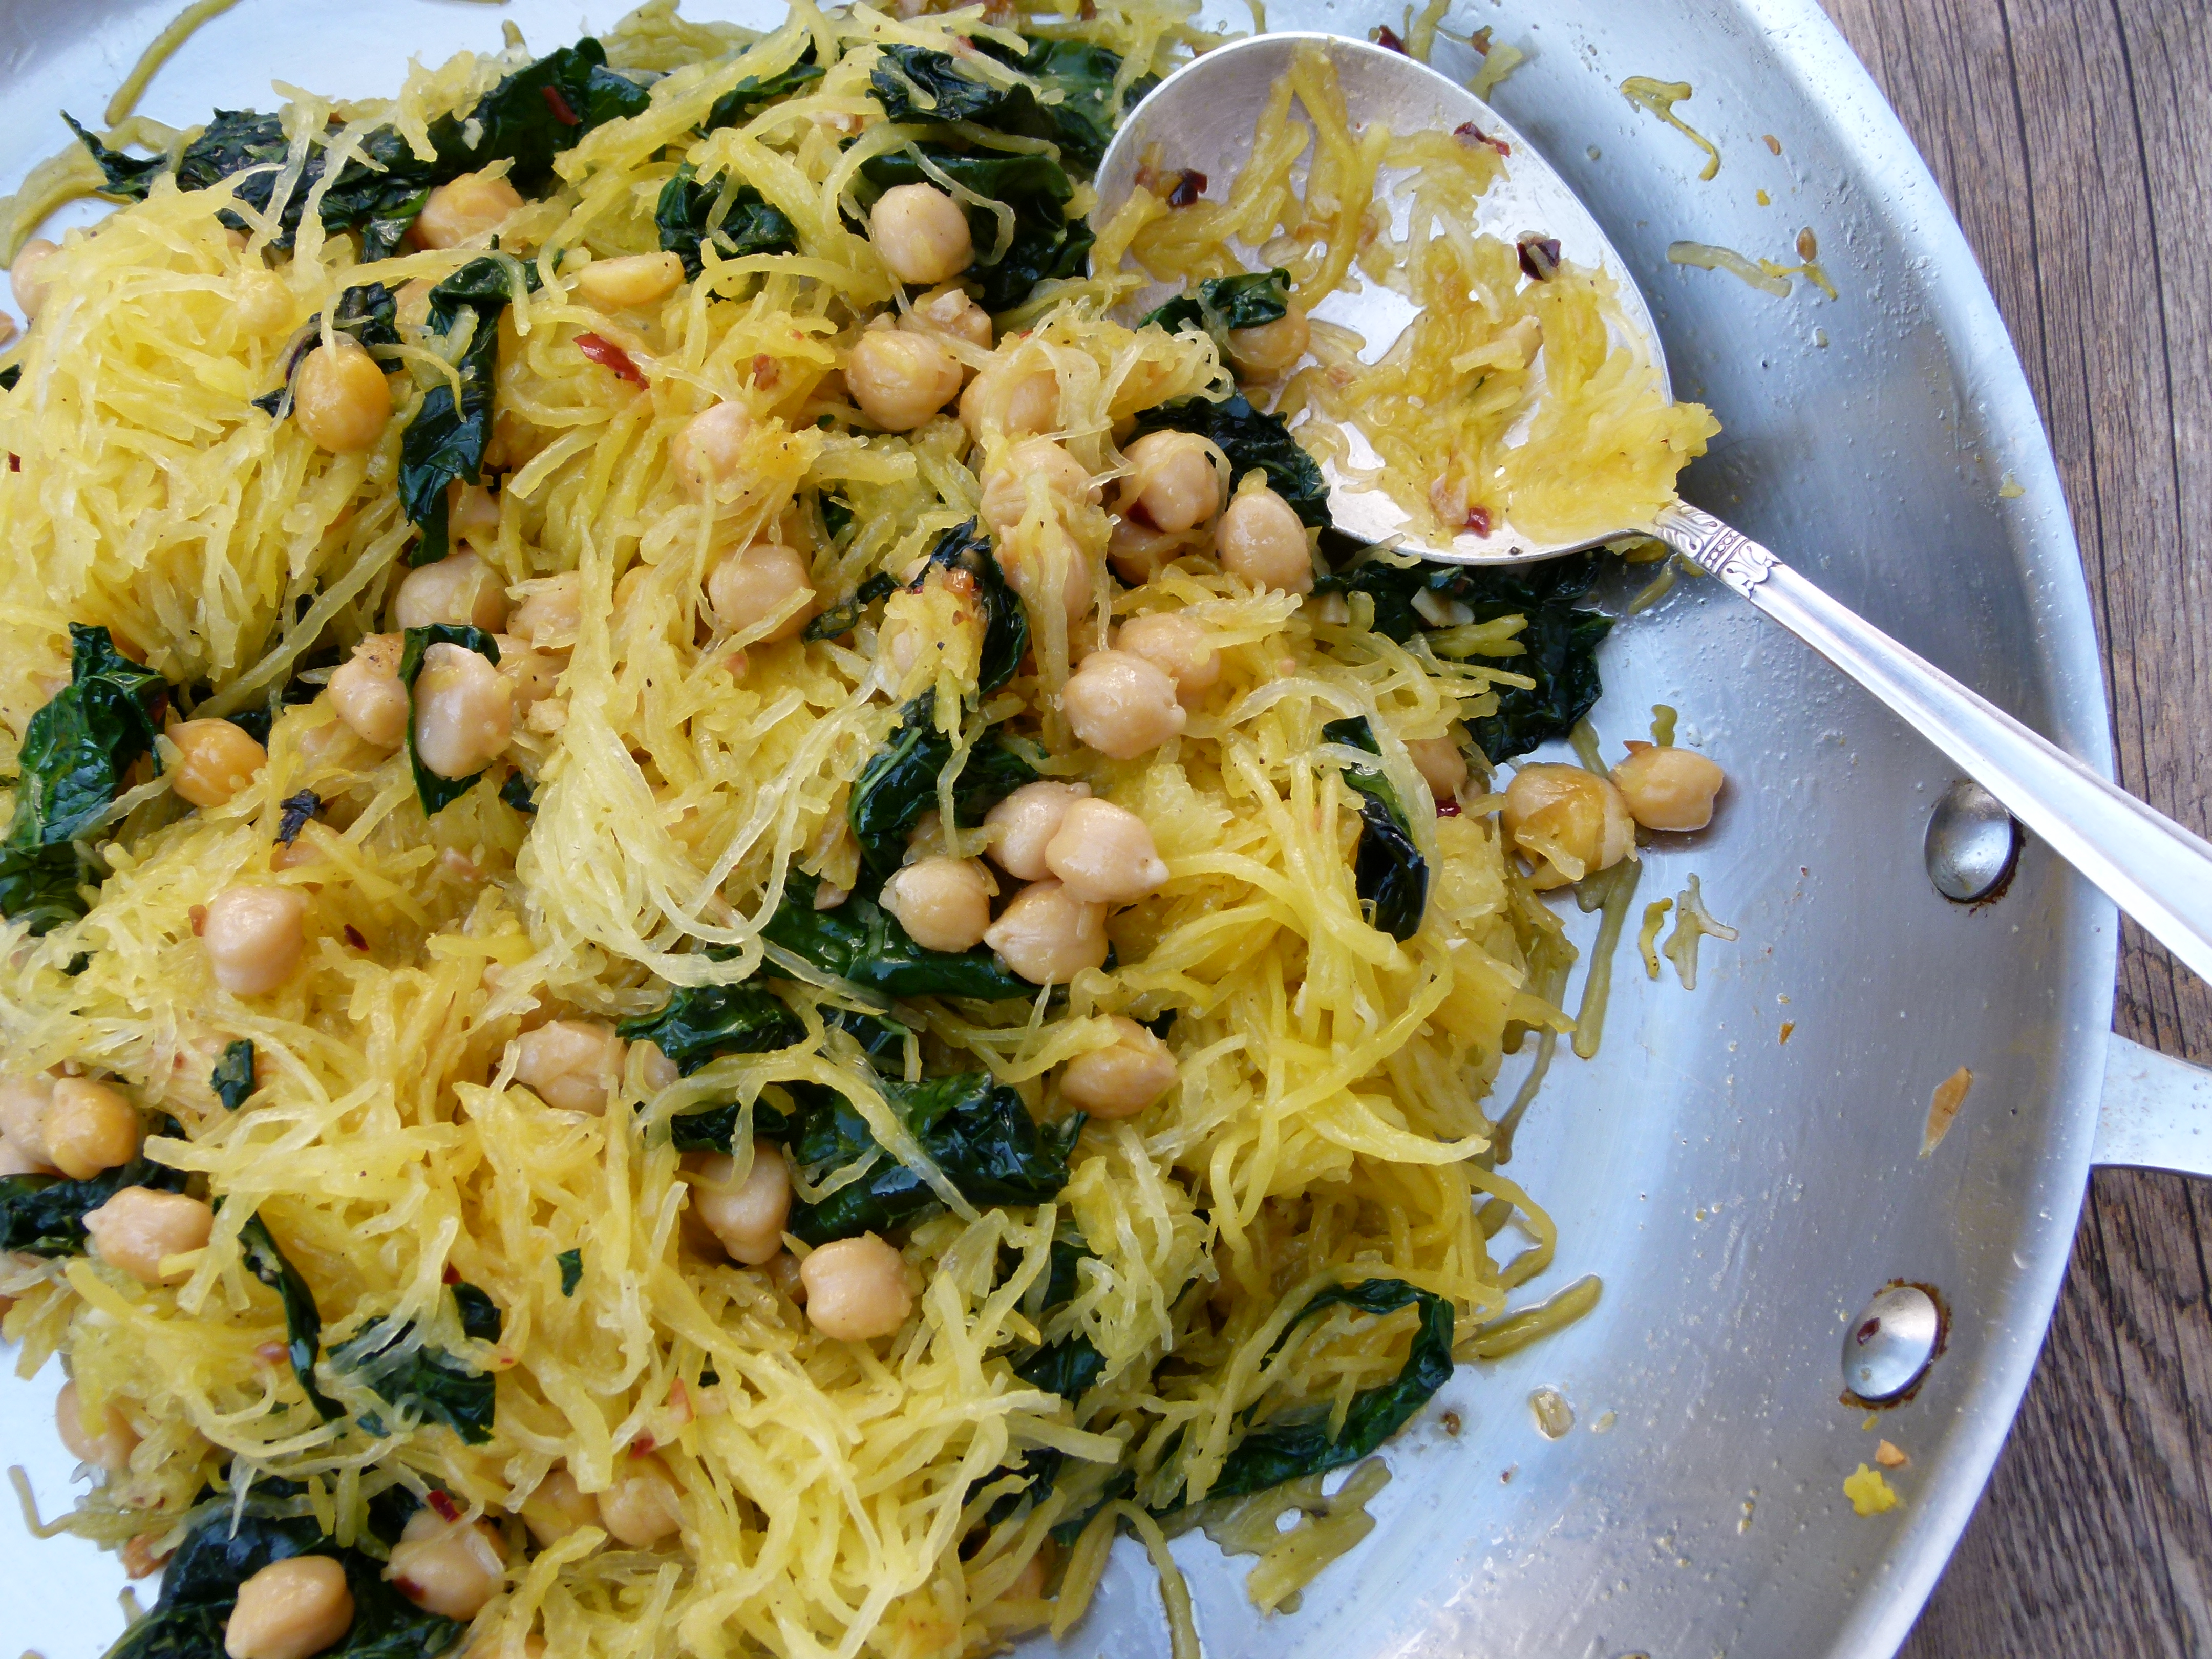
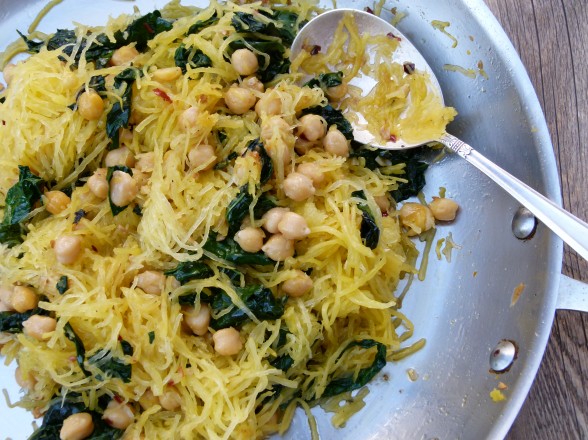
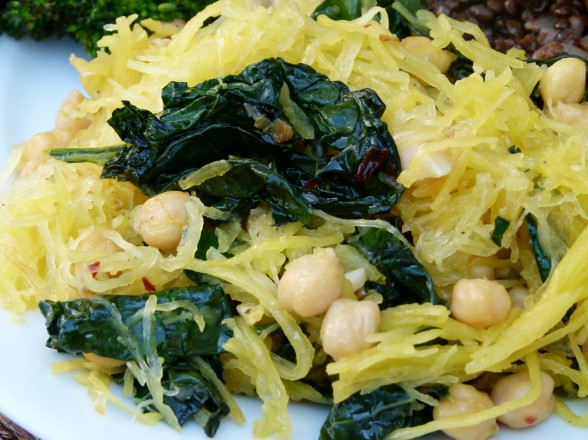
Here I sauteed my BFF kale with garlic and a pinch of chili flakes to toss with the cooked squash strands and then I add cooked chickpeas.  But we’ve hung out enough that by now you know that you can substitute Swiss chard or spinach for the kale and white beans for the chickpeas.  Really the sky’s the limit with how you complement the squash.  Just make sure you add lots of flavor and don’t be stingy with the salt.  I added vegetable chili on top of it one day. Another time I tossed it with chunky braised root vegetables in a spicy tomato sauce.  Daughter #2 found some cooked spaghetti squash in the refrigerator and warmed it up and added olive oil, feta, olives and some leftover broccoli.  It was so darn good and I never had to convince anyone to try it because it was “just like pasta!”

5.0 from 1 reviews
Spaghetti Squash with Kale and Chickpeas
Author: 
Serves: 4-6 (or just me and my intern, both starving, standing over the stove)
 
Ingredients
  • 1 spaghetti squash, about 3½ pounds
  • 3 Tablespoons unrefined olive oil + more for drizzling the squash or unrefined coconut oil or ghee
  • Sea salt and freshly ground black pepper
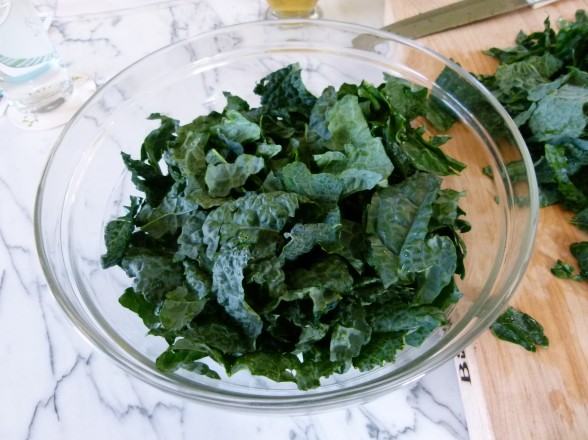
  • 1 bunch kale, center rib removed, leaves chopped
  • 1 ½ cups cooked chickpeas (rinsed and drained, if canned)
  • 3 cloves garlic, finely chopped
  • ¼ teaspoon crushed red chili flakes or more to taste
  • Parmesan or Pecorino-Romano cheese shaved on top (optional)
Instructions
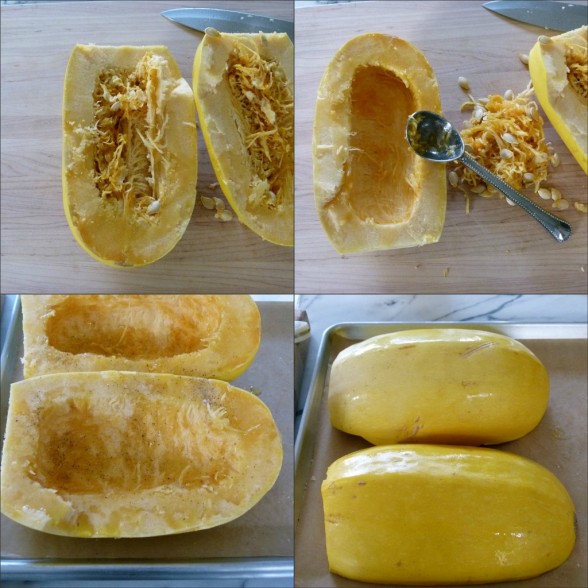
  1. Preheat oven to 400 degrees. Cut the spaghetti squash in half lengthwise and remove the seeds. Rub the inside of each half with a drizzle of olive oil and season with salt and freshly ground black pepper. Arrange cut-side down on a parchment-lined baking sheet and bake for 45 minutes until tender.
  2. Heat oil in a large skillet over medium. Add garlic and cook until fragrant, about 1 minute or less. Add chili flakes, stir for a few seconds and add chopped kale with a few pinches of sea salt. Sauté kale until the leaves are bright green, about 5 minutes. Add the chickpeas and cook until warmed through. Remove from heat.
  3. Remove squash from oven when it is cooked through and tender. Using a fork, pull the strands of squash from the peel so that it resembles…spaghetti! Place the strands into a serving bowl and add the kale-chickpea mixture. If you do the spaghetti squash in advance and it is no longer hot, add to the kale and chickpeas and sauté over medium heat until warmed through. Toss to combine and taste for seasoning. Since spaghetti squash is rather bland, you will need to add plenty of salt and pepper. Garnish with cheese if desired.

Smoky Braised Lentils with (or without) turkey sausages

Do you have a son younger than college age?  Did you ever have one?  Do you know that he probably doesn’t eat lunch at school?  I know you pack him something wonderful and maybe he even helped pick it all out.  But here’s the reality:  if your school is like mine and permits recess as soon as the kids are “finished” with lunch, most boys are only focused on one thing.  Playing ball.  I have figured out that my son only eats what he can on the way to the field and leaves everything else in the lunchbox.  He eats it all when he comes home, but he does NOT want to miss being picked for the better team or waste time sitting around eating when he can be doing his favorite thing in the world.  Playing ball.

Mr. Picky is in second grade and this has been going on since he started elementary school and from what other moms tell me, it doesn’t end.  So it was a big day in the Salzman household when Mr. Picky announced that he would like to take a thermos to school.  Why?  Did the state cut the budget for soccer balls?  Not yet.  Mr. Picky wanted a thermos so that he could take these lentils to school.  For lunch.  This is big, people.  And the thermos came back empty.
It is not at all important to me why he likes lentils, only that they are an amazing source of low-fat protein and super high in fiber, so they keep him full for a long time and help stabilize his blood sugar.  So I thought I would share this recipe with you just before Halloween since it is keeping in line with my strategy for the big night o’candy.  I can’t/won’t forbid my kids from eating candy on Halloween.  How unrealistic is that?  (Rhetorical question.  Very.)  My strategy is to get them really full with a good dinner before they go out so that they have no room in their bellies for too much candy.

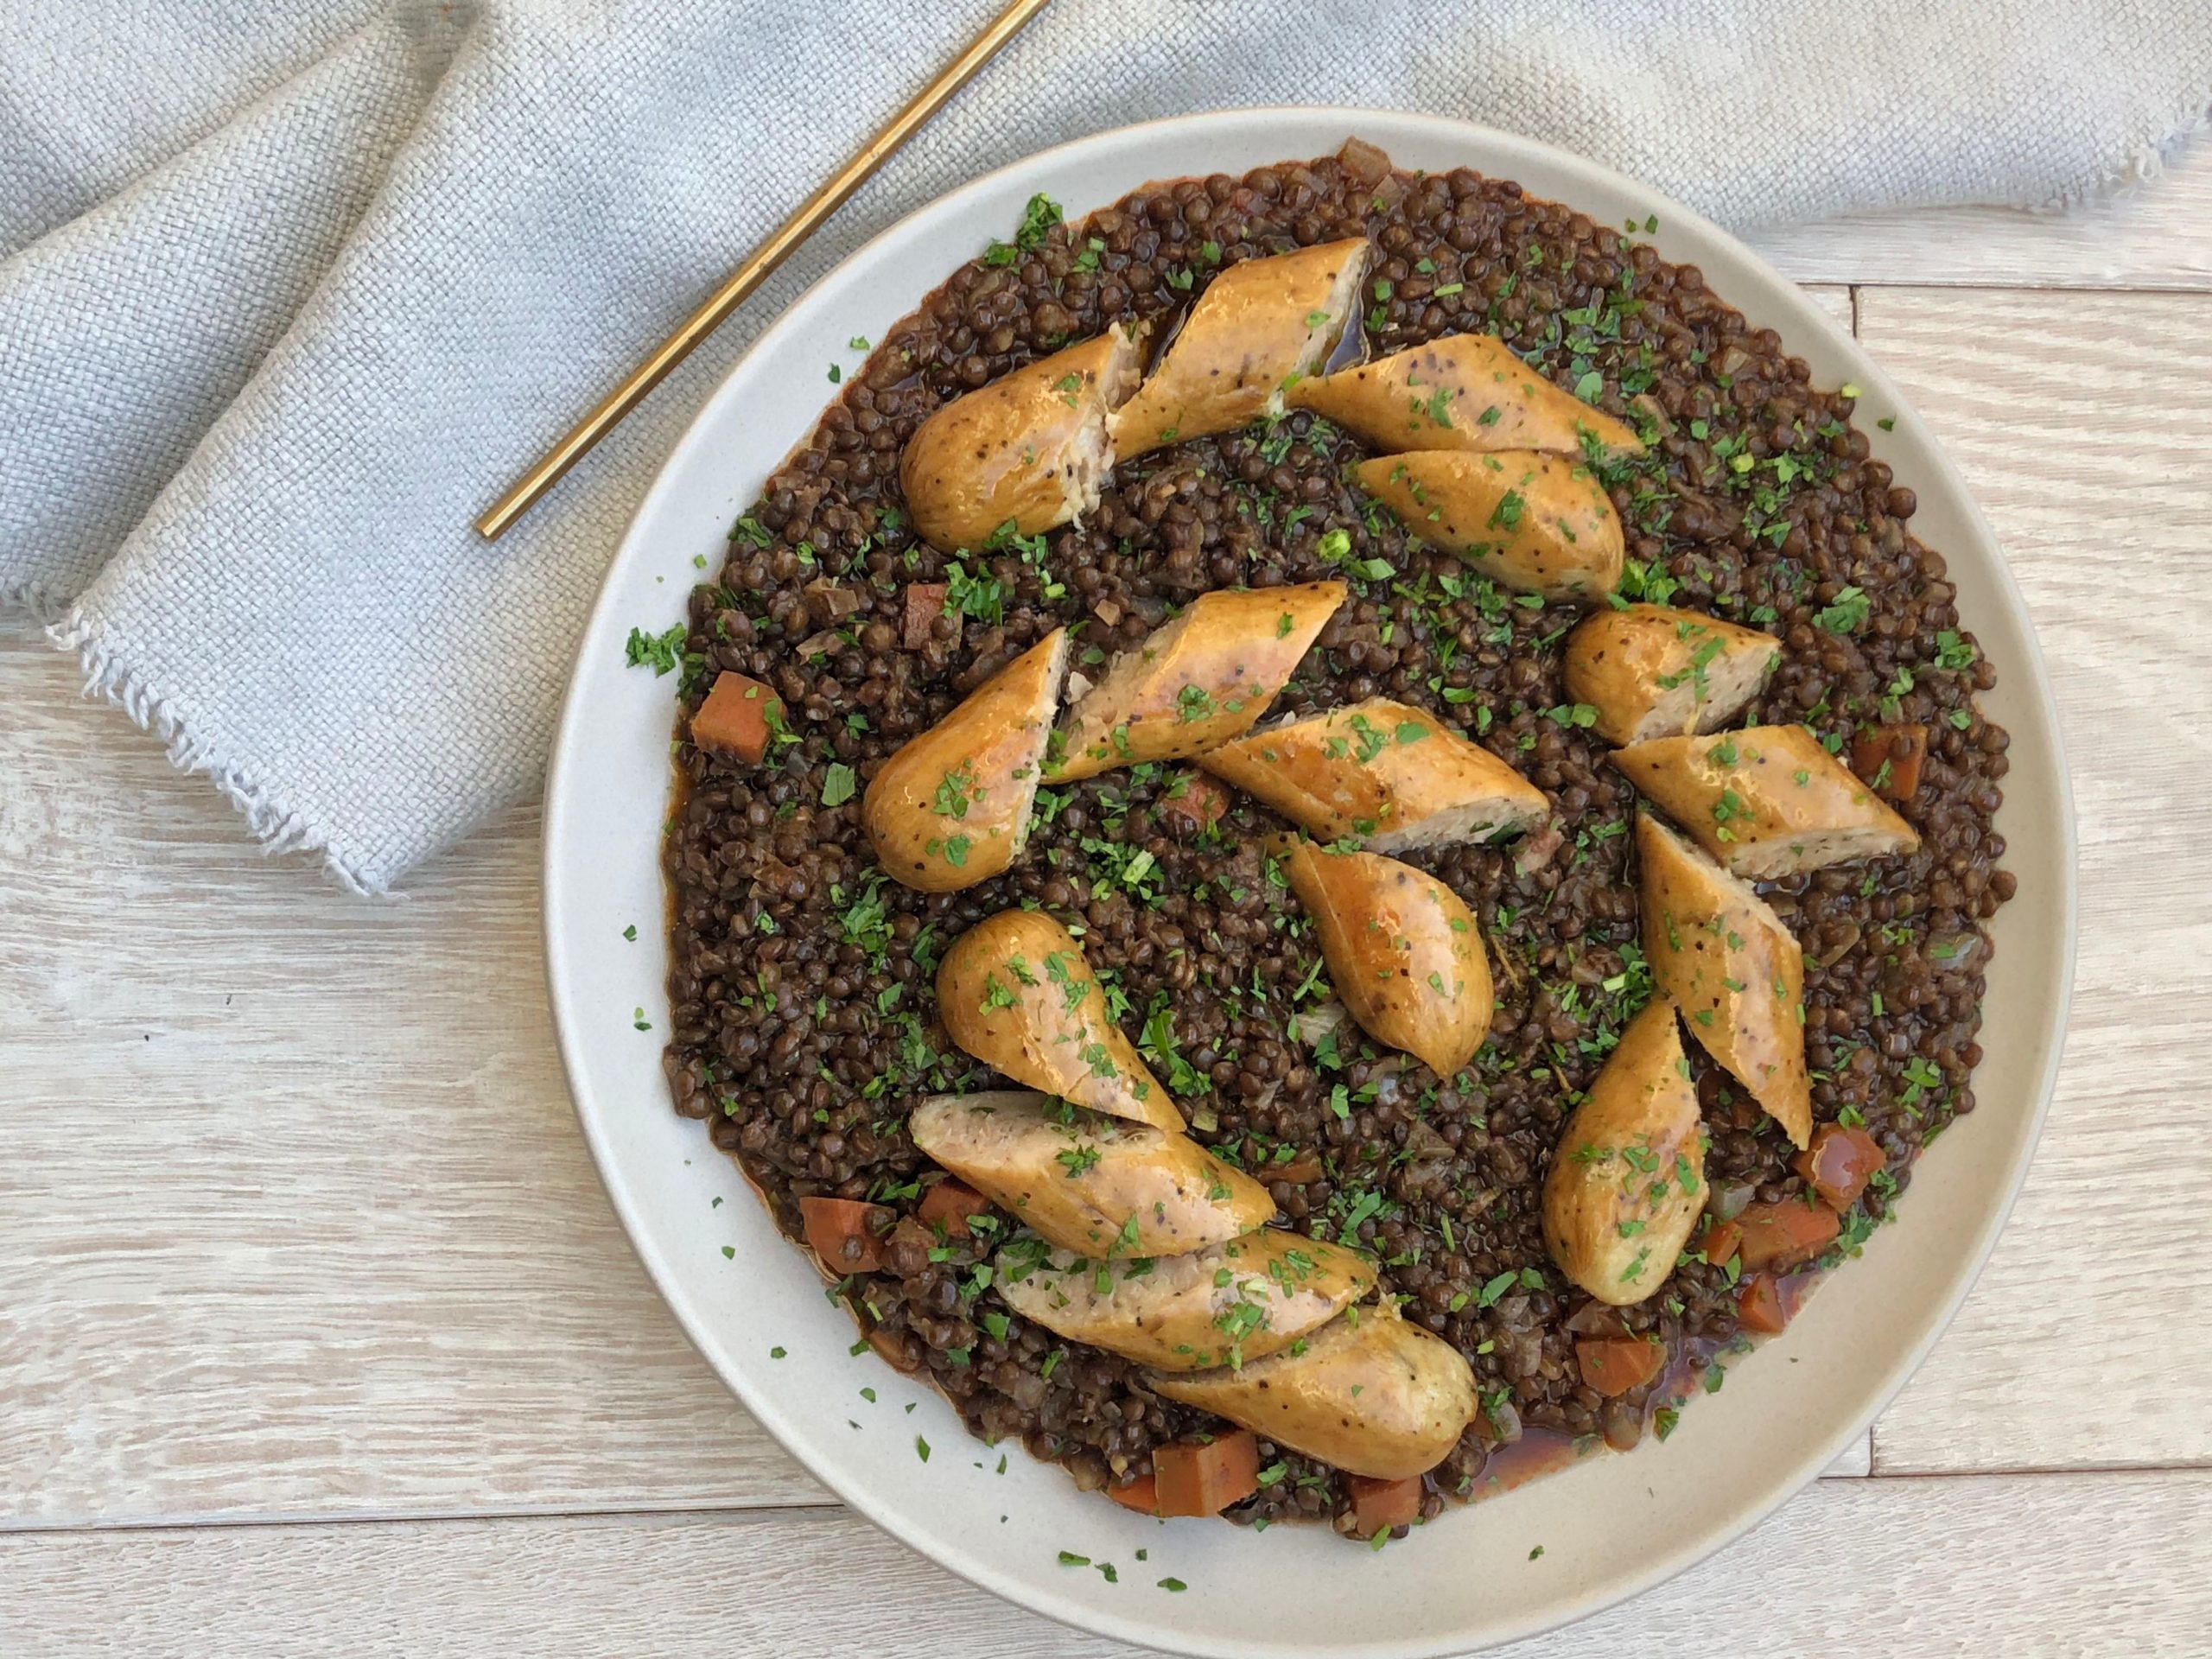
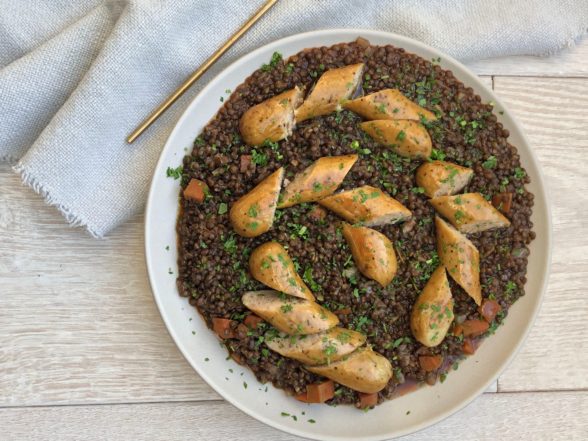
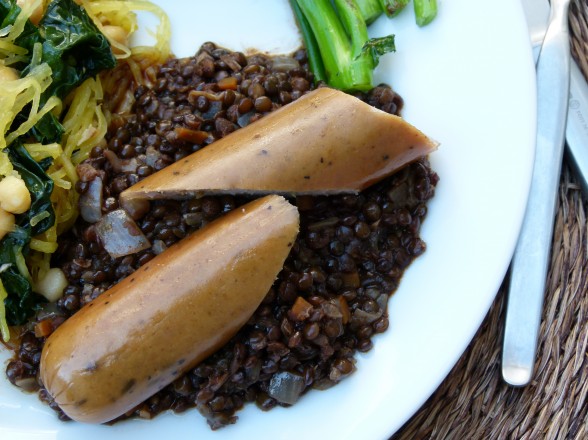
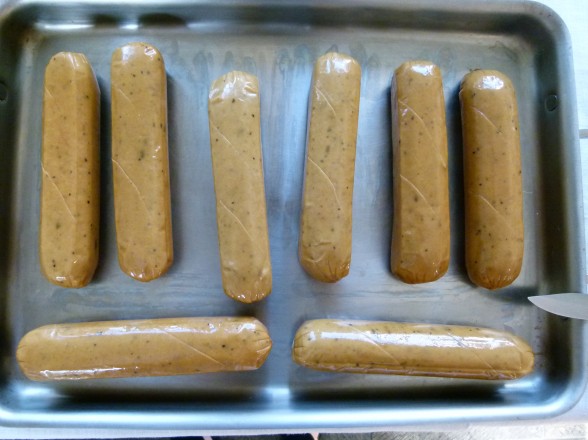
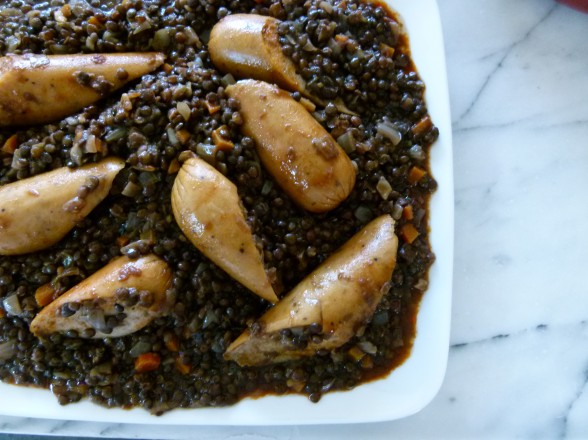
My mom used to make braised lentils which is kind of like making lentil soup, but with less liquid.  Only she used to put a piece of pork or a smoked ham hock in the pot and it gave the lentils great flavor.  I don’t eat pork, but I started adding smoked paprika to my lentils to give a similar smokiness and it’s delicious.  Mr. Picky says it tastes like there’s a hot dog in there.  In fact, that wouldn’t be a bad idea to put a (nitrate-free) hot dog in the pot to persuade your kids to try lentils.  Just a thought.  I very often make them as a vegetarian dish since they have so much protein, but here I served them with my answer to fast food — Applegate Farms (Precooked) Organic Chicken and Turkey Sausages.  No matter how busy you are, I am sure you aren’t too busy to warm up these sausages.  I bake them, which is so much easier than cooking them in a skillet and having to clean up any splattering on the stovetop.  But the best part is that there are no spooky ingredients to worry about!
Smoky Braised Lentils with (or without) Turkey Sausages
Author: 
Serves: 6
 
Ingredients
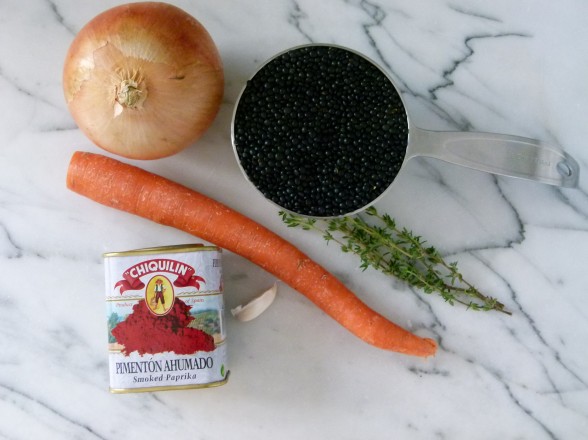
  • 1 Tablespoon unrefined olive oil
  • 1 large onion, diced
  • 1 carrot, diced
  • 1 clove garlic, finely chopped
  • 2-3 teaspoons smoked paprika (Spice Hunter is a good, easy-to-find brand. Spicely Organic has no flavor.)
  • 1 cup organic black or French lentils* (sorted and rinsed)
  • 1 sprig fresh thyme (optional)
  • 1 teaspoon sea salt (+ ½ teaspoon if you don’t cook sausages with lentils)
  • 2 ½ cups water
  • Freshly ground black pepper
  • 1-2 packages precooked Applegate Farms Sweet Italian or Chicken Apple sausages (4/package)
Instructions
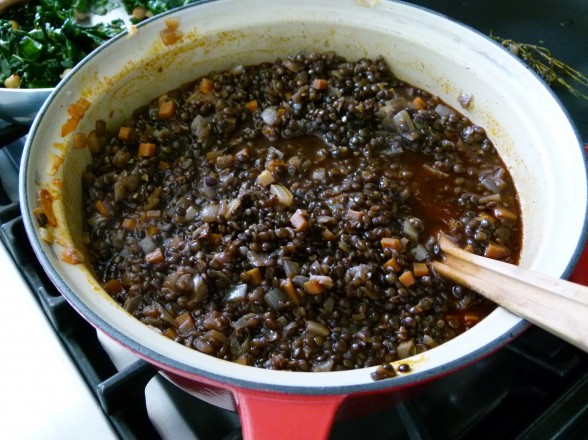
  1. In a medium saucepan, heat the olive oil. Add the onion and sauté over medium heat until tender and translucent, about 8 minutes.
  2. Add the carrots, garlic and paprika. Cook for 2 more minutes.
  3. Add the lentils, thyme, salt and water and bring to a boil. Cover and reduce heat to low and simmer for 30 minutes** or until lentils are tender. Halfway during the cooking process, preheat the oven to 350.
  4. Bake sausages on a baking sheet until heated through, about 15-20 minutes. Slice into thirds and serve with the lentils. Or alternatively, cut the sausages in half or thirds and add to lentils halfway through cooking lentils and heat sausages through.
  5. If lentils seem too liquidy, simmer a little longer uncovered. Taste lentils and season with salt and pepper as needed.
Notes
*There seems to be a wide variety of lentil cooking times. 365 Brand takes about 30 minutes, but I have used some imported varieties that take up to 50 minutes.

Black bean burgers with smoky red pepper sauce

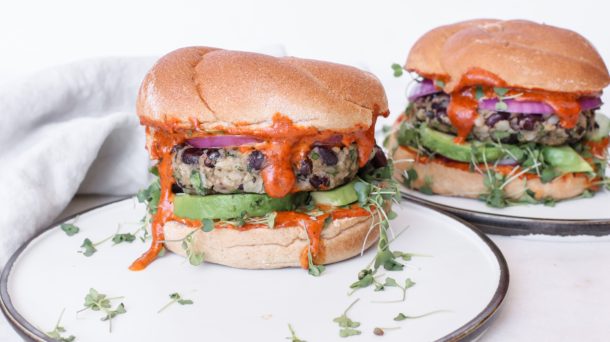
Black Bean Burgers with Smoky Red Pepper Sauce | Pamela Salzman
Photo by Erica Hampton

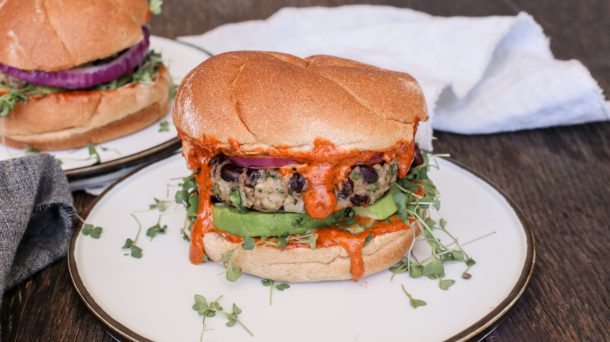
Not so fast.  You see “Black Bean Burgers” and you’re already making a run for it?  Well, I can’t blame you if your only experience with veggie burgers are those dry, thin hockey pucks in the frozen section of the supermarket.  Or if you’ve looked for recipes to make your own at home and the list of ingredients was a page long.  What do I have to say to make you give these a try?  Would it help if I told you my meat-and-potatoes husband loooooves these?  Would you been inclined to make them if you knew that Mr. Picky, yes the one and only, gave these very burgers the thumbs-up?  Listen, I’m not guaranteeing anything here, but these black bean burgers are delicious and you’ll want to smear the smoky red pepper sauce on everything from turkey sandwiches to roasted potato wedges to grilled vegetables.

Here’s the other thing — can we take a break from meat for 5 minutes?  My timing on this isn’t ideal, but Meatless Mondays has some merit.  As Mark Bittman said, “Even if you eat a typical American diet replete with processed, junk and fast food the other six days of the week, going meatless on Mondays will still cut your carbon footprint, improve your health and reduce demand for factory-farm meat.”  The only thing I would qualify is that going “meatless” doesn’t necessarily imply a more healthful diet.  You’re a smart group, and I probably don’t need to tell you that you could eat potato chips and candy bars for dinner and that’s not going to do you any good.  But eating a dinner of legumes, whole grains and vegetables can only do you good.

All beans are an inexpensive source of high-fiber protein, but the black color in black beans contains a tremendous amount of antioxidants.  In fact, black beans are among the top antioxidant foods out there.  Recall that antioxidants neutralize the damage done by free radicals and they are your friend against aging.  I prefer to cook my own beans (see very end of post), as opposed to buying them canned, for several reasons:

  • it’s way cheaper;
  • no exposure to BPA in can liners (although Eden Organic doesn’t use BPA);
  • no waste (I cringe when I throw several cans in the trash);
  • less indigestion (there are complex sugars called oligosaccharides on the outside of beans, which can cause some individuals discomfort.  Soaking beans removes these sugars, but most canned beans have not been pre-soaked.  If you have to use canned, give them a rinse before consuming and that will help somewhat.)
  • it’s as simple as boiling water, if you plan ahead.
If you are insecure that your family will go for these, just treat them like regular burgers and give them lots of delicious toppings to choose from.  In my house, we all put our own spin on them.  I eat the burger over a green salad with the pepper spread, grilled onions and sliced avocado.  Everyone else takes a toasted bun and adds cheese, ketchup (Mr. Picky), lettuce, tomato, pickles, you get the picture.  Here’s what’s great for you — you can shape the patties in the morning or even a day or two ahead, pull them out of the fridge right and cook them in less than 10 minutes.  Such a great feeling.  You can even freeze them and cook them right out of the freezer and just cook them a little longer.  I like to fry them on a griddle pan or in a skillet, but you can bake them, too.  And — you can make little sliders for a party!  That’s all it takes to make me happy, people.
Black Bean Burgers with Smoky Red Pepper Sauce | Pamela Salzman
5.0 from 4 reviews
Black Bean Burgers with Smoky Red Pepper Sauce
Author: 
Serves: makes 8 patties
 
Ingredients
  • 3 Tablespoons unrefined, cold pressed extra virgin olive oil + more for cooking patties
  • 1 cup finely diced onion
  • ¼ teaspoon crushed red pepper (or more if you like them spicy)
  • 1 clove garlic, minced
  • 3 cups cooked black beans, or 2 15-ounce cans, rinsed and drained
  • 1 cup cooked brown rice
  • 2 eggs, lightly beaten
  • 1 cup panko bread crumbs or almond meal (to make them GF)
  • ¼ cup chopped flat-leaf parsley
  • ¼ cup chopped cilantro
  • 1 teaspoon sea salt (or more if using unsalted beans)
  • ¼ teaspoon freshly ground pepper
  • Smoky Red Pepper Sauce (recipe follows)
  • Hamburger bun of choice or whole wheat pita (optional)
  • Accompaniments: grilled onions, avocado, tomato, sprouts
  • SMOKY RED PEPPER SAUCE (double this if your family likes a lot of sauce):
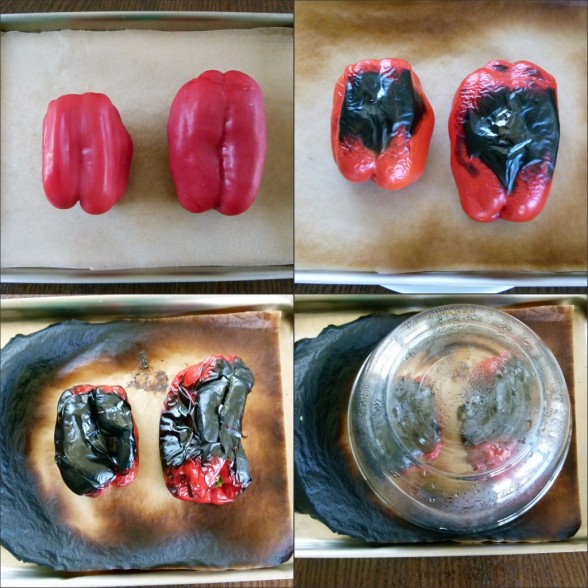
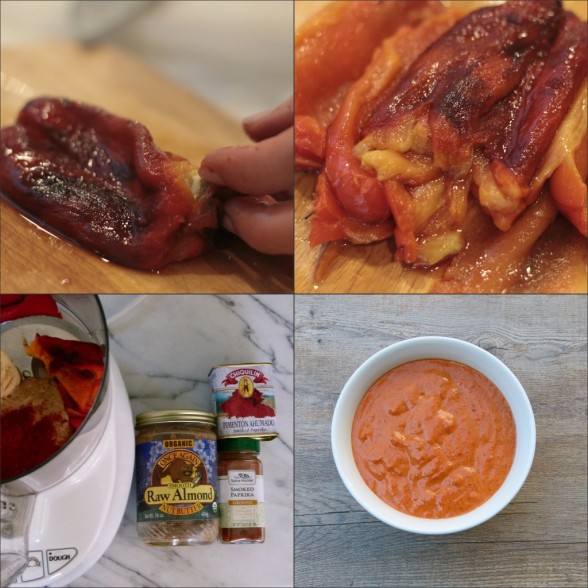
  • 1 red bell pepper, roasted, peeled, seeded and chopped -- you can buy these already roasted or you can roast them yourself (see below)
  • ¼ cup raw, creamy almond butter (or 1 cup feta cheese and omit the salt)
  • ½ teaspoon sea salt
  • ½ teaspoon smoked paprika (or more to taste)
Instructions
  1. In a small skillet, heat the olive oil over medium heat. Add the onion and cook until tender. Add the crushed red pepper and garlic and cook until fragrant, 2 minutes.
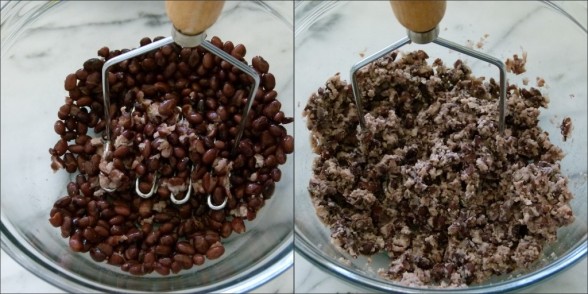
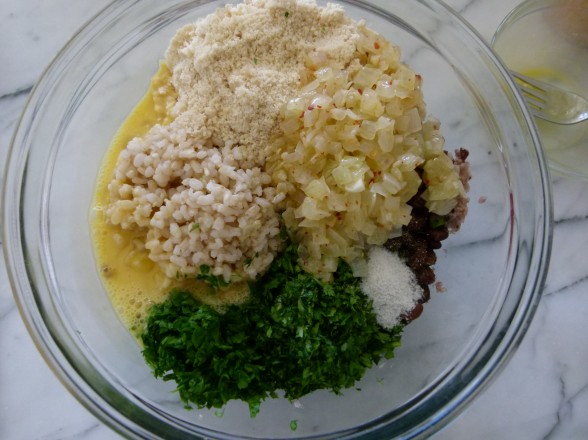
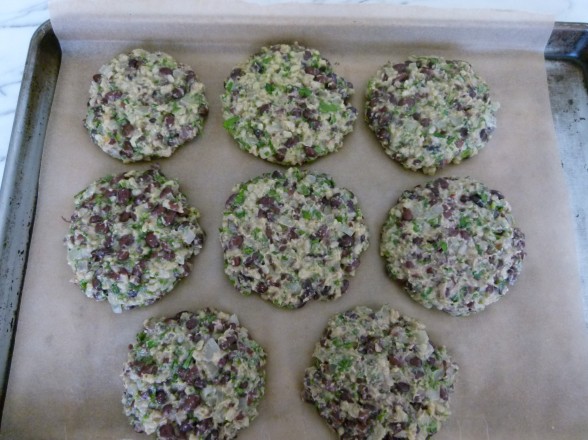
  2. Place 1 ½ cups of beans in a bowl and mash them to a chunky puree with a potato masher or in a food processor (a fork also works just fine.) Add the rest of the beans to the bowl along with the rice, onion mixture, eggs, bread crumbs or almond meal, parsley, cilantro, salt and pepper and blend together. Take a scant ½ cup of the mixture and form into a patty. I like to put them on a parchment-lined baking sheet. Repeat with the remaining mixture. Cover and refrigerate for at least 30 minutes (or up to overnight.)
  3. In a large skillet or on a griddle pan, heat an ⅛ of an inch of oil. Add the patties and cook over medium heat, turning once, until browned and heated through, about 6 minutes. Serve with desired accompaniments. Or preheat an oven to 350 degrees and brush a baking sheet with oil or line it with unbleached parchment paper. Place the patties on the sheet and brush the tops with oil. Bake until heated through and lightly golden brown on top, about 20 minutes.
  4. To make smoky red pepper sauce, puree everything in a mini food processor until well blended.
Notes
HOW TO COOK BEANS FROM SCRATCH

1 pound of dried beans will yield approximately 6 cups of cooked beans.

Let's do the math. 1 pound dried costs about $1.00. 6 cups is about 4 cans. 1 can of Eden Organic costs about $2.29. Times 4 equals more than $10.00. Way cheaper to make your own.


Place the dried beans in a large bowl or pot and add enough cold water to cover by at least three inches. Allow to sit for 6-8 hours, or overnight. The countertop is fine, but if your kitchen is very warm, stick the beans in the fridge.

Drain and rinse the beans in a colander. Transfer beans to a large pot and add enough cold water to cover by three inches. Bring to a boil over high heat and lower to a simmer. Skim any foam off the top while they are cooking.

Start testing them after 50 minutes. Cook until tender. This can take anywhere from 50 minutes to 2 hours (the older the beans, the longer they take.) When they are tender, turn the heat off and add a tablespoon of kosher salt to the water and allow the beans to cool slightly in the cooking liquid. Drain and use immediately or refrigerate and use within 3-4 days. Cooked beans also freeze beautifully.


Chickpea and deconstructed pesto salad

Summer around my house is very loosey-goosey.  We lack a bit of structure when school is not in session.  On any given night, it varies who will be here for dinner and I often find myself cooking for either just two people or for an army.  This can be tricky for me since I make my menu for the week every Sunday night, but over the years I have also learned how to be flexible and not anxious if I have enough fish for 5 and all of a sudden we’re down to 2.

Daughter #1 and I found ourselves solo for dinner last night, but it was late and neither one of us had the motivation to do anything more than open a can of chickpeas.  Of course we’re girls and we are just fine eating a meal without meat and still calling it dinner.  We made this chickpea salad and grilled up some zucchini, because who can eat a meal without zucchini in it these days?  It’s taking over the world!!  Remind me next spring not to plant so much.  And the two of us stood at the kitchen counter leaning over the salad bowl shoveling in spoonful after spoonful of chickpea salad, exclaiming “this is so good!” after every bite, alternating with dropping ribbons of grilled zucchini in our mouths.

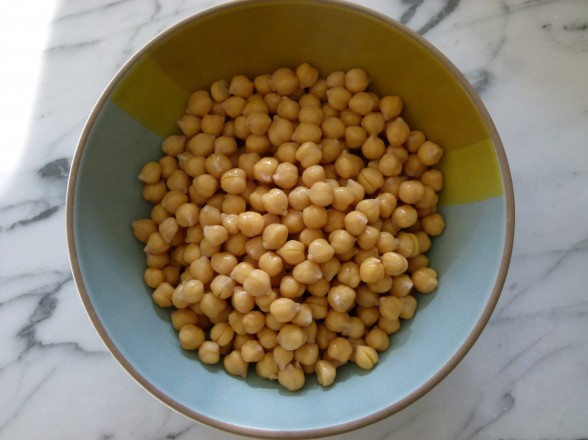
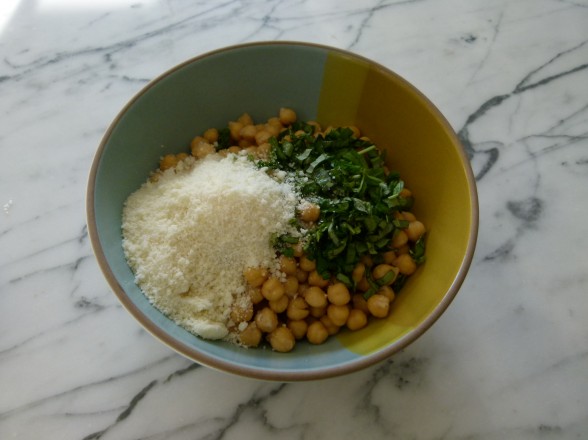
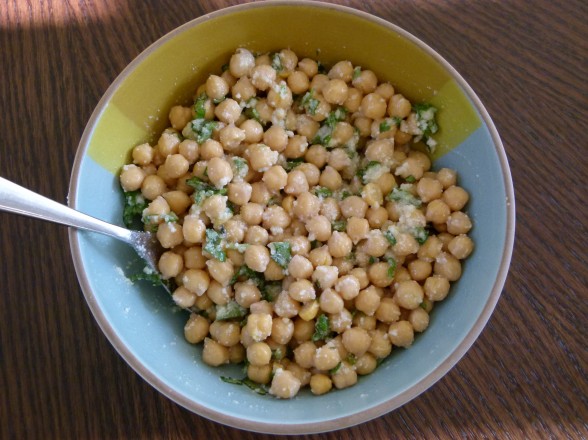
This is hands-down the easiest salad you will ever make and if you are growing your own basil, you likely already have everything you need to put this together in five minutes.  Thank goodness for pantry staples!  This is fabulous to bring to a barbeque or picnic since you can make it ahead and nothing happens to it.  It’s even great the next day.  Last night I added halved cherry tomatoes at the last minute and I have also thrown in chopped, blanched green beans to make it more substantial.  Be forewarned, there is a nice punch of raw garlic which I love, but if you don’t care to eat garlic, you can just smash it and add it for a subtle undertone.  The idea is to make a salad with all the flavors of pesto without having to make pesto.  Actually, the idea of this salad is to barely do anything at all, but still eat something utterly delish.


View this post on Instagram


A post shared by Pamela Salzman (@pamelasalzman)


Chickpea and Deconstructed Pesto Salad
Author: 
Serves: 4
 
Ingredients
  • 3 cups cooked chickpeas or 2 15-ounce cans, rinsed and drained
  • ¼ cup chopped fresh basil leaves
  • 2 small garlic cloves, minced
  • 3-4 Tablespoons freshly squeezed lemon juice (about 1 lemon)
  • 3 Tablespoons unrefined cold-pressed extra-virgin olive oil
  • ½ teaspoon fine grain sea salt or to taste
  • freshly ground pepper to taste
  • ⅓ cup grated pecorino-romano (sheep's milk cheese) or parmesan cheese (cow's milk cheese)
Instructions
  1. Combine all salad ingredients in a serving bowl and toss well to combine. That's it!
Notes
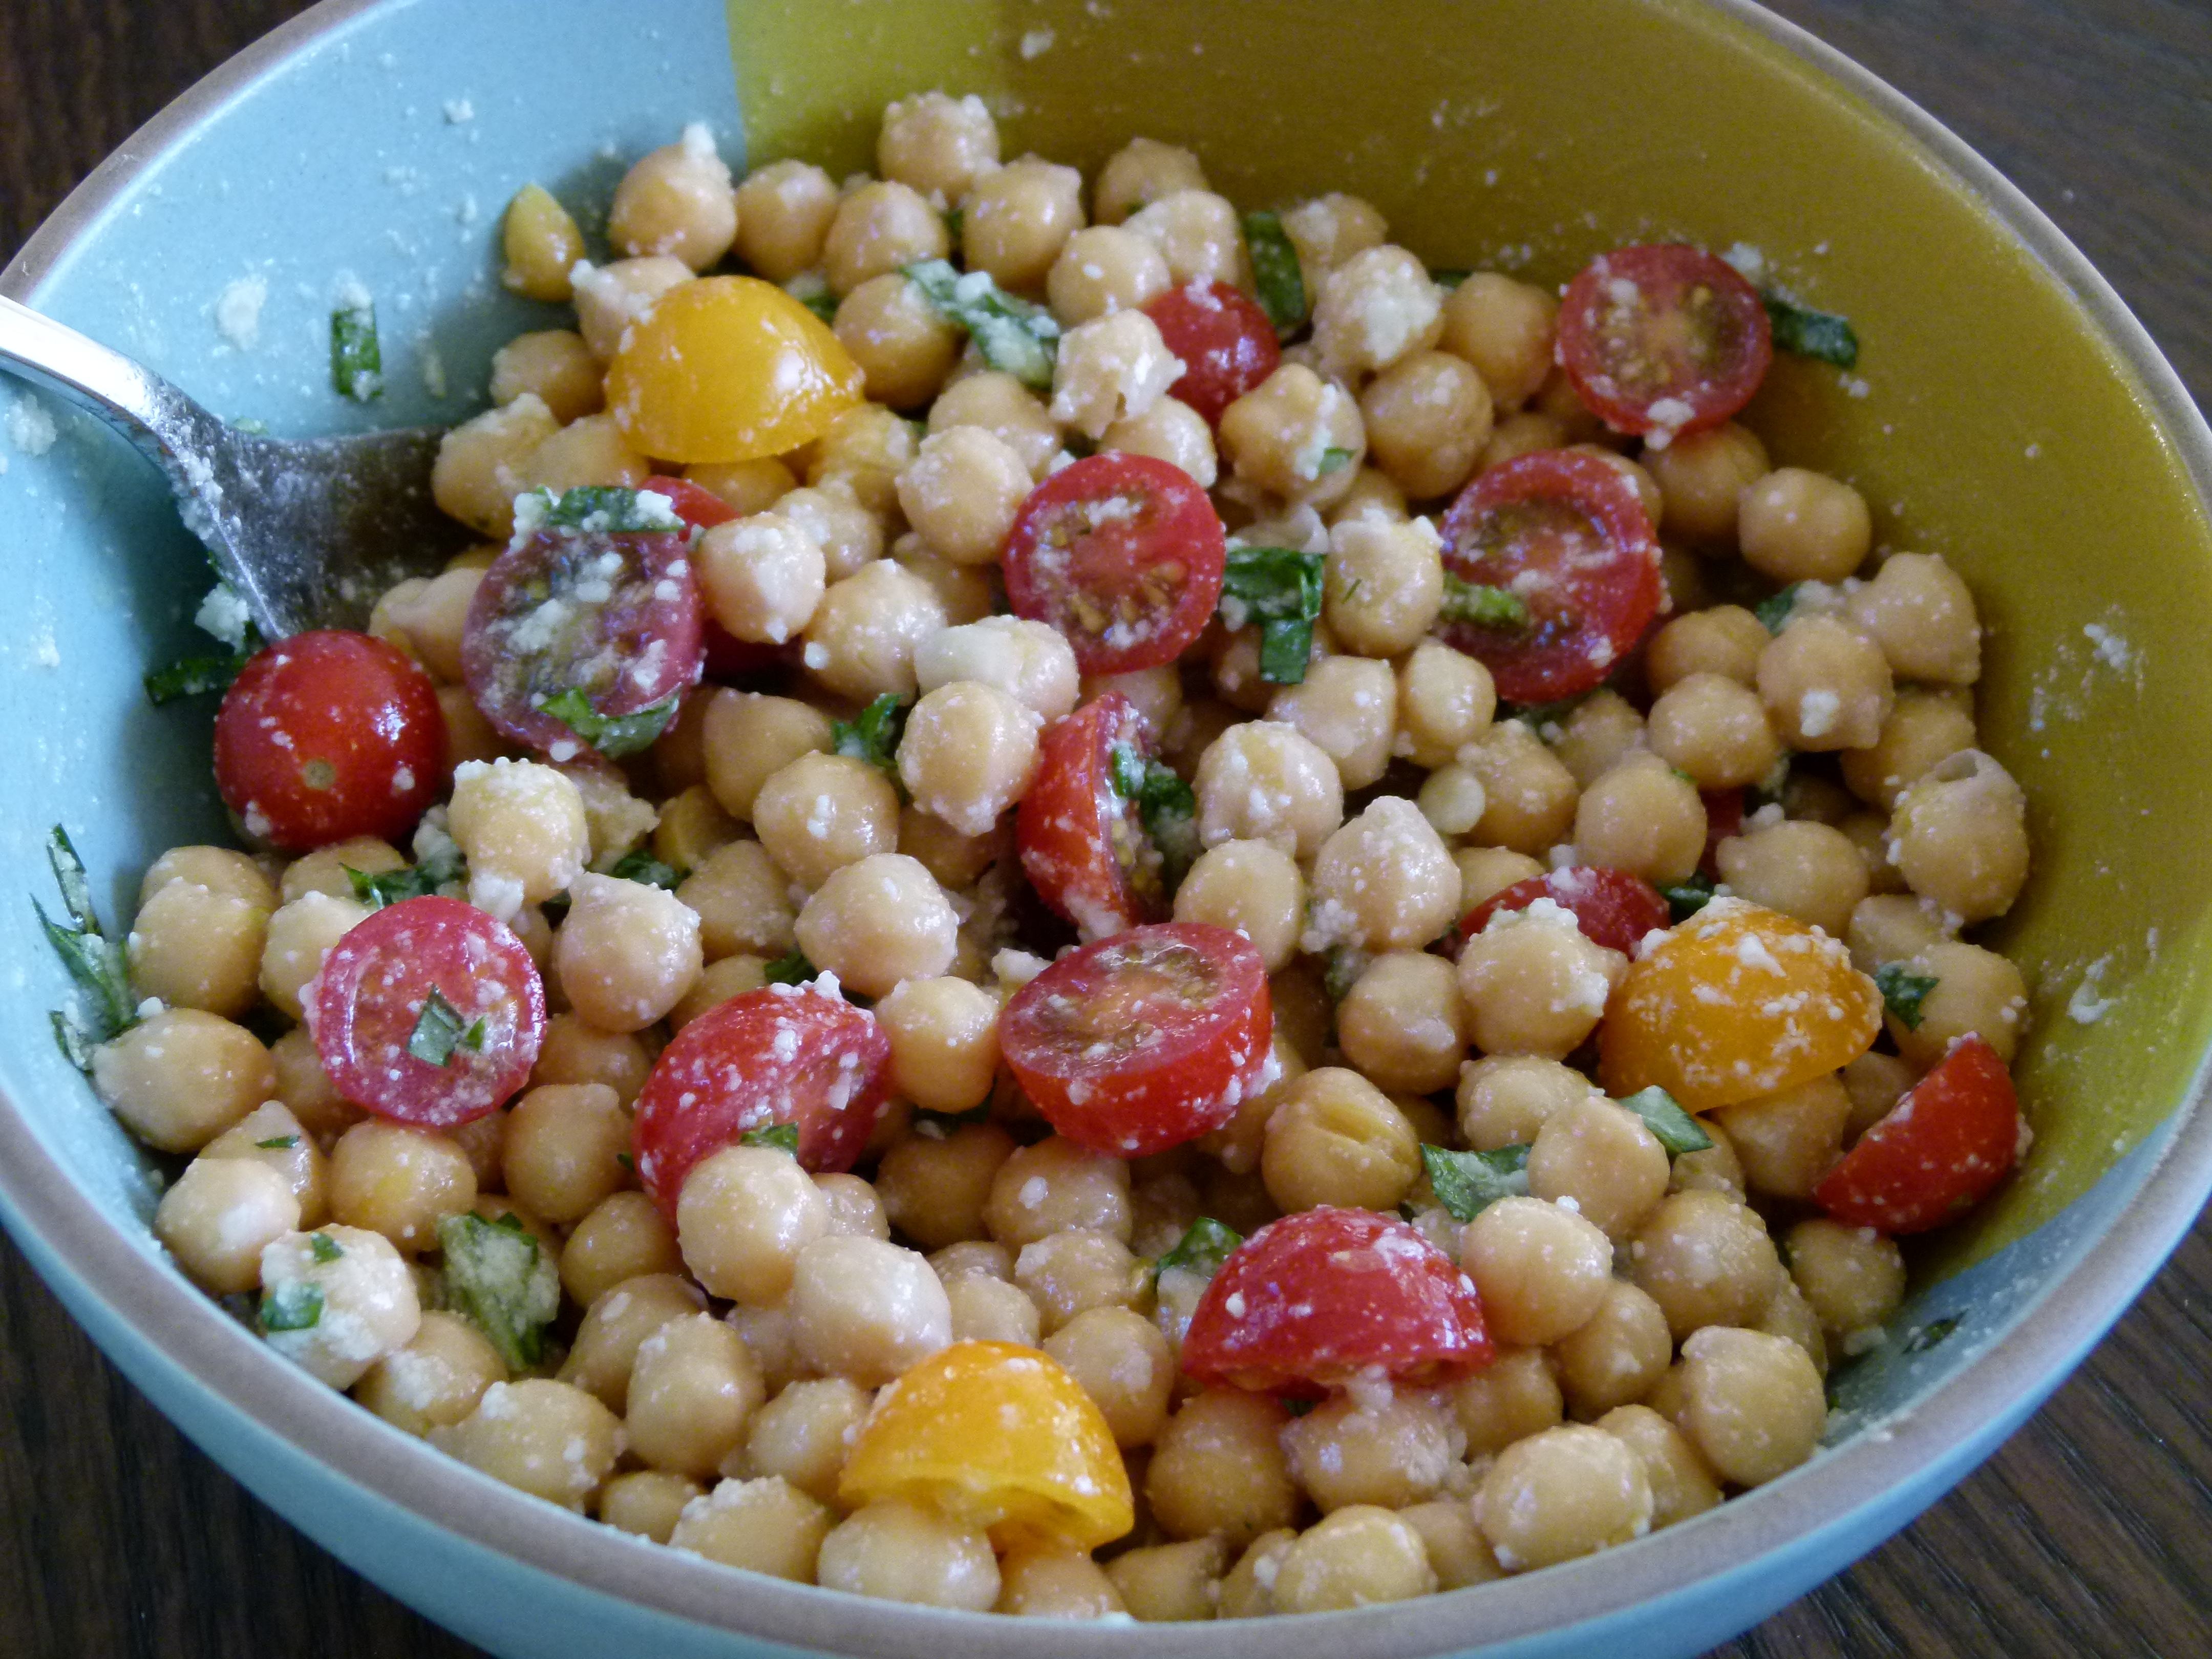
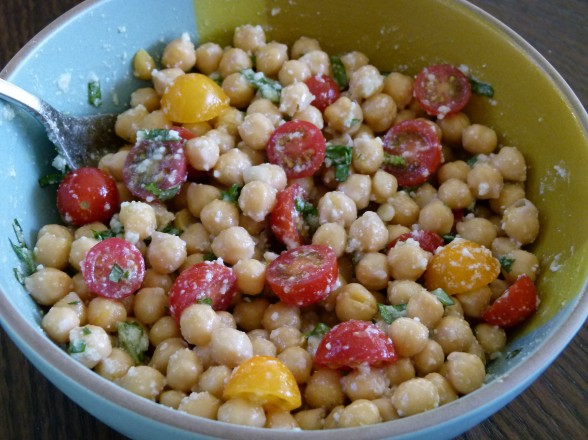
Also delicious with halved cherry tomatoes (see lead photo), arugula and/or blanched green beans. I added some thinly sliced radicchio once and that was nice, too.


Corn and edamame succotash

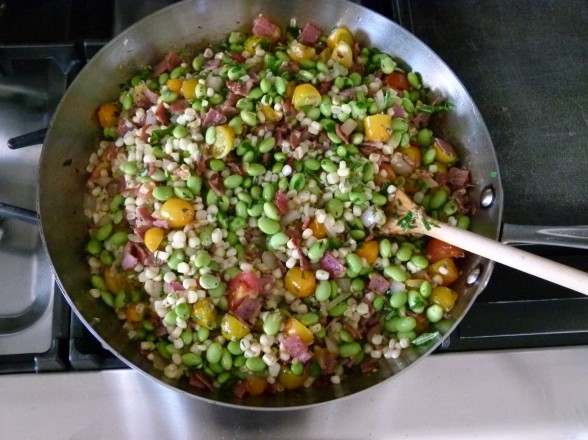
This house sure is quiet.  The girls are still in Connecticut and Mr. Picky is off at the batting cage for a little bit with his dad.  I don’t think I’ve been alone in my house in a year.  Or more.  It’s sooooooooo nice.  Don’t get me wrong.  I adore my kids and my husband, but solitude is a precious luxury that I never get to indulge in.  And silence.  Just heaven.  I find it funny that all this peace and quiet makes me hungry, so I give myself permission to make an early dinner for me and only me.  It never happens that I only have my cravings to consider for dinner.  I think being conscientious of many people’s likes and dislikes is a big challenge when planning meals for a family.  But not tonight!

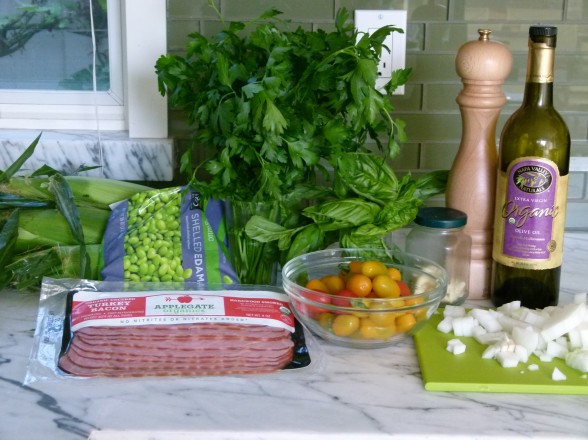
At yesterday’s farmer’s market I scooped up two of my summer favorites — corn and tomatoes.  I was especially excited about the tomatoes since my plants won’t be producing fruit any time soon.  Unfortunately, Manhattan Beach does not have tomato weather.  The parsley and basil are doing beautifully in the garden, though and if I am lucky enough to have frozen shelled edamame in the freezer and turkey bacon in the fridge, corn and edamame succotash will be my dinner tonight.

Hooray!  It’s all here!  I secretly hope that my husband and Mr. Picky call me and ask if they can grab a bite out instead of home.  I have visions of me and a giant bowl of corn and edamame succotash in front of the tv watching the new episode of “Million Dollar Decorators” without my husband doing Martyn Lawrence Bullard impressions so that I can’t hear what anyone is saying.  Am I getting old that this is my idea of bliss tonight?  Don’t care.  I’ve got succotash to make.

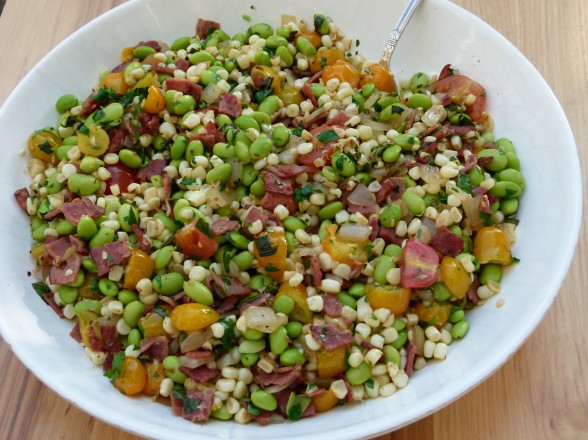
I taught this recipe in my classes last August and I got great feedback, although people admitted they were skeptical of eating something called “succotash.”  True, not a very sexy name, but succotash really just means a few sauteed vegetables usually mixed with corn and lima beans.  I had found a recipe from an old Gourmet Magazine (sniffle) and changed it up a bit to suit my family, and I just love it.  Since my kids are crazy for edamame, I always have bags of it in the freezer.  That was a natural sub for the lima beans.  It makes such a nice side dish for a weeknight family dinner or for entertaining in the summer, or a main dish since it is loaded with protein.  It’s so tasty, as well as colorful, nutritious, and quick to put together, especially if your kids shuck the corn for you.  Even by myself, I pulled this together very quickly.  You definitely don’t need to use turkey bacon in this if you are vegetarian or just don’t like it, but I would compensate with a pinch of salt.  As I sat there on the couch, by myself, eating this gorgeous succotash, I was able to concentrate on the food and really enjoy it.  I couldn’t help but think how much I loved the crunch of the corn and edamame and the sweetness from the tomatoes.  Couple more bites.  The apple cider vinegar adds great tang and the smoky, salty flavor from the turkey bacon is perfectly complementary.    Another few bites.  I can’t believe there’s no salt.  Yes, the edamame were cooked in salted water and the bacon has salt, but there’s no added salt and I don’t miss it.  A few more bites.  This is supposed to serve 6-8?  Is that a typo?  I’m halfway done with the bowl, but I keep eating anyway.

“Hi Mom!  We’re home!”  Well, it was nice while it lasted.  Mr. Picky asks for some succotash.  “Hey, that looks good.”  Really?  Tonight is the night you decide not to be picky?

5.0 from 2 reviews
Corn and Edamame Succotash
Author: 
Serves: 6-8 as a side dish
 
Ingredients
  • 12 ounces frozen shelled edamame
  • Kosher salt
  • ¼ - ½ pound nitrate-free turkey bacon*(optional)
  • 1 ½ tablespoons unrefined, cold-pressed extra-virgin olive oil
  • 1 small onion, chopped
  • 1 large garlic clove, minced
  • ¾ lb cherry tomatoes, halved
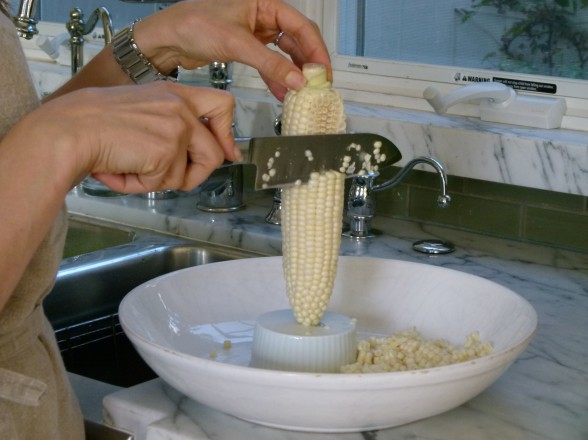
  • 4 ears corn, kernels cut off cob
  • 1 Tablespoon apple cider vinegar
  • ¼ cup packed small fresh basil leaves or larger leaves chopped
  • ¼ cup packed flat leaf parsley leaves, chopped
Instructions
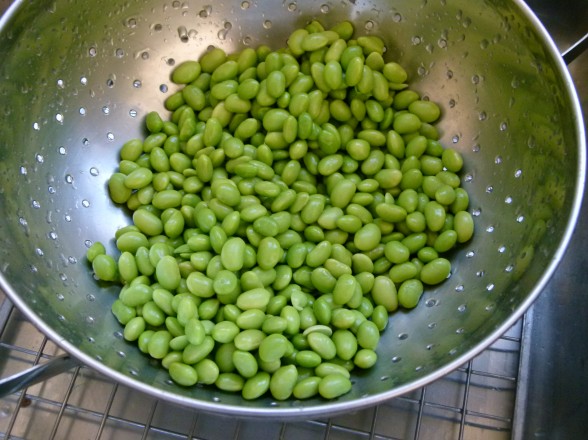
  1. In a medium pot of boiling salted water, cook edamame 5 minutes, or until just tender. Drain and rinse under cold water to stop the cooking process.
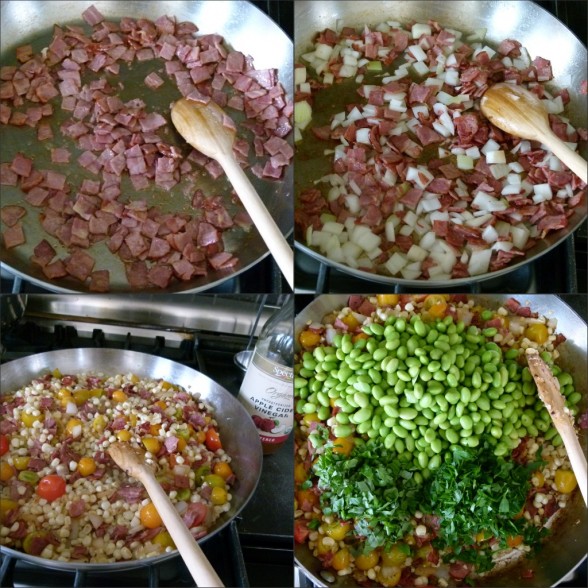
  2. Chop bacon. Add oil to a large skillet and cook bacon over medium heat until starting to crisp, 3-5 minutes. Add onion and sauté until softened. Add garlic and cook for 1 minute. Don’t worry if the bottom of the pan is getting brown from the bacon. The acid from the vinegar and tomatoes will clean it up.
  3. Add tomatoes, corn and vinegar to the skillet. Cook, stirring until tomatoes begin to lose their shape. Stir in edamame. Remove skillet from heat and stir in herbs. Serve immediately.
Notes
*Or bacon can be cooked separately a 350 degree oven. Line a baking sheet with unbleached parchment paper and arrange the bacon slices in one layer. Bake for 20 minutes, turning once, until slightly crispy. Chop cooked bacon and add with edamame.


Hummus 4 ways

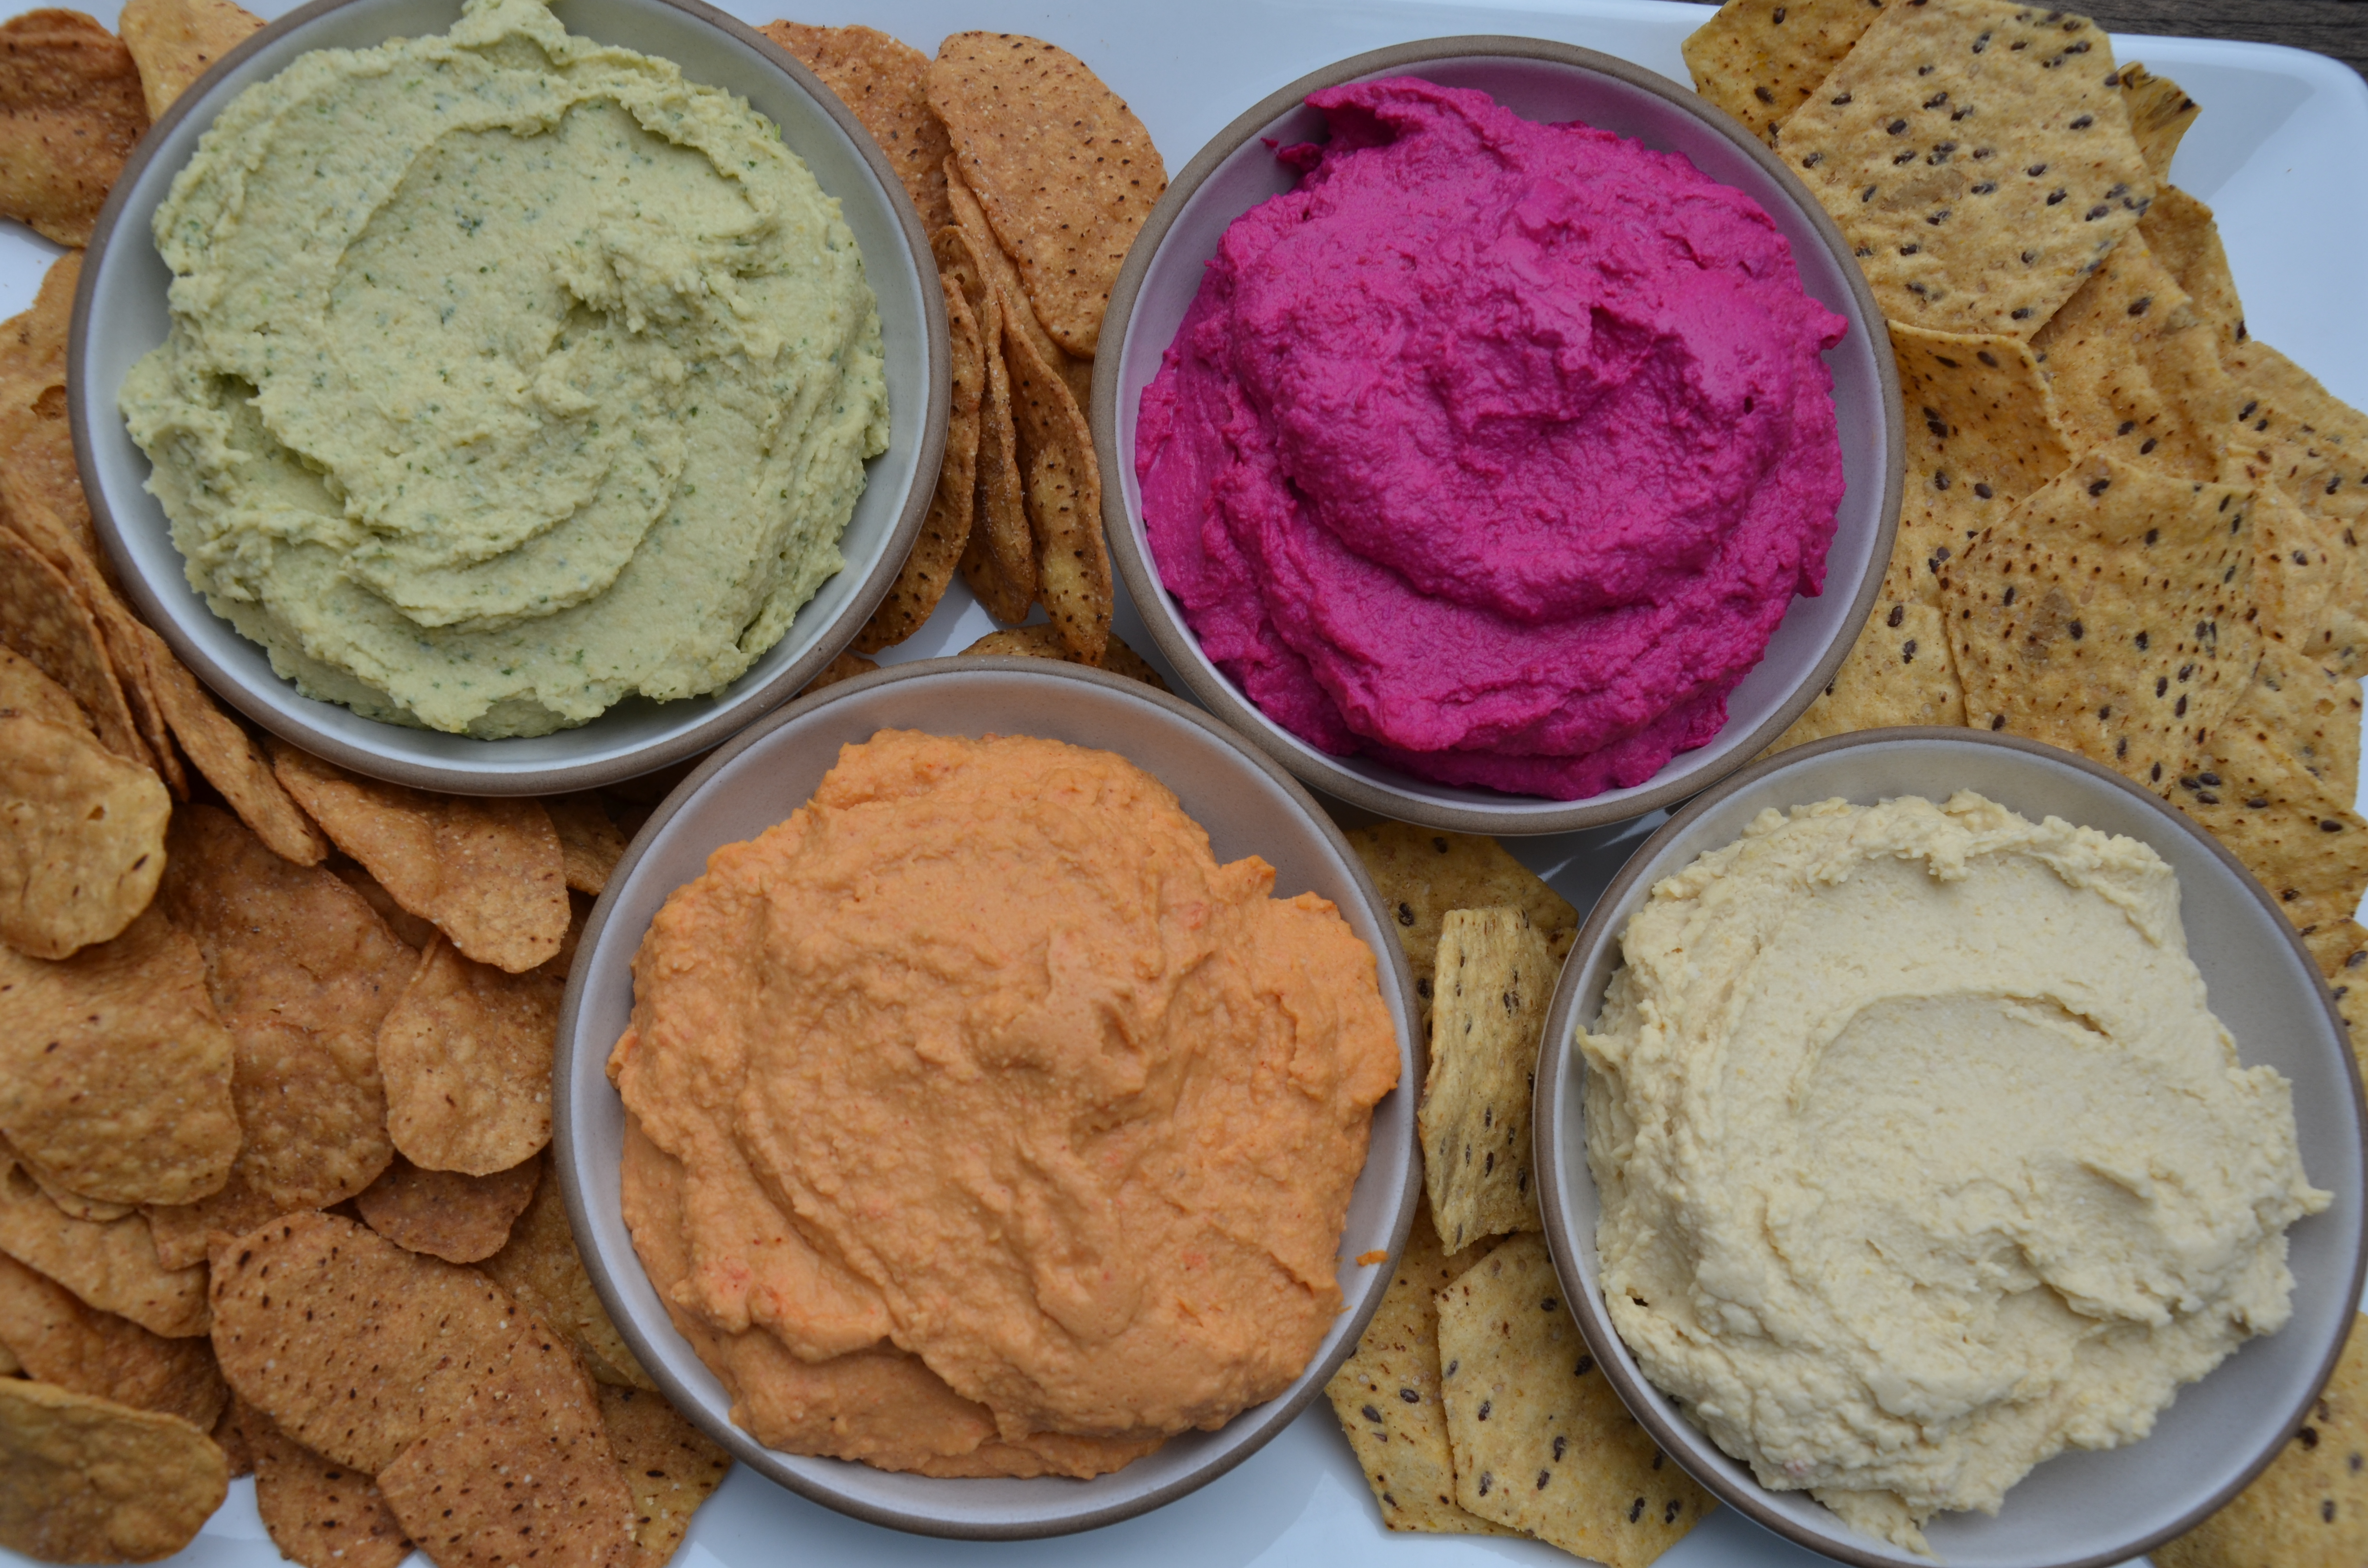
I was talking with my summer intern Hannah about how much I love hummus and how easy it is to make.  I think I have been making my own hummus since before she was born, but the last couple years I have felt hummus boredom so I’ve had a little fun experimenting with different flavors.   Hannah was intrigued since she thought hummus was like puff pastry, which NO ONE makes from scratch.  Well, I knew we had a cooking lesson on our hands!

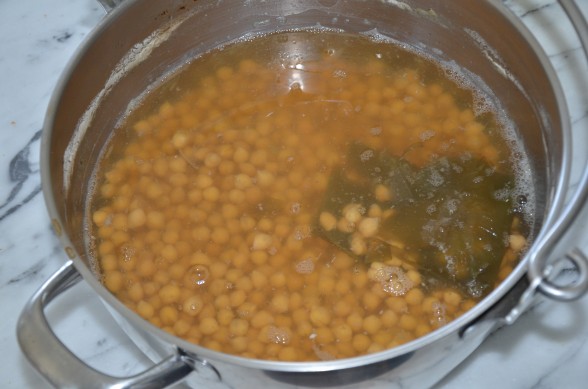
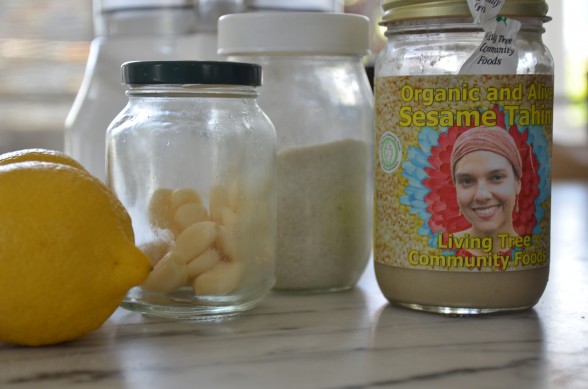
Hummus is a Middle Eastern dip made from cooked chickpeas (a.k.a. garbanzo beans) pureed with tahini (a paste made from ground up sesame seeds), garlic, lemon juice, and salt.  I add a little liquid from the pot (or can) of cooked chickpeas and some people add olive oil.  Sure you can add cumin or hot sauce, but essentially that’s it.  I maintain that hummus tastes so much better when I make my beans from scratch, although really you can use canned and it will still be fabulous.  But what kind of a cooking lesson would this be if we used chickpeas from a can?  So I started soaking a ton of dried chickpeas that day, cooked them for 90 minutes the next morning and we began our hummus factory.

I had an idea to make several of my favorite flavors just for kicks, so we also roasted a couple beets, a red bell pepper and cut some cilantro from the garden.  After we made our first batch, which was the traditional kind, Hannah looked at me in disbelief.  “That’s it?! ”  Yep.  That’s it.  “If people knew how easy it was to make hummus, they would never buy it!”  I’m so glad that thought was put out there to the universe.

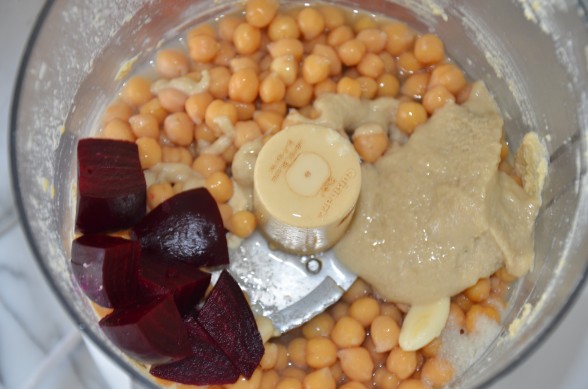
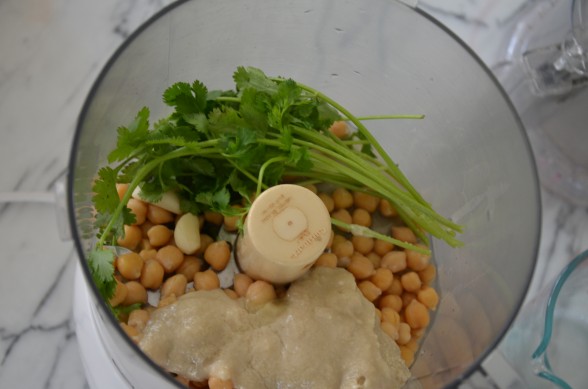
After that, we made hot pink hummus with a roasted beet, which I agreed would be super cute for a (girl) baby shower or a bachelorette party (Hannah’s idea.)  Cilantro hummus turned out a lovely pale green with a fresh herby flavor.  Lastly, my favorite was roasted red pepper hummus to which I added a little smoked paprika and a dash of cayenne.  We tried all the flavors with raw carrot, cucumber and sweet bell pepper slices, as well as some gluten-free chips.  But I also love the red pepper version on veggie burgers and the cilantro one on a turkey sandwich.  The beet hummus is for pure shock value since despite adding a roasted beet, it just picks up a subtle sweetness and really tastes a lot like the traditional.  You can never have enough healthful dips for summer entertaining.  With July 4th around the corner, there’s no better time to add some pizzaz to an old classic!

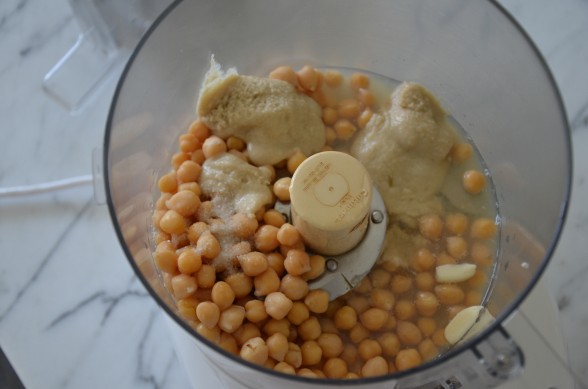
Traditional Hummus
Author: 
 
Ingredients
  • 3 cups cooked chickpeas, if canned, drained and rinsed, liquid reserved*
  • 3 garlic cloves
  • ½ cup sesame tahini
  • 4-5 Tablespoons freshly squeezed lemon juice
  • 6 Tablespoons chickpea liquid
  • 1 teaspoon plus a pinch sea salt
Instructions
  1. Place all the ingredients in a food processor fitted with the steel blade and process until the hummus is smooth. Taste for seasoning and texture.
  2. I like it very smooth and creamy, so I let the food processor run for a few minutes. I also prefer to eat it immediately at room temperature, but if you will be refrigerating it, you can add a little extra chickpea liquid since the hummus will thicken after it has been refrigerated.


: : : : : : : : : : : : : : : : : : : : : : : : : : : : : : : : : : : : : : : : : : : : : : : : : : : : : : : : : : : : : : : : : : : : : : : : : : : : : : : : : : : : : : : : : : : : : : : : : : : : : : : : : : : : : : : : : : : : : : : : :


Variations:

Beet Hummus: add 1 large roasted and peeled red beet to Traditional Hummus ingredients in food processor.  Blend until thoroughly combined.


Cilantro Hummus: add 24 sprigs of cilantro and a few dashes of cayenne pepper to Traditional Hummus ingredients in food processor.  You can use either lemon juice or lime juice.  Blend until thoroughly combined.  Feel free to use more cilantro.


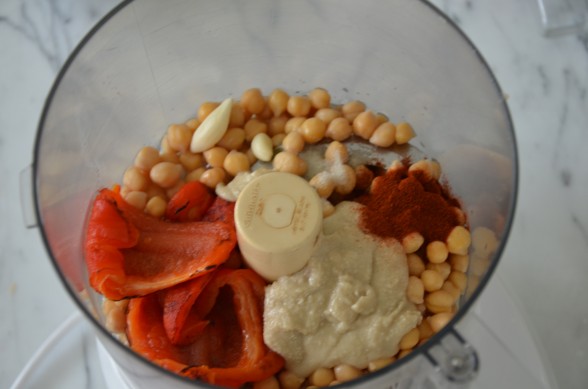
Roasted Red Pepper Hummus: add 1-2 teaspoons smoked paprika, a few dashes cayenne pepper and 1 large roasted, peeled and seeded sweet red bell pepper to Traditional Hummus ingredients in food processor.  Reduce lemon juice to 1 Tablespoon and sea salt to ¾ teaspoon.  Blend until thoroughly combined.  Taste to adjust seasonings.