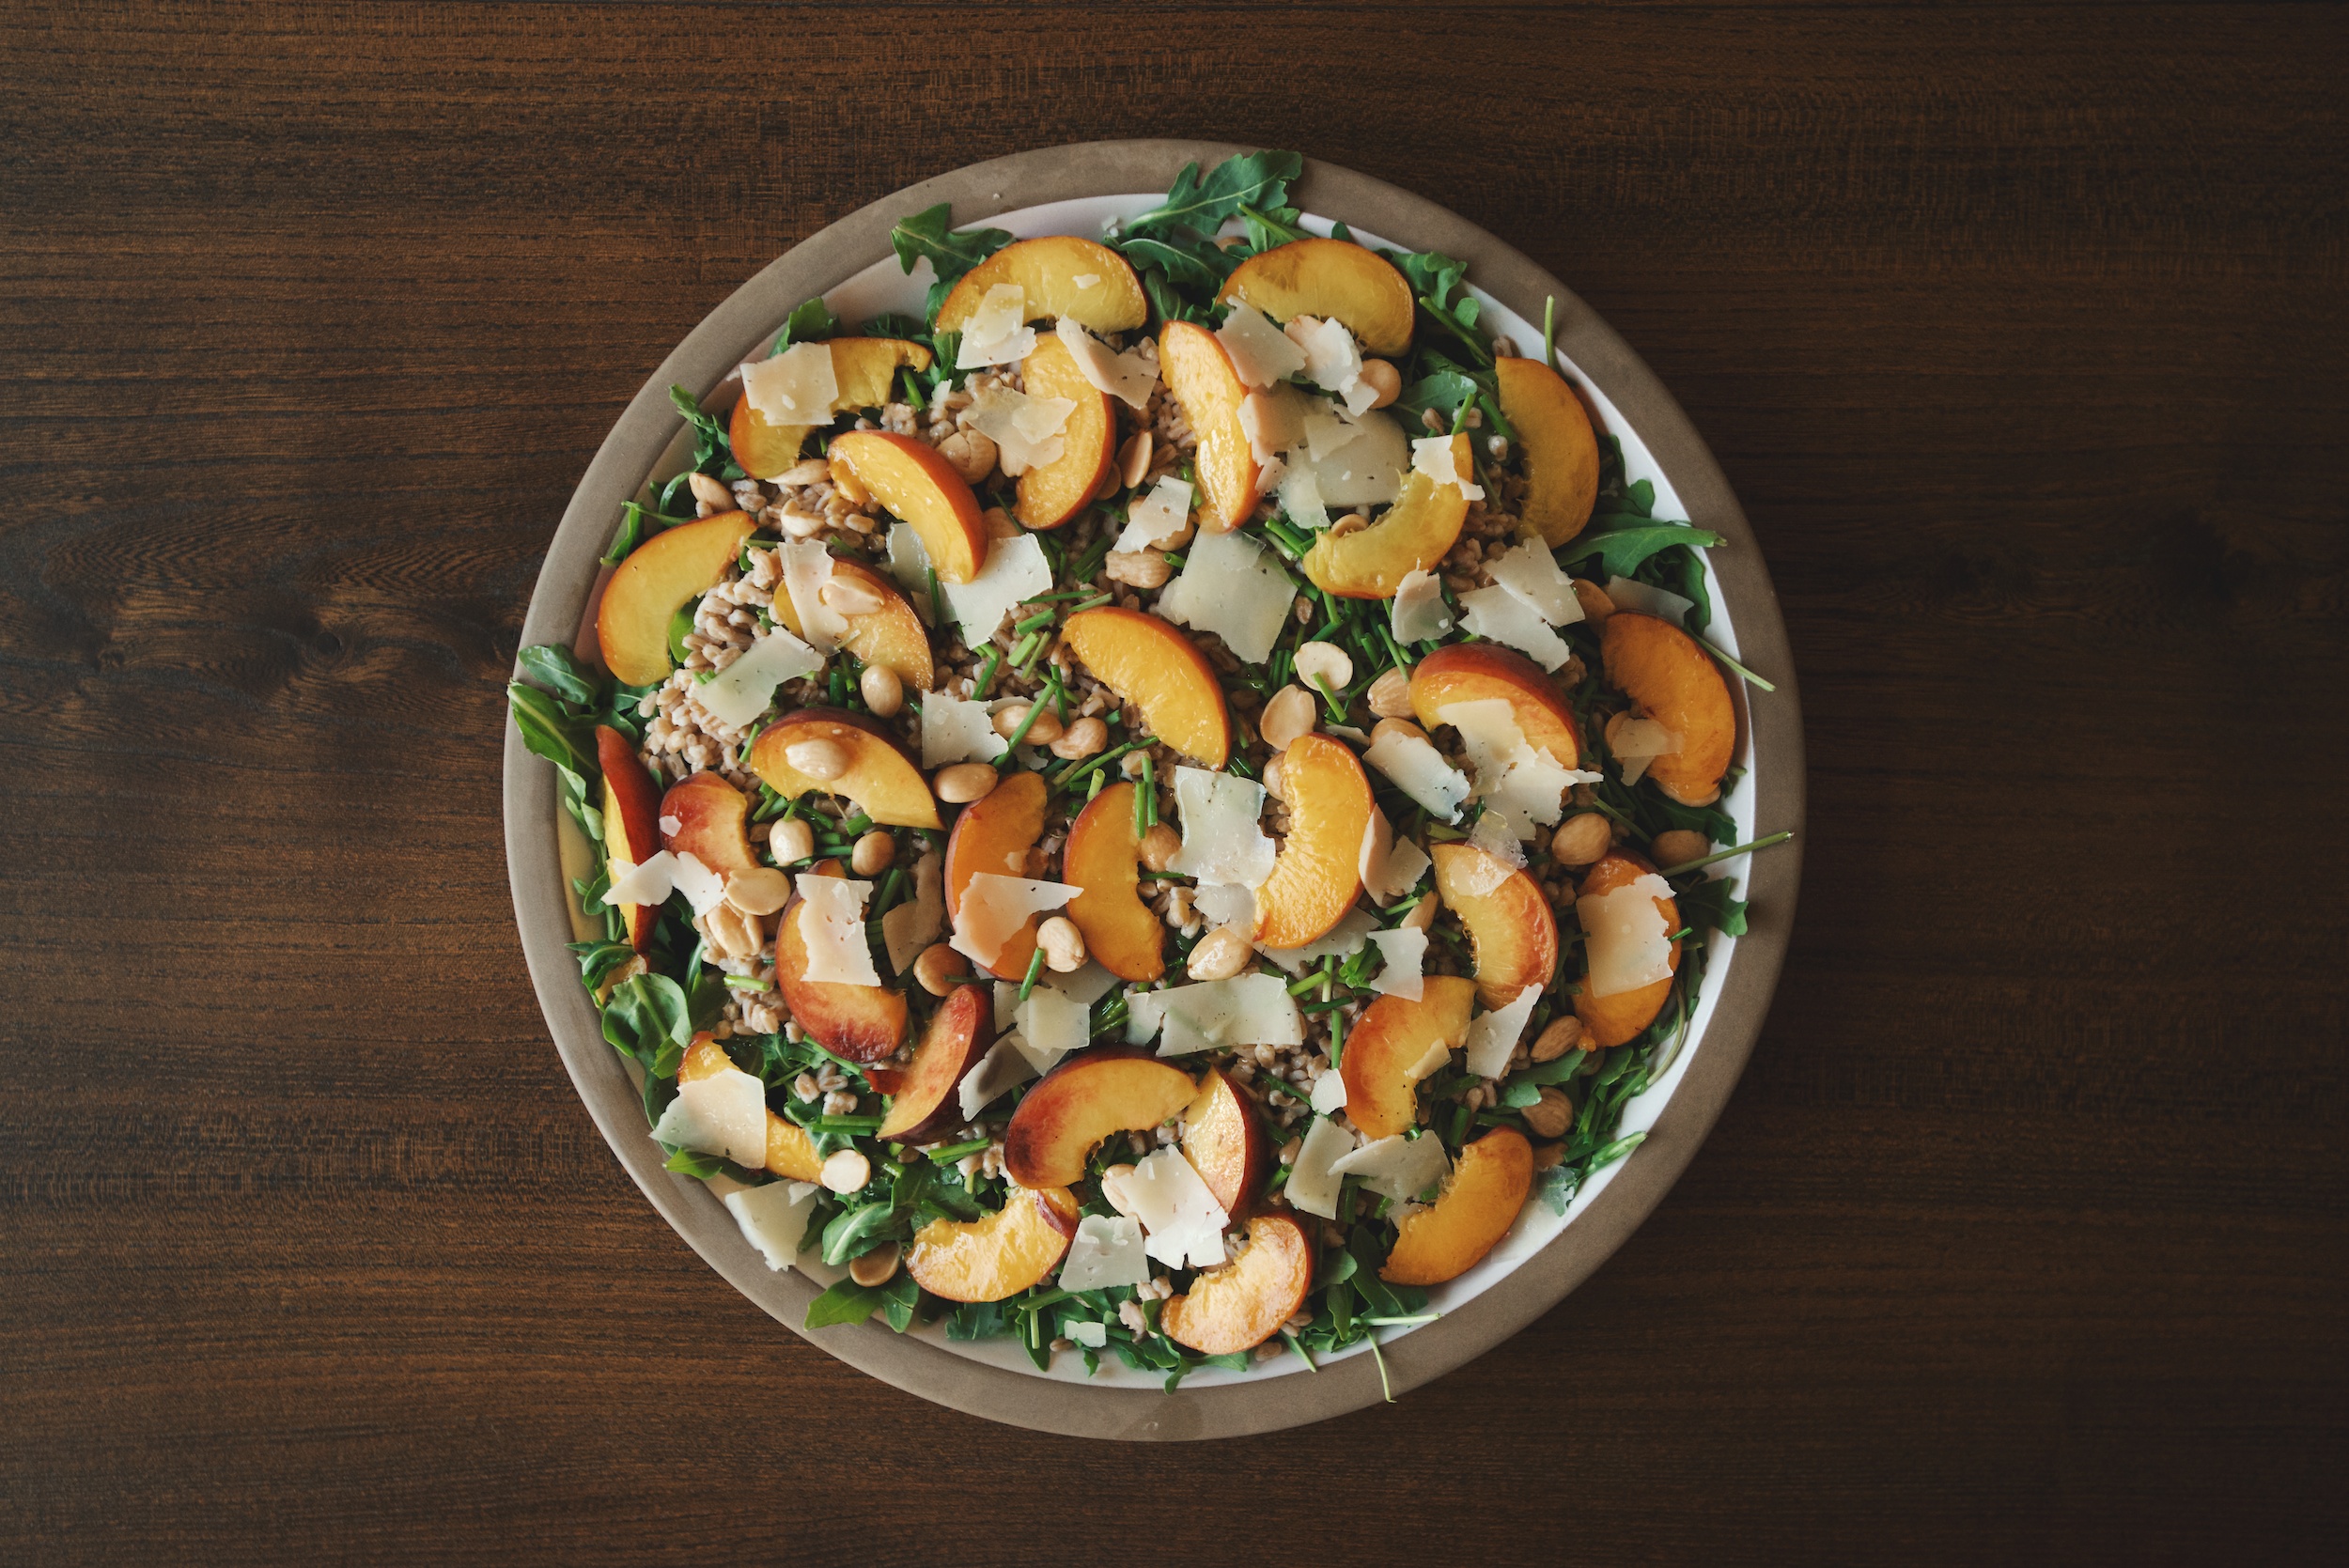
Arugula and Farro Salad with Peaches Recipe

arugula and farro salad with peaches

Mr. Picky is my third child, my 10-year-old son. He is a perfect child in every way, however he is rather picky when it comes to food. I know some people think that Mr. Picky is not at all picky because he eats things like lentils and beans and salmon. True. But he won’t eat an unbelievable amount of other, basic things, like eggs, cheese, and most cooked vegetables. Mr. Picky thinks the name I gave him is funny and doesn’t want me to refer to him as anything else on my blog. And since I am not worried that he is picky, the name can stay for now.

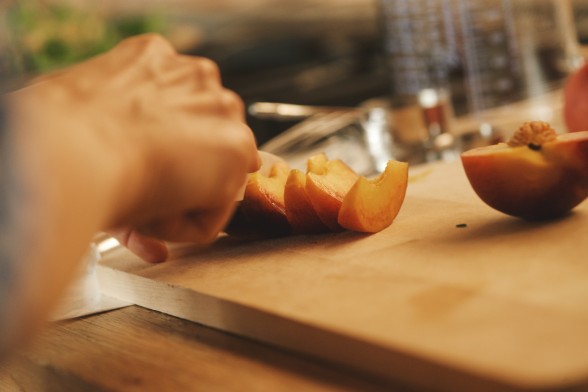
Ripe, but firm peaches that smell fragrant

“Would Mr. Picky eat this?” That’s what many of my cooking class students will ask me when we are making something outside of the kid cuisine box, so to speak. Most people have a picky child and therefore struggle will meal planning and mealtime. I can get frustrated too, but in general I don’t sweat it because I truly believe that if I continue to provide a wide variety of nutritious whole foods on a regular basis, something will click one day and he will turn into a better eater. This is not a post about raising a healthful eater, but more to address how I make something like this delicious Arugula and Farro Salad with Peaches and get my son to eat it. It’s called “deconstruction.”

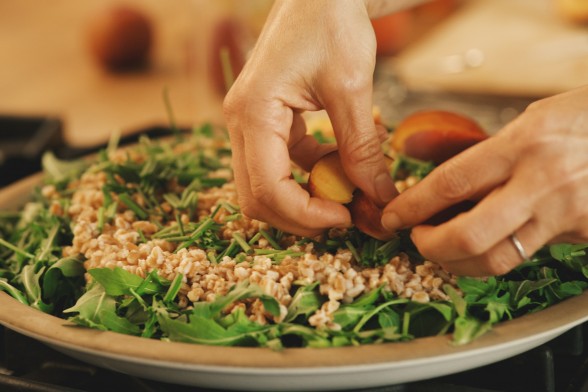
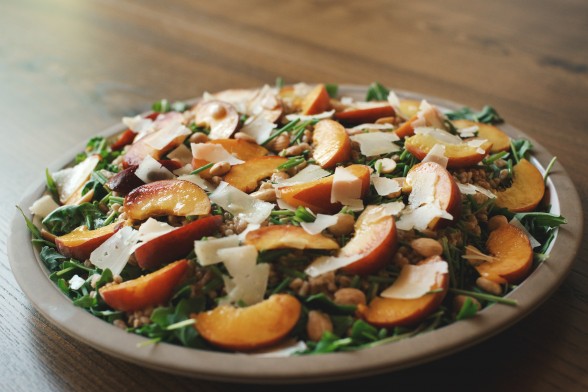
I like to layer arugula then farro then peaches

I know what Mr. Picky won’t eat, in the case of this salad that would be vinaigrette, arugula and cheese. No problem. First I ask him if this is the day he would like to try the salad with vinaigrette. 90% of the time he says, “I’m not ready yet.” No problem. So I deconstruct the salad and give him a scoop of plain farro (it’s like brown rice, I tell him), almonds and peaches. If I have some romaine lettuce in the fridge, I’ll give him some of that, too.

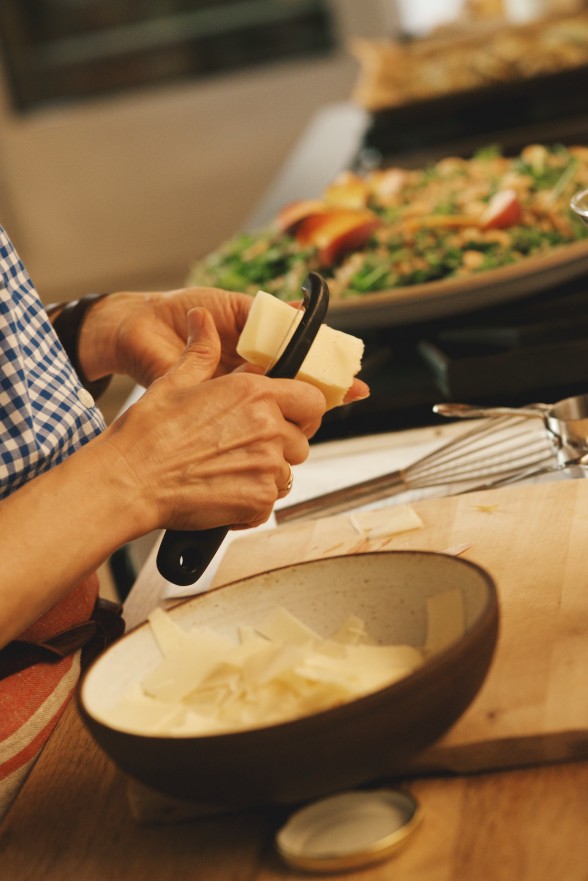
shave the cheese with a vegetable peeler

Arugula is a peppery, almost a little spicy, green. I love it, but I didn’t when I was 10. But I just can’t see only making recipes that are Mr. Picky-approved. That would be cooking to the lowest common denominator and that’s never a good idea.

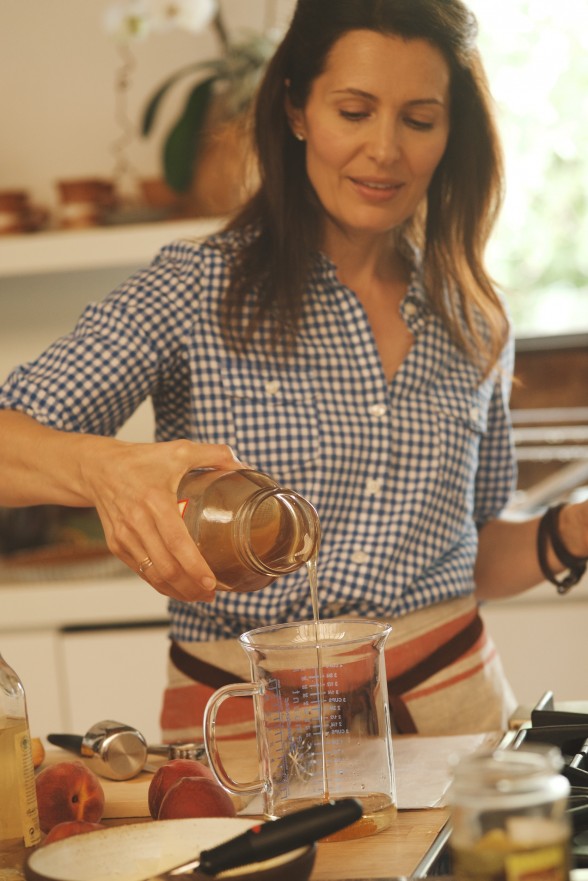
making dressing

I taught this salad last summer in my classes and just last week in Jenni Kayne’s Fourth of July class with The Chalkboard. This is the perfect salad for entertaining and I have even eaten a version of this for a lunch at home with my Everyday Salad Dressing #2. You don’t need the farro, but it does make the salad heartier which is helpful if you don’t want to eat the ribs or steak options at your BBQ. And if you are gluten-intolerant, unfortunately you can’t eat farro, but millet or quinoa would work well here.  In any case, everything can be prepped in advance so all you have to do is assemble at mealtime. I have also done a version of this salad with pitted cherries and Pecorino. I think nectarines or blackberries would also be amazing. For that matter, any stone fruit or berry would be perfect. Yay summer!

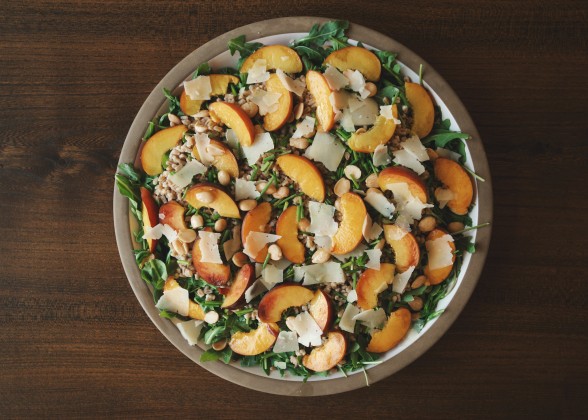
arugula and farro salad with peaches

arugula and farro salad with peaches

5.0 from 1 reviews
Arugula and Farro Salad with Peaches
Author: 
Serves: 6
 
Ingredients
  • ¾ cup farro*
  • pinch of kosher salt
  • 6 ounces arugula
  • 2 peaches, chopped
  • ¼ cup chives, chopped
  • Dressing:
  • 3 Tablespoons Champagne vinegar or white wine vinegar
  • 2 teaspoons raw honey
  • ½ teaspoon sea salt
  • a few grinds freshly ground black pepper
  • 5 Tablespoons unrefined, cold-pressed extra-virgin olive oil
  • a sprinkle of chopped or sliced nuts, such as almonds or walnuts (I used Marcona almonds here)
  • a sprinkle of cheese, such as feta, gorgonzola or shaved Manchego, Parmesan or Pecorino (I used shaved Manchego here)
Instructions
  1. Place farro in a medium saucepan with water to cover by at least three inches and a pinch of salt. Bring to a boil, lower to a simmer and cook until tender, about 25 minutes. Drain well. If using right away, rinse with cold water to cool down.
  2. In a medium bowl or a glass jar with a fitted lid, combine all dressing ingredients.
  3. Place the arugula, farro, chives, and peaches in a serving bowl and drizzle with enough dressing to lightly coat. Toss gently.
  4. Add chopped nuts and/or crumbled cheese, if desired.
Notes
*about 2 ¼ cups cooked


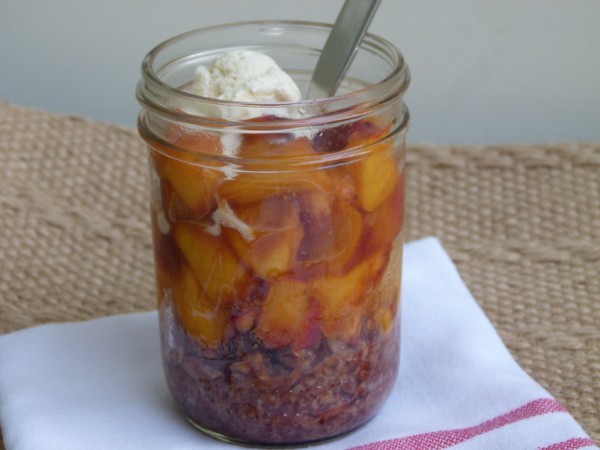
Individual warm peach pie pots recipe

individual warm peach pie pot | pamela salzman

I guess this is favorites week.  In my last post, I went on and on about my obsession with summer tomatoes and today I am sharing my new favorite dessert which uses my favorite fruit bar none, peaches.  Smiley face.  Peaches make me happy and this season has not disappointed so far.  We have had the best peaches this summer and although I may not have eaten one every single day like I have tomatoes, it has been close.

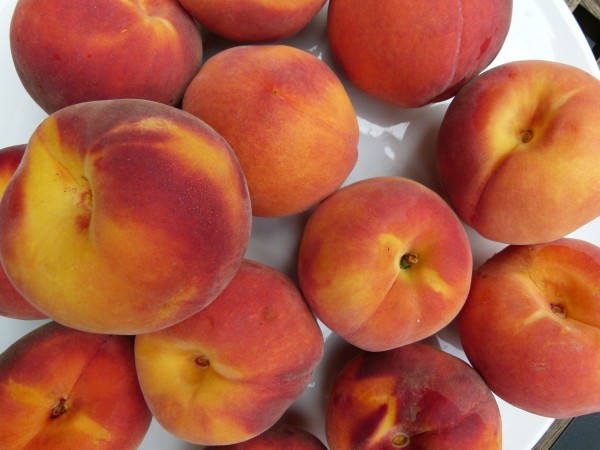
peaches!

I could make a meal out of a big peach.  Ok, not really.  But everything else I eat afterwards just pales in comparison.  I really love yellow peaches, which I find have a more intense, although more acidic flavor.  The white ones are delicious, of course, and slightly more sweet but just not quite as flavorful.  But trust me, I’ll eat either any day.  I always buy organic peaches since conventionally grown ones are on the Environmental Working Group’s “Dirty Dozen” list of the most highly contaminated produce.  I think it’s because the pesticides are able to permeate peaches’ thin skin thereby making it difficult to remove toxins by washing.  Pesticides make me nervous.

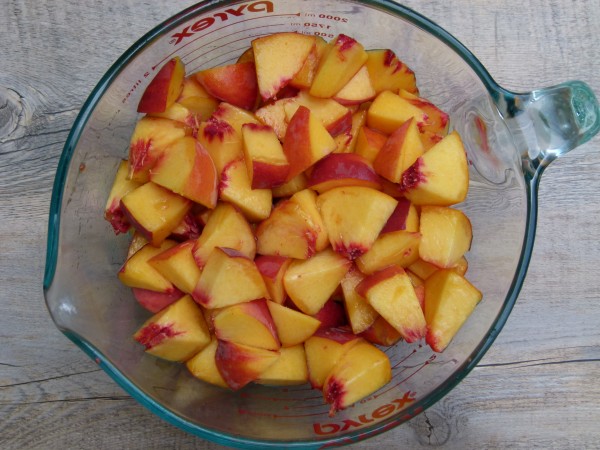
chopped and measured peaches

I have so many regular peach recipes, some that I’ve taught in my classes like peach pie, grilled vanilla peaches and this fabulous individual warm peach pie in a jar number I am writing about today.  This month I will teach an arugula salad with farro and peaches that is my new favorite.  Did you see that crazy delicious breakfast I posted on Facebook a month ago? Why aren’t we friends on Facebook?  You’re missing out.  I post something interesting there every single day!  I digress.  I used some leftovers from this recipe and put it on top of Bob’s Red Mill warm, creamy buckwheat porridge.  People, I was like “shut the front door.”  Best.  Breakfast.  Ever.
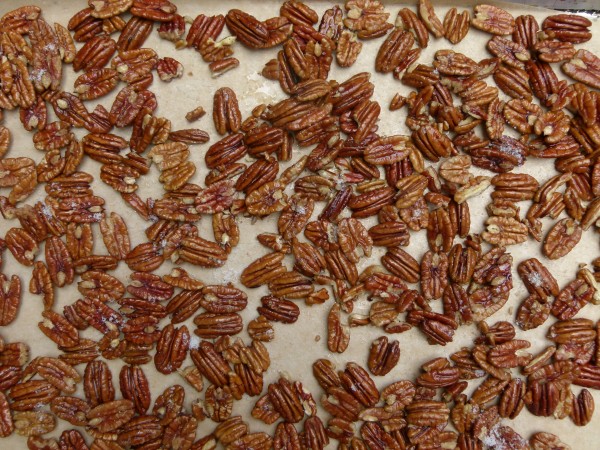
get those pecans nice and buttery and salty

I have a dozen other peach recipes that I’m not posting here so let’s not even torture you with those.  Let’s talk about these individual peach pie in a jar thingies that are the quickest, tastiest healthful dessert you can’t believe you haven’t ever made until now.  I was inspired by a recipe I saw over at Roost, which is one of the prettiest blogs that mine will never look like.  Sigh.  Caitlin used apples, which I tried and thought turned out delish, but this peach version is crazy delish.

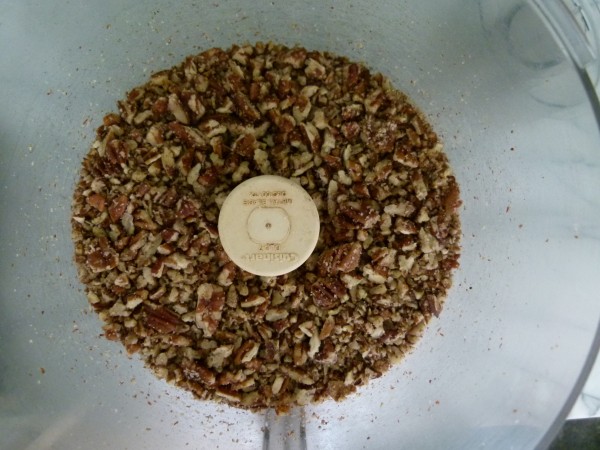
pulse a few times in the food processor until crumbly but not like meal

Too many of you have expressed intimidation about making a pie from scratch and I get it.  Although for me, sometimes I just don’t have the time to prepare and bake a pie, especially if I’m entertaining and I am making a bunch of other things.  Or maybe I have a craving for peach pie and I don’t want to tempt myself with an entire pie in the kitchen.  I am weak, after all.

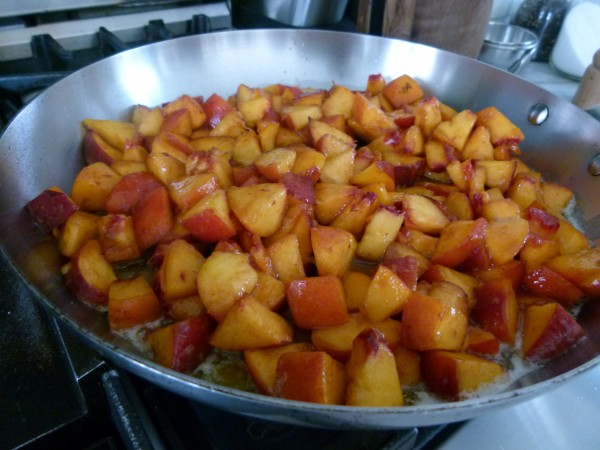
saute the peaches just until warm

This is your answer.  You make these amazing buttered, salted pecans which you then crumble up and put on the bottom of a cute glass jar, preferably with a wide opening at the top.  Then you sauté some chopped peaches with a little honey, cinnamon, nutmeg and the tiniest amount of almond extract possible because like I’ve said before, almond extract makes peach and apricot desserts more peachy and apricot-y.  But it has to be the teeniest amount otherwise, whoa.  And then just when the peaches are warm, you spoon them on top of the pecans. I am totally serious.  But see how not-at-all-bad-for-you this is??  See why I can eat this in the morning and at night?  See why I was giving out small portions at my classes so there would be more for me?  Weak, I tell you.

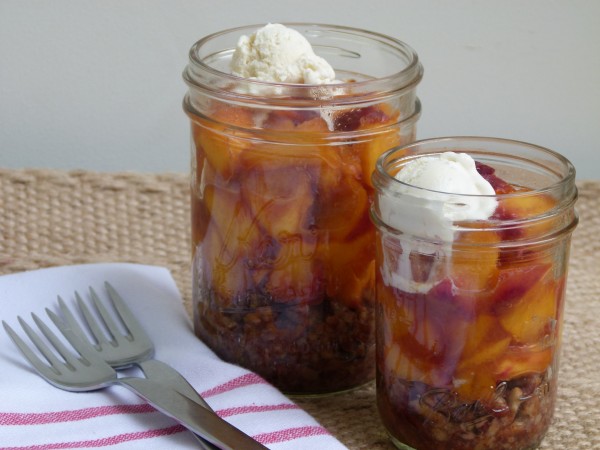
see how pretty the jars look?

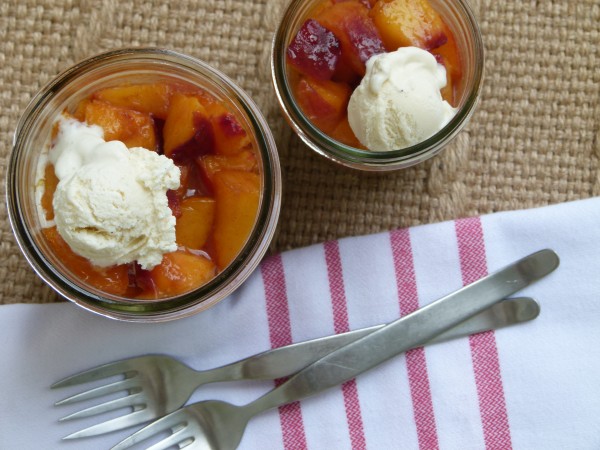
warm individual peach pie pots | pamela salzman


View this post on Instagram


A post shared by Pamela Salzman (@pamelasalzman)


Individual Warm Peach Pie Pots
Author: 
Serves: 6-7, depending on the size of your glasses or jars. I've used half-pint and pint jars. You don't have to use jars or glasses, but it looks so pretty that way.
 
Ingredients
  • Butter Pecan Crust:
  • 3 cups raw pecans
  • 1 ½ Tablespoons unsalted butter or unrefined coconut oil
  • ¾ teaspoon sea salt (this is not a misprint)
  • Peach Pie Filling:
  • 8 cups chopped peaches (peeled or unpeeled), about 12 small-medium peaches
  • 2 Tablespoons butter, ghee or unrefined coconut oil
  • 2 Tablespoons honey (just eyeball it since it’s such a pain to measure)
  • ⅛ teaspoon almond extract
  • 1 teaspoon ground cinnamon
  • pinch of ground nutmeg
  • ¼ cup almond flour (if necessary to thicken juices)
Instructions
  1. Have ready 6 clean ½ pint or pint jars.
  2. To make the crust, preheat the oven to 375 degrees and line a small sheet pan with parchment paper. Melt the butter in a small (1-2 quart) saucepan, turn off the heat and add the pecans. Toss to coat.
  3. Pour the buttered pecans onto the sheet pan and sprinkle with ¾ teaspoon salt. Bake for 8-10 minutes. Watch closely so they don’t burn! Remove from oven and allow to cool completely.
  4. Place the cooled pecans into a food processor and pulse a couple times to form a coarse crumbly mixture. Place a couple tablespoons of “crust” into the bottom of each jar and set aside.
  5. To make the filling, in a large bowl, toss the peaches with the honey, extract, and spices. Melt the butter in a large skillet over medium heat. Add the peach mixture to the skillet and toss gently to heat through, 2-4 minutes.
  6. Turn off the heat and if the mixture is very liquidy, add the almond flour to the peaches and stir to combine.
  7. Place several spoonfuls of the peach pie mixture on top of the pecan crust and top with crème fraiche, whipped cream, vanilla ice cream or whipped coconut cream. Also delicious for breakfast on warm porridge or with yogurt. Serve immediately!
Notes
If you are nut-free, you can still make the peaches alone or serve them over crumbled cookies, like graham crackers or gingersnaps.


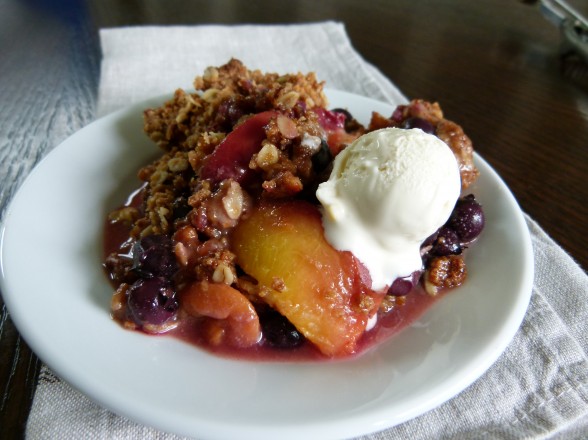
Peach and Blueberry Crisp Recipe

Were fruit crisps popular 30 and 40 years ago?  I can’t recall, but I feel like they started turning up everywhere about 20 years ago.  A fruit crisp was one of the first desserts I ever made on my own.  I think the recipe came from one of the Silver Palate cookbooks.  Remember those?  I am very certain it was an apple crisp with the classic oat and sugar crumby topping.  It was such an easy dessert, but so delicious and a total crowd pleaser.  What’s not to love?  It’s the ultimate comfort dessert.  Soft, sweet fruit with a crunchy, nubby topping that you would fight your best friend over.  Did you ever have a crisp warm out of the oven with a little scoop of vanilla ice cream on top?  If you have, then someone loves you!

I’ll tell you the truth, I use the same basic recipe for all my fruit crisps the whole year long.  I’m sure I could put a little more thought into it and start adding liqueur to the fruit or different spices.  I like Giada’s idea of using crumbled amaretti cookies in the crisp topping.  But we already love this the way it is.  Why mess around with deliciousness?

Today I’m bringing you a Peach and Blueberry Crisp because my favorite fruit desserts all start with a peach.  Did you catch my Stone Fruit Crostata last summer?  My husband, kids and I are all obsessed with peaches.  We have a couple of peach trees in the backyard that produce a whole lot of great peaches for two weeks in the summer and that’s when we grill them, add them to salads, make pies and crisps and even peach margaritas (for adults, of course)!  Outside of those two weeks, I rely on our farmer’s market, but a high point for us is going peach picking on Long Island when we visit my parents.  Have you ever had a just-picked peach, warm from the sun?  Put that on your to-do list.  It will just make you happy.

Believe me, I am completely content eating a perfect peach and not messing with it, but I also know there’s a time and place for a good, homemade dessert.  This Peach and Blueberry Crisp is one of my go-to’s during the summer.  I don’t make it too sweet, in fact my fruit dessert mantra is “it should taste like fruit, not just sweet.”  Most crisp recipes toss the fruit with extra sugar and flour, which I don’t think is necessary at all.  I used to make crisp toppings with brown sugar until I discovered coconut palm sugar which I think is a great unrefined sweetener.  If you can’t find it, brown sugar works completely fine.  One of the best things about crisps is that you can make the topping way ahead and keep it in the fridge for a few days or even the freezer for a few months.  Do you even understand the implications of this?  You can freeze a whole gigantic batch of crisp topping right now and have a dreamy dessert at your fingertips whenever you want.  That means an easy dessert for summer entertaining or simply put a handful of fresh fruit in a ramekin and top with a handful of topping and bake away for a yummy crisp for you and only you whenever you need a little love.  Now we’re talking.


5.0 from 6 reviews
Peach and Blueberry Crisp
Author: 
Serves: 8-ish
 
Ingredients
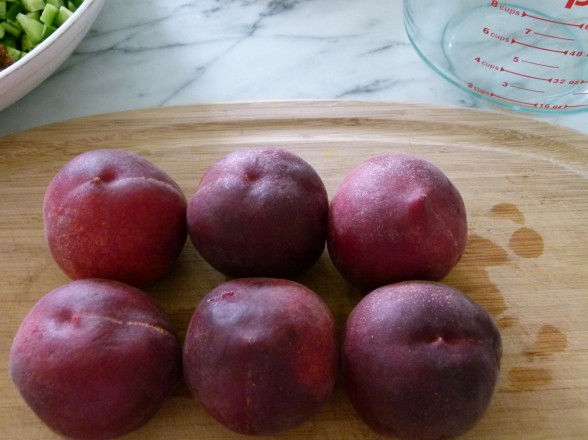
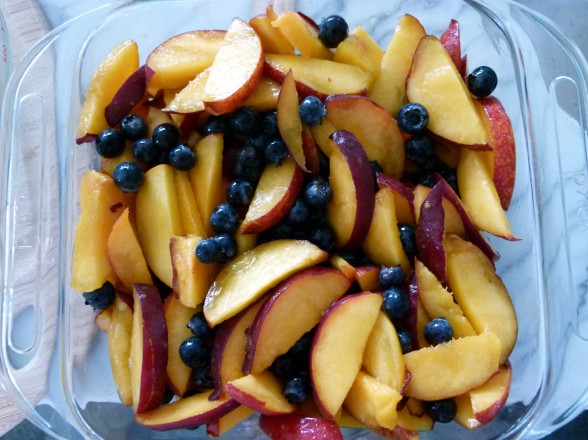
  • 6 medium peaches, pitted and sliced, about 4-5 cups (you can peel if you want)
  • 2 cups fresh or frozen blueberries
  • 1 cup whole grain flour, such as whole wheat pastry, white whole wheat or your favorite GF flour blend (I like Bob's Red Mill and King Arthur)
  • ¾ cup coconut palm sugar or brown sugar (coconut sugar is less refined)
  • ½ cup old-fashioned rolled oats (look for gluten-free oats if you gluten intolerant)
  • 1 teaspoon ground cinnamon
  • ½ cup chopped pecans (optional)
  • ½ teaspoon fine sea salt
  • 8 Tablespoons cold unsalted butter, cut into pieces
Instructions
  1. Preheat the oven to 350 degrees.
  2. Place all fruit in an 8- or 9-inch baking dish or pie plate. Toss to mix them up a bit.*
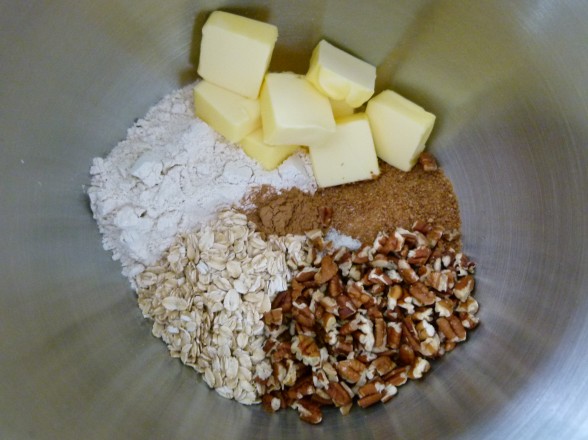
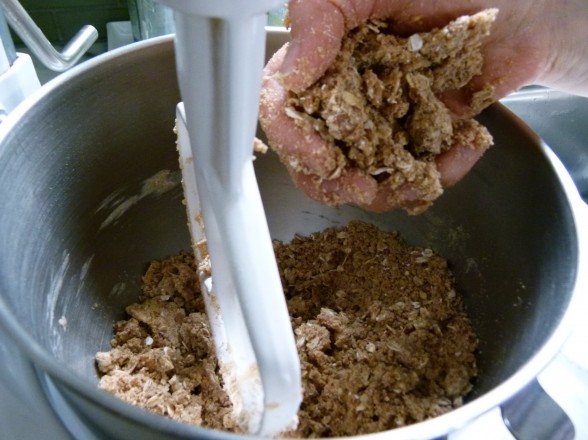
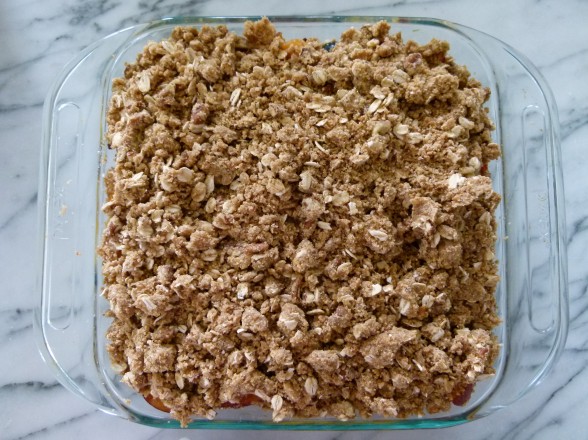
  3. Add all topping ingredients in the bowl of a mixer fitted with the paddle attachment. Blend until mixture resembles small peas. This can also be done by hand or with a pastry blender. Squeeze with your hands to create small clumps.
  4. Arrange topping over fruit to cover.
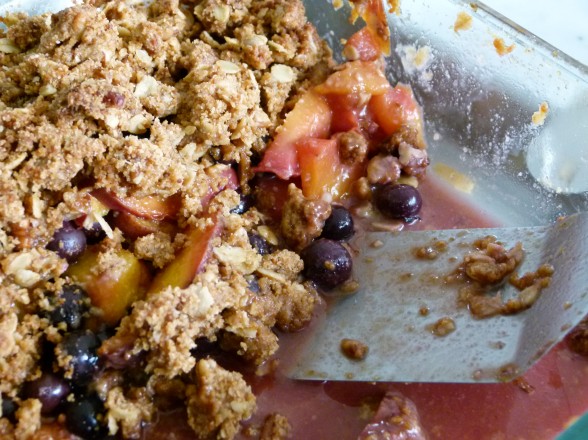
  5. Place baking dish on a cookie sheet and bake for about 45 minutes, or until bubbly and topping is golden brown.
Notes
*You can toss the fruit with a Tablespoon of sugar and a Tablespoon of flour to thicken the juices that develop, but it is not necessary unless your fruit is really juicy.

**Crisp topping can be made ahead and kept covered in the refrigerator for 3-4 days or frozen for up to 3 months.


Stone fruit crostata with spelt crust

I have been lucky enough to have had a summer intern working by my side for the last two months and for most of last summer, too.  Hannah is entering her junior year at Cornell as a public policy major and has been an absolute joy to have in the kitchen.  Sadly, today is her last day working with me and I asked her to share her thoughts about what she has learned about cooking the last two summers and how she came to be an expert crostata-maker.

Hannah:  “I never learned to cook growing up. I was always running off to volleyball practice or studying for my next test. I was the girl who had a hard time making rice on the stovetop without burning the pot. While I was home from college for the holidays during my freshman year, my mom brought me to one of Pamela’s cooking classes. As I was sitting in her kitchen, my interest was sparked!   I was inspired to learn how to cook and soon developed a passion for healthful food.   I totally drank her Koolaid! After being thrown into Pamela’s kitchen for 8 weeks, last summer and this summer, I have seen my skills develop immensely from hands-on cooking. There were many things I thought I would never be able to do because they were totally outside my skill level, but after spending some time in the kitchen, I felt my confidence and competence grow and I was having fun. Since returning from college I have realized how learning how to cook is such an invaluable skill. I don’t want to have to rely on fast food for the rest of my life nor do I want to lose my girlish figure by indulging in highly processed foods! The freshman 15 was hard enough to keep off!

My ah-ha moment in the kitchen came the other day when Pamela was preparing a pastry crust for one of her classes. As she was rolling out the dough she looked at me and asked if I wanted to give it a try. I quickly replied, “Ohh nooo. I could never roll out pastry dough, are you kidding!” But after seeing Pamela roll out dough already ten times this month, I figured I should try. Pamela handed over the rolling pin and slowly but surely the ball of dough relaxed into a 14 x 14 inch circle. Perfect with no cracks and only a minimal amount of flour on the floor. She knew if I tried it, I could do it!

I know that making pastry crust from scratch seems intimidating , but it’s amazing how easy it can come if you just try it! I have decided to pass along a few tips I learned to making a successful pastry crust.  Making the dough should only take a minute, so make sure that you have all your ingredients ready (ice cold water, butter cut into 1 inch pieces in the refrigerator.) It is helpful to make pastry when the kitchen is cool, like in the morning because a warm kitchen causes the butter in the dough to soften too fast, making the dough gooey too work with.  As you’re rolling out the dough if you feel the crust softening, put it back in the refrigerator before you put it in the oven. This will keep your crust from melting while baking. I also found that laying almond meal on the dough under the fruit keeps the crust from getting soggy. There was one class at someone else’s house where Pamela and I forgot to bring almond meal and all we could find in the pantry were some vanilla wafers. We quickly ground them up in the food processor and it worked!  We had success once with cooked millet, too, but not so much with cooked quinoa or rolled oats.

All in all, my message to you first-time pastry-makers is to just try it! I have heard some people claim that they can’t even follow a recipe, but I don’t believe it!   Learning by doing has been so enlightening for me.  Everything is not as hard as it looks, even rolling out pastry dough!”


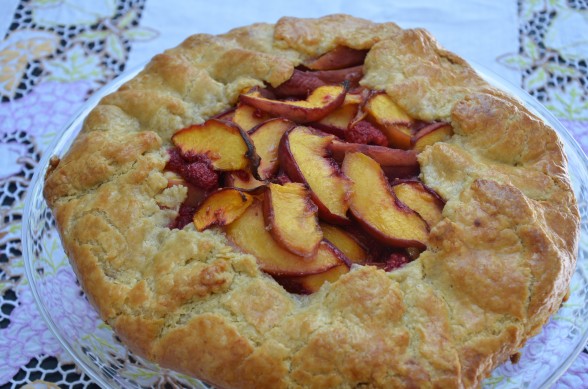
Stone Fruit Crostata with Spelt Crust
Author: 
Serves: 8-10
 
Ingredients
  • Crust:
  • 1⅔ cups spelt flour* or all-purpose flour + extra for rolling the crust
  • ¼ cup cornmeal or polenta
  • 1 Tablespoon natural cane sugar or maple sugar
  • ½ teaspoon fine grain sea salt
  • 14 Tablespoons chilled unsalted butter, cut into ½-inch pieces
  • ⅓ cup ice water (if using all-purpose flour, start with 4 Tbs. water and add as needed)
  • Filling:
  • 3-4 Tablespoons natural cane sugar or maple sugar
  • 1 Tablespoon flour
  • 4 medium peaches or nectarines, pitted and each cut into 16 slices or apricots cut into quarters
  • ½ pint basket of raspberries or blackberries
  • ½ teaspoon pure vanilla extract
  • ⅛ teaspoon pure almond extract
  • ½ cup ground almonds, bread crumbs, cookie crumbs, or cooked millet
  • 1 egg, beaten (for brushing on crust)
Instructions
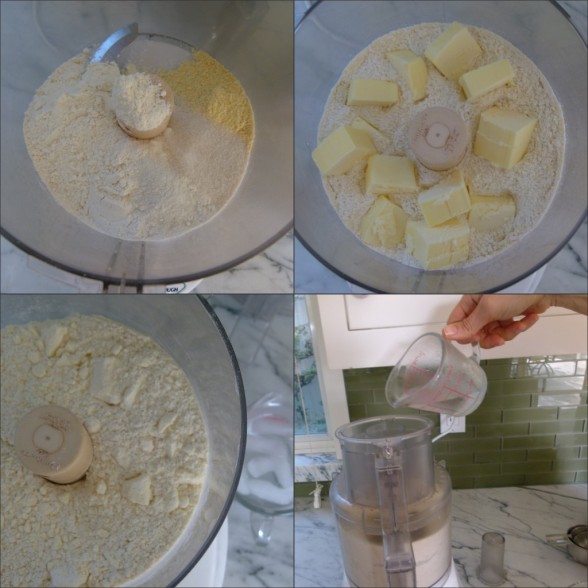
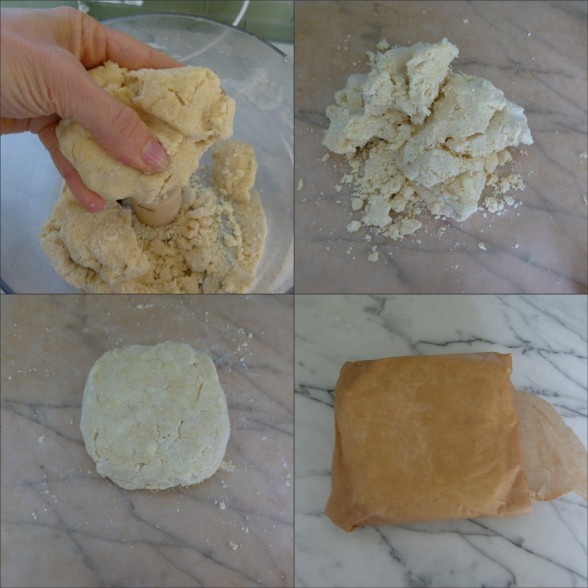
  1. In the bowl of a food processor fitted with the metal blade, combine first 4 ingredients and pulse to combine. Add cold butter and process just until pea-size pieces form. Start to pour the ice water through the feed tube and turn on the food processor. Blend until dough just comes together. Test this by squeezing a small handful of dough – it should clump together. If doesn’t, add a few more drops of water. Gather dough into a ball. Flatten into a disk. Wrap in parchment paper and chill at least 1 hour.
  2. Preheat oven to 400 degrees. Place a sheet of foil on the lower rack of the oven to catch any drippings.
  3. Gently combine all the filling ingredients (except crumbs and egg) in a medium bowl and set aside.
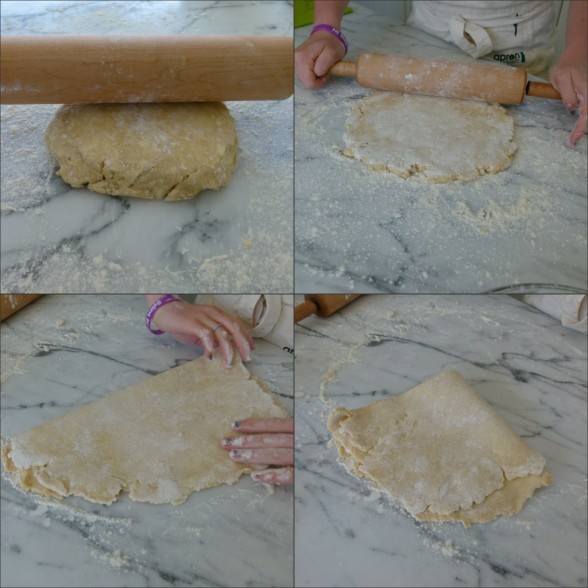
  4. Dust the countertop and a rolling pin lightly with a little spelt flour and some cornmeal. Unwrap the disk of dough and place the parchment paper on a rimless baking sheet or you can use the underside of a rimmed baking sheet. This will make it easier to remove the crostata later. Roll out the dough to a 14-inch circle on the floured countertop, flipping the dough occasionally to prevent sticking to the countertop and using additional flour as needed. You should always be able to move your dough around the countertop without it sticking. Transfer to the parchment-lined baking sheet. (I like to fold the pastry in half and then half again and then unfold it on the parchment.)
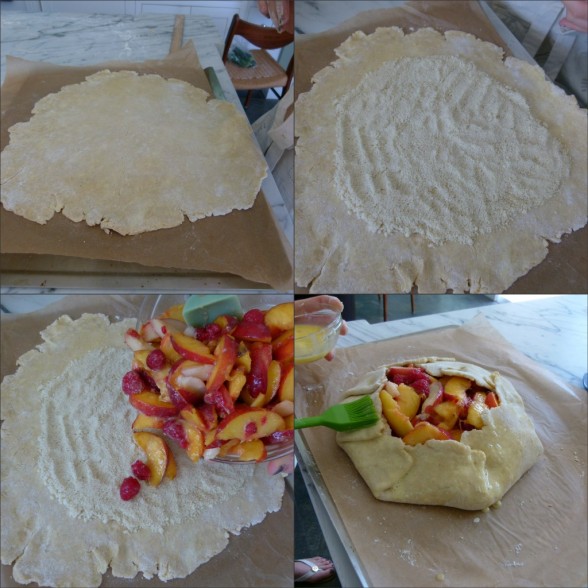
  5. Sprinkle the dough with the almond meal or cookie crumbs, leaving a 2-inch border uncovered. Pour the fruit and juices onto the the almond meal. Brush the border of the dough with egg. Lift about 2 inches of dough over the tart and pinch closed. Keep lifting and folding dough until a 6-inch circle of fruit remains uncovered. Brush folded border with egg. Sprinkle with raw sugar if desired.
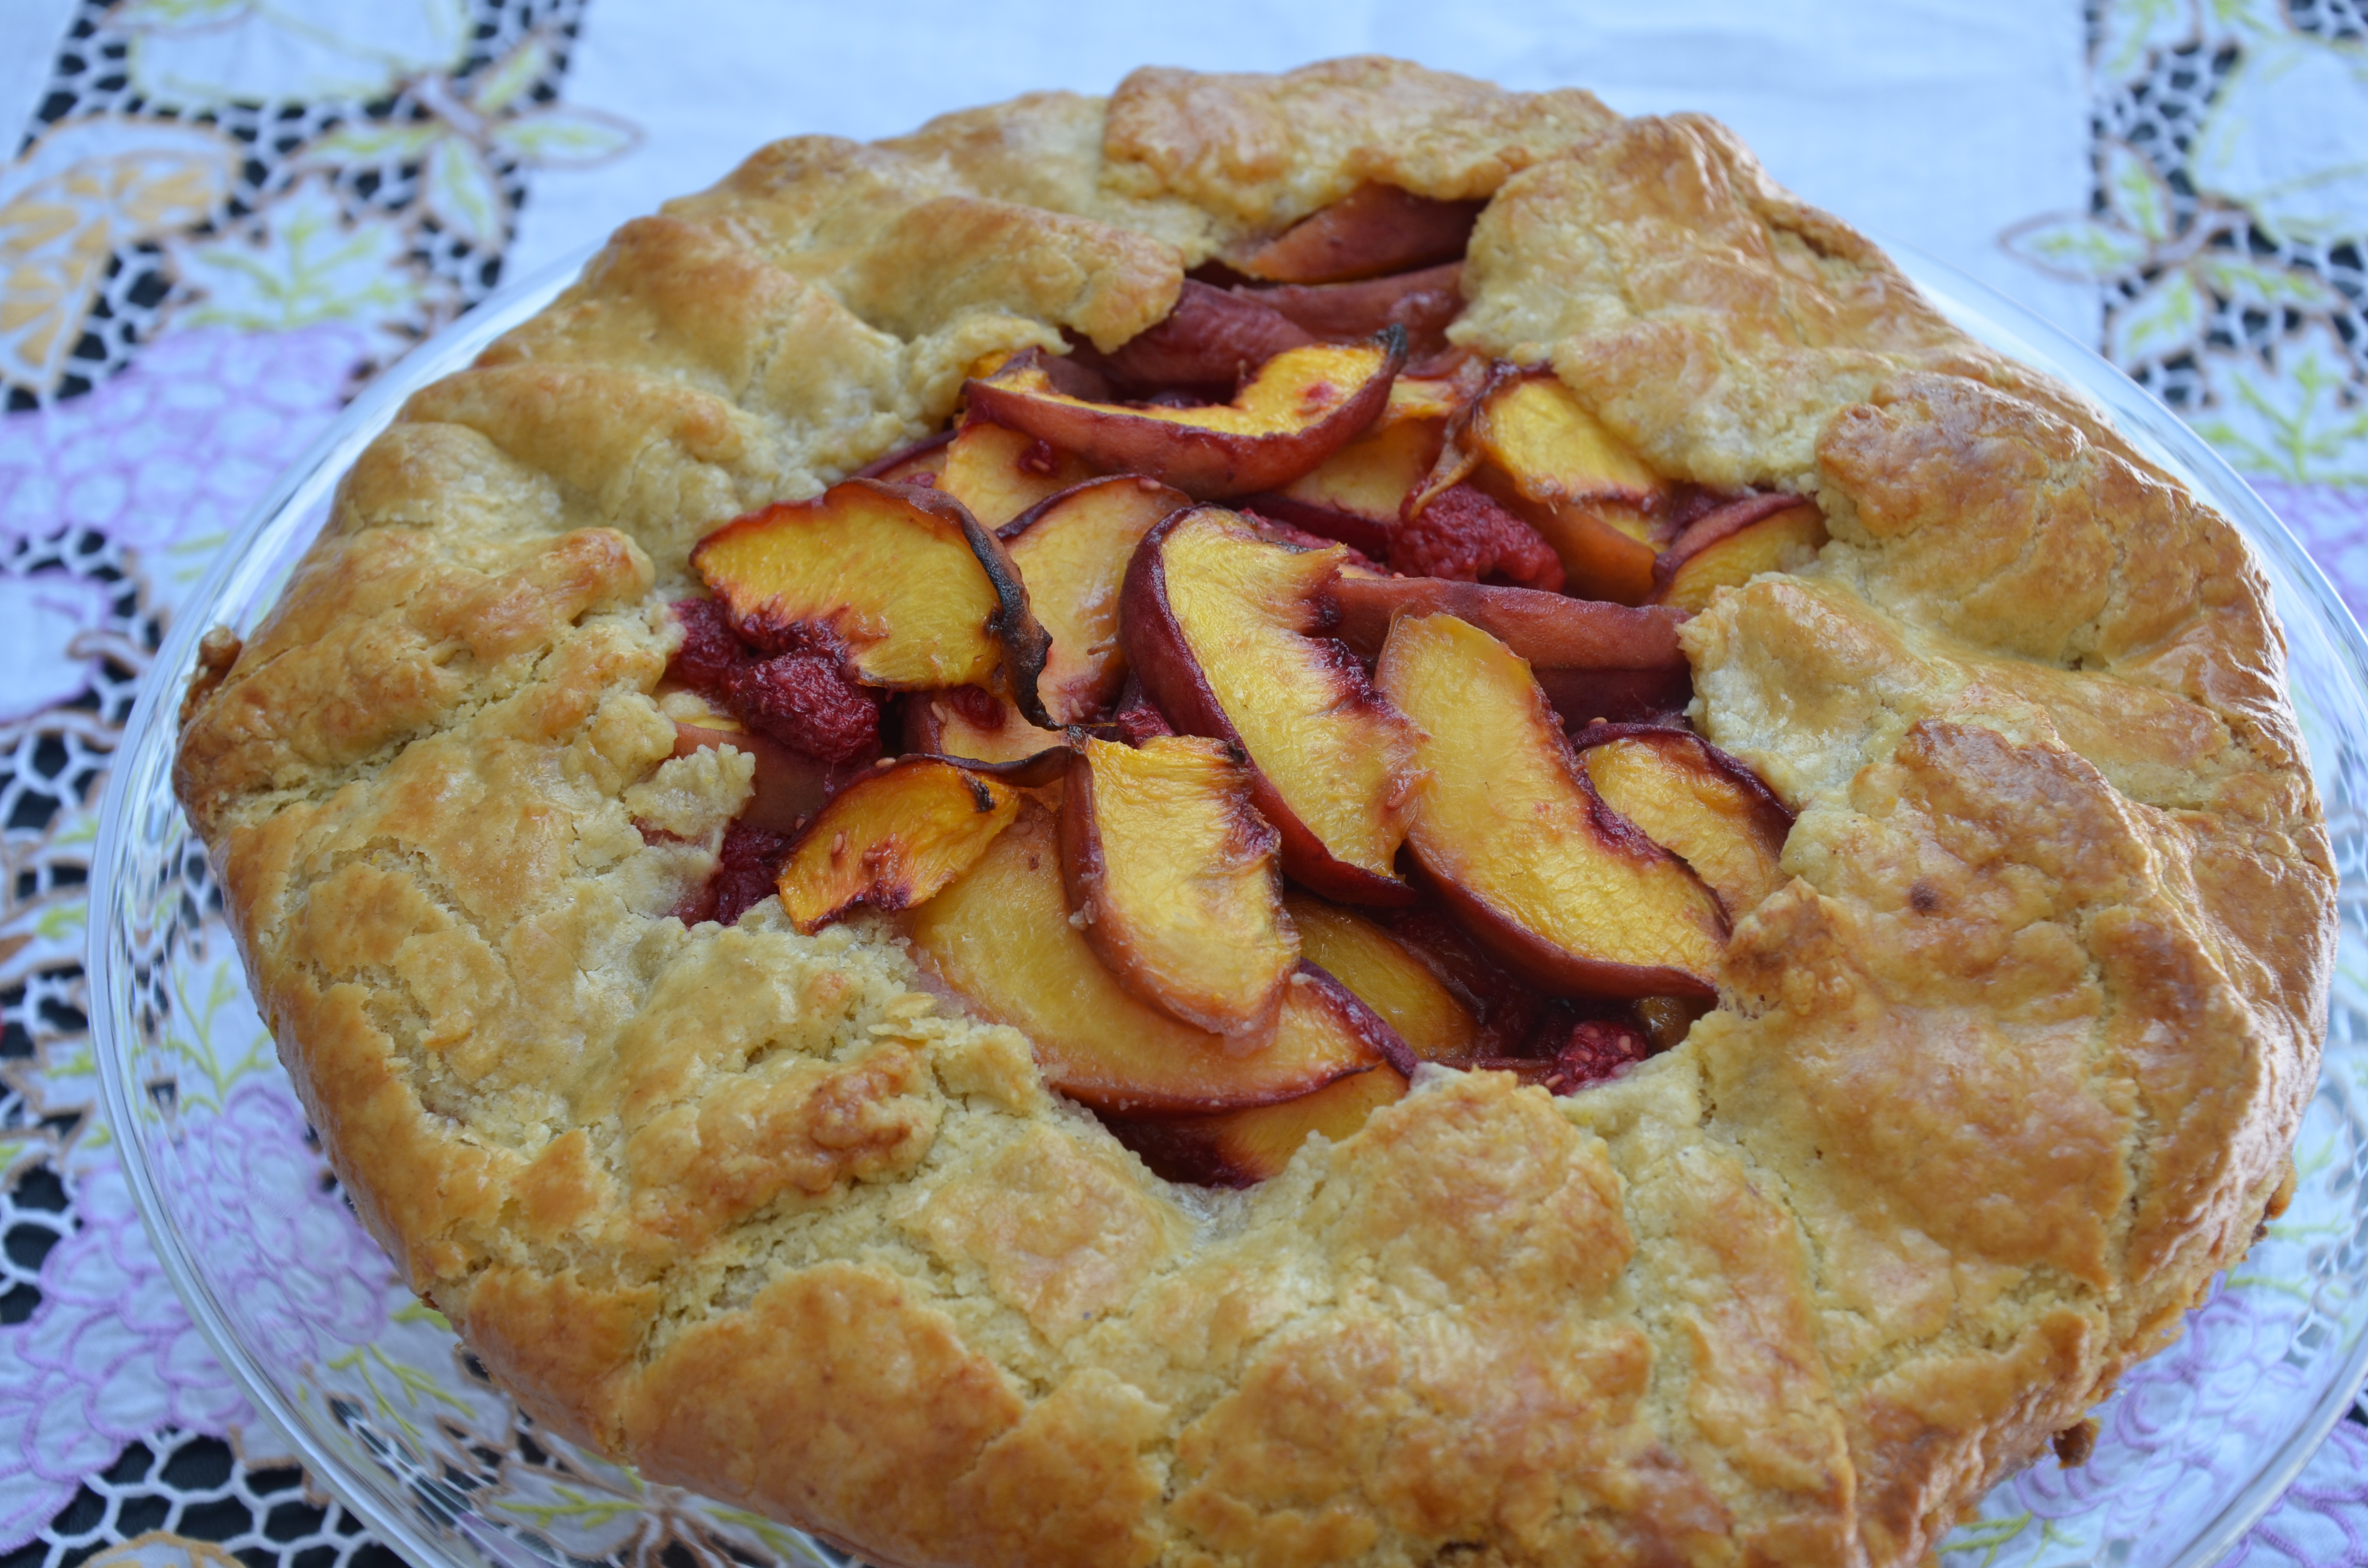
  6. Bake in the preheated oven for 45-55 minutes or until the fruit is bubbling and the crust is a beautiful golden brown. Slide the crostata and the parchment to a cooling rack and allow to cool to just warm or room temperature.
Notes
Spelt flour has a lower gluten content than wheat flour, making it more digestible and resulting in a more tender pastry. I buy spelt flour in the bulk section at Whole Foods. In pastry crusts, white flours are much easier to work with and taste better than whole grain flours. If you must, you can sub ⅔ cup whole grain pastry flour for ⅔ of the white spelt flour.

Gluten-free adaptation: substitute 1 cup King Arthur all-purpose gluten-free baking mix + ⅔ cup gluten-free oat flour + 1 teaspoon xanthan gum for the spelt flour. Keep everything else the same.